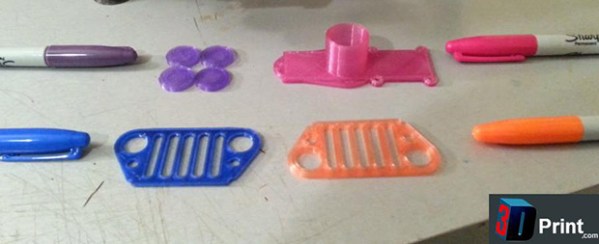
Precisely applied ultraviolet light is an amazing thing. You can expose PCBs, print 3D objects, and even make a laser light show. Over on the Projects site, [Mario] is building a machine that does all of these things. It’s called the OpenExposer, and even if it doesn’t win the Hackaday Prize, it’s a great example of how far you can go with some salvaged electronics and a 3D printer.
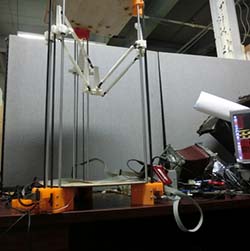
The basic plan of the OpenExposer is a 3D printer with a small slit cut into the bed, and a build platform that moves in the Z axis. The bed contains a small UV laser and a polygon mirror ripped from a dead tree laser printer. By moving the bed in the Y direction, [Mario] shoot his laser anywhere on an XY plane. Put a tank filled with UV curing resin on the bed, and he has an SLA printer. Put a mounting bracket on the bed, and double-sided PCBs are a cinch.
The frame is made of 3D printed parts and standard RepRap rods, with the only hard to source component being the polygonal mirror. These can be sourced from scrounged laser printers, but there’s probably some company in China that will sell them bulk. The age of cheap SLA printers is dawning, friends. Video below, github here.
 If you think about it, the RepRaps and other commercial 3D printers we have today are nothing like the printers that will be found in the workshops of the future. They’re more expensive than they need to be, and despite the RepRap project being around for a few years now, no one has cracked the nut of closed loop control yet. [mad hephaestus], [Alex], and [Will] over on the Hackaday Projects site are working on the future of 3D printing