The 64kB is a category in the demoscene where the total executable size must be less than 65,536 bytes, and at that size, storing vertexes, edges, and normal maps is a waste of space. [Ctrl-Alt-Test] is a French Demoscene group that has been doing incredible animations for the last 13 years. They’ve written an excellent guide on how they’ve been procedurally generating the meshes in their demos.
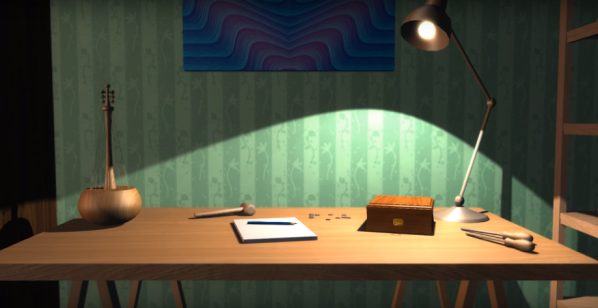
It all starts with cubes. By stacking them, overlaying them, reusing them, and tiling them you can get better compression than raw vertexes. Revolution was the next trick, as it uses just a few points, plotting it via Catmul-Rom splines, and revolving around an axis. The numbers are pairs of 32-bit floats and before compression, a detailed pawn on a chess board can weigh in at just 40 bytes. Just these few techniques can take you surprisingly far (as seen in the picture above).
They later worked on deforming cubes and placing them into a semi-randomized column, which happened to look a lot like plants. This isn’t the first generated vegetation we’ve seen, and the demoscene technique focused more on getting the shape and setting the mood rather than being accurate.
Signed distance fields are another useful trick that allows you to generate a mesh by implementing a signed distance function and then running a marching cubes algorithm on it. In a nutshell, a signed distance function just returns the distance to the closest point on a surface from a given point. This means you can describe shapes with just a single mathematical equation. As you can imagine, this is a popular technique in the demoscene world because it is so space efficient in terms of code and data. [Ctrl-Alt-Test] even has a deep dive into one of their projects, Immersion, with a breakdown of where the space is allocated.
There are plenty of other tips and tricks here, such as generating textures and developing a C++ hot reload system for faster iteration. It’s just incredible that the executable that plays the whole video is smaller than just a JPEG screenshot of the video. It’s a reminder that the demoscene is still fascinating with new tricks and experiences even as the hardware stays the same. Continue reading “Generating Instead Of Storing Meshes”


