Raspberry Pi Locks Down RAM Upgrades

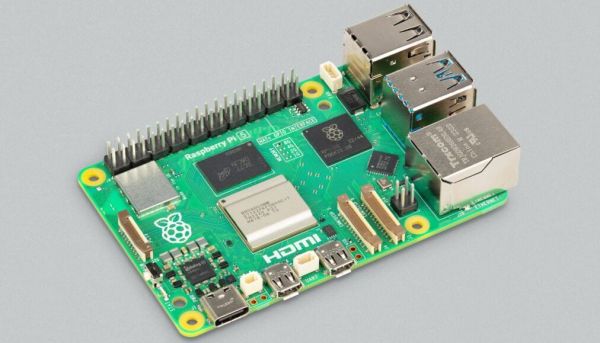
In a recent video [Jeff Geerling] addresses an issue discovered with the Raspberry Pi firmware, specifically how since around 2024 the firmware locks down what RAM size and even module is supported. This isn’t an issue that is widely known, probably because most people just use the board as-is, but it can be an unpleasant surprise for those looking to upgrade or repair their Pi.

Naturally there is a valid reason for wanting to prevent unscrupulous RAM module changes, with a [Geekworm] blog post from earlier this year detailing this exact issue and how each board is marked with a specific code that identifies the model, RAM size, RAM manufacturer and such. Based on the earlier linked forum post and also a 2025-era GitHub ticket on the rpi-eeprom project, the resulting symptoms seem to vary from not seeing the additional RAM to the board not booting at all.

Although you can go back to an older EEPROM firmware image to work around this, it’s still very annoying that this is even a thing. As also noted by [Jeff], the primary frustration here is probably one of ownership. When you can upgrade the RAM on just about any device you can buy, including a modern GPU and even Apple computer, but not on a Raspberry Pi board that loves to flaunt its open source/hardware credentials, then something is very much off.

In the end it’s highly unfortunate that Raspberry Pi has chosen this path that feels a bit too much like the hardware pairing that companies like Apple got rightfully called out on.
Continue reading “Raspberry Pi Locks Down RAM Upgrades” →

Soldered RAM Upgrades Finally Available For Mac-PPC

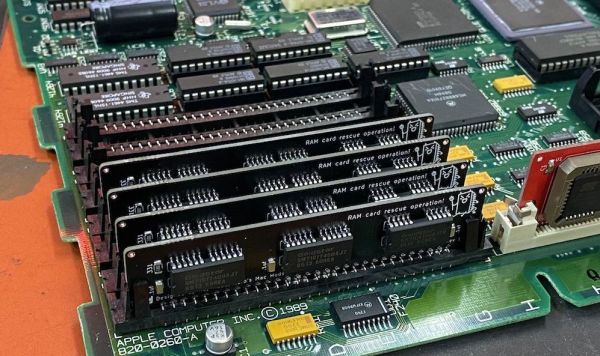
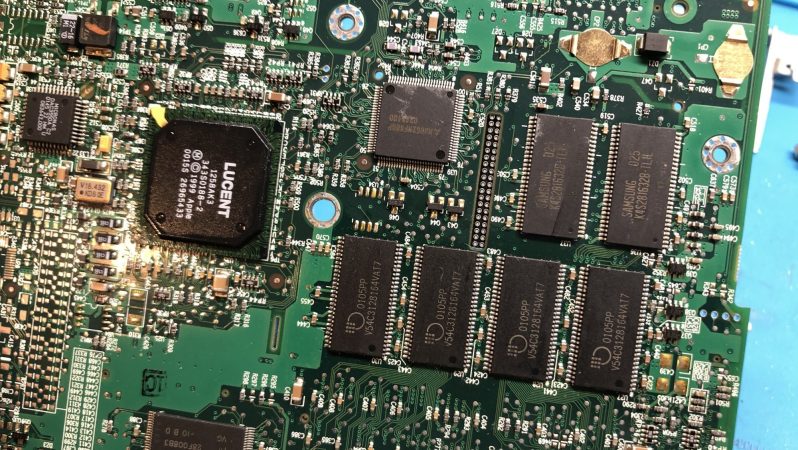
In the retrocomputing world, [DosDude1] is a name spoken with more than a little respect. He’s back again with a long-awaited hack for PowerPC Macintosh: soldered RAM upgrades!

[DosDude1] is no stranger to soldering his way to more storage– upgrading the SSD on an M4 Mac Mini, or doubling  the VRAM on an old GPU. For a PPC Mac, though, it is not enough just to solder more RAM onto the board; if that’s all it was, we’d have been doing it 20 years ago. Once the RAM is in place, you have to have some way to make sure the computer knows the RAM is in place. For a WinTel machine, getting that information to the BIOS can be as easy as plugging in the right resistors. Continue reading “Soldered RAM Upgrades Finally Available For Mac-PPC” →

Laptop GPU Upgrade With Just A Little Reballing

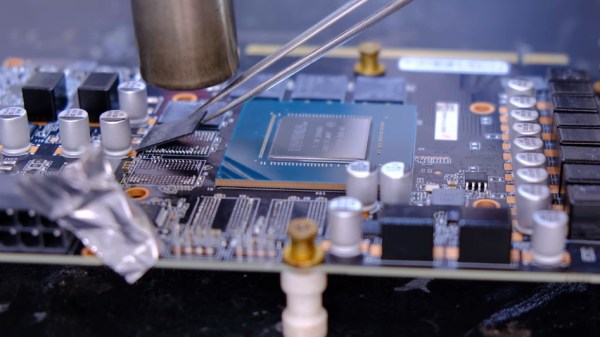
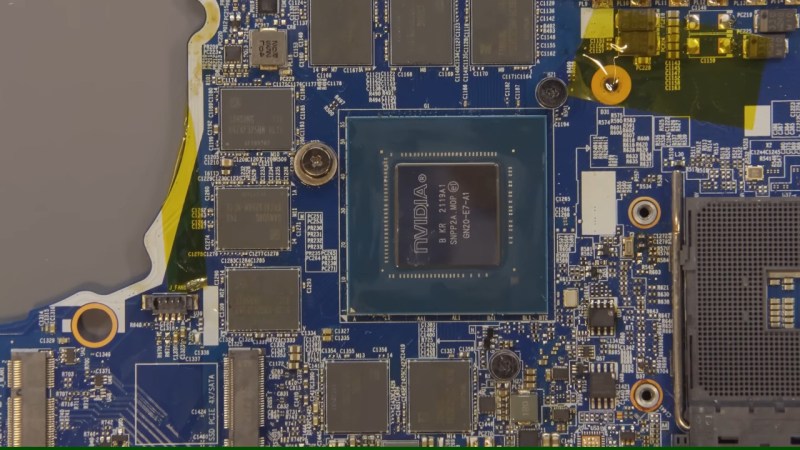
Modern gaming laptops are in an uncomfortable spot – often too underpowered for newest titles, but too bulky to be genuinely portable. It doesn’t help they’re not often upgradeable, so you’re stuck with what you’ve bought – unless, say, you’re a hacker equipped some tools for PCB reflow? If that’s the case, welcome to [TechModLab]’s video showing you the process of upgrading a laptop’s soldered-on NVIDIA GPU, replacing the 3070 chip with a 3080.

You don’t need much – the most exotic tool is a BGA rework station, holding the mainboard steady&stiff and heating a specific large chip on the board with an infrared lamp from above. This one is definitely a specialty tool, but we’ve seen hackers build their own. From there, some general soldering tools like flux and solder wick, a stencil for your chip, BGA balls, and a $20 USB-C hotplate are instrumental for reballing chips – tools you ought to have.

Reballing was perhaps the hardest step of the journey – instrumental for preparing the GPU before the transplant. Afterwards, only a few steps were needed – poking a BGA ball that didn’t connect, changing board straps to adjust for the new VRAM our enterprising hacker added alongside the upgrade, and playing with the driver process install a little. Use this method to upgrade from a lower-end binned GPU you’re stuck with, or perhaps to repair your laptop if artifacts start appearing – it’s a worthwhile reminder about methods that laptop repair shops use on the daily.

Itching to learn more about BGAs? You absolutely should read this article series by our own [Robin Kearey]. We’ve mostly seen reballing used for upgrading RAM on laptop and Raspberry Pi boards, but seeing it being used for an entire laptop is nice – it’s the same technique, just scaled up, and you always can start by practicing at a smaller scale. Now, it might feel like we’ve left the era of upgradable GPUs on laptops, and today’s project might not necessarily help your worries – but the Framework 16 definitely bucks the trend.

Continue reading “Laptop GPU Upgrade With Just A Little Reballing” →

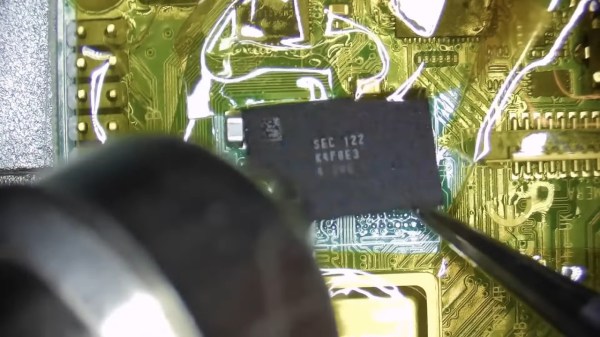
Showing a RAM chip being removed from a Pi 4 board, hot air gun in the shot. Area around the chip is covered with kapton tape.

Upgrade RAM On Your Pi 4, The Fun Way

The Raspberry Pi shortage has been a meme in hacker circles for what feels like an eternity now, and the Pi 4 seems to be most affected – though, maybe it’s just its popularity. Nevertheless, if you’re looking for a Pi 4, you would need to look far and wide – and things are way worse if you need the 8 GB version specifically. Or so we thought – [MadEDoctor] shows us that refreshing online store pages isn’t the only way, having successfully upgraded the RAM chip on the Pi 4 from 1 GB to 8 GB with help of a hot air gun.

These chips are BGA, and those might feel intimidating if you’re just starting out with hot air – however, we recommend you watch this video, as [MadEDoctor]’s approach is of the kind that brings BGA replacement to hobbyist level. First off, you get a compatible RAM chip somewhere like Aliexpress – lucky for us, those come equipped with a set of balls from the factory. The default balls are made of lead-free solder, and [MadEDoctor] reballed the RAM chip with leaded solder balls to lower the melting point, but it’s by no means a requirement that you do the same.

In fact, you only need a hot air gun, flux, a soldering iron and some solder wick to perform the replacement – no reballing equipment. Put some kapton or metal tape on the board for heat shielding, get the old chip off with hot air, use an iron with wick to clean the pads, add some flux, align the chip, then use hot air to solder a new chip onto the board. Replacing this chip can get your Pi 4 to the highly-sought-after 8 GB target – as an aside, we’re surprised that there was no configuration needed, as the Pi 4 booted right up and successfully recognized the extra RAM added.

We’d personally recommend preheating for such an upgrade – that said, this sure went without a hitch, and such a RAM swap method doesn’t require any stencils, solder paste or solder ball applications. Drop by the video description for compatible RAM chip part numbers, make sure you have your tacky flux and solder wick in order, and let [MadEDoctor] walk you through upgrading your Pi 4 the hacker way. Is this hack to your liking? Take it up a notch with this laptop soldered-in RAM upgrade journey, or that one RAM upgrade for an old GPU to comply to Apple’s whims.

Maxing Out Your MacIntosh With A 4 MB Memory Stick Kit

One fun aspect of retrocomputing is that you get to max out all aspects of these systems without having to take out a bank loan, as tended to be the case when these systems were new. Less fun is that decades after systems like the Apple MacIntosh SE/30 were last sold, the 30-pin SIMMs that form the expandable RAM for these systems has become rather scarce. This has led many to make their own SIMM PCBs, including [Kay Koba] with a PCB for 4 MB SIMMs along with information on which memory and parity ICs are suitable for these SIMMs.

For systems like the MacIntosh SE/30 with 8 30-pin memory slots, the maximum capacity is 128 MB, but this comes with many gotchas due to its ROM being ’32-bit dirty’. While this can be circumvented by swapping in a ROM from a later MacIntosh variant, the less invasive way is to enable the MODE32 system extension and install eight 4 MB SIMMs for a total of 32 MB RAM. RAM chips for such 30-pin SIMMs can be scavenged from the far more common 72-pin SIMMs, along with any old new stock one may come across.

These 4 MB SIMM PCBs are offered for sale by [Kay] with optionally the SMD components (capacitors, resistors and LED) included in the package. The original PCB card edge design is credited to work by [Zane Kaminski] whose GitHub profile also leads to e.g. this 30-pin SIMM project.

Have you modded your MacIntosh or other retro system yet to the maximum RAM and storage limits?

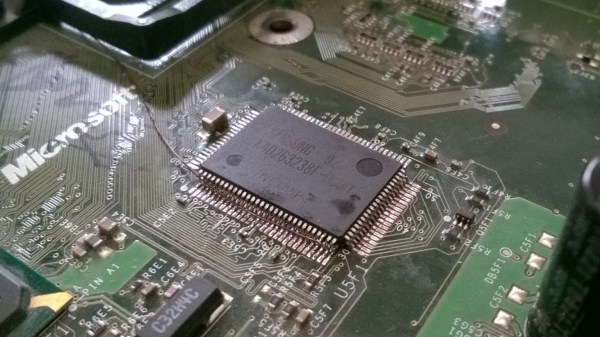
Picture of the modification as it's being performed, with an extra chip stacked on top of the original, extra magnet wire connection going to the chip select line pin

Original XBox V1.6 RAM Upgrade Stacks TQFP Chips

RAM upgrades for the original XBox have been a popular mod — you could relatively easily bump your RAM from 64MB to 128MB. While it wouldn’t give you any benefit in most games written to expect 64MB, it does help with emulators, game development, and running alternative OSes like Linux. The XBox PCB always had footprints for extra RAM chips, so RAM upgrades were simple – just get some new RAM ICs and solder them onto the board. However, in the hardware revision 1.6, these footprints were removed, and RAM upgrades on v1.6 were always considered impossible.

[Prehistoricman] brings a mod that makes RAM upgrades on v1.6 possible using an old trick from the early days of home computers. He’s stacking new RAM chips on top of the old ones and soldering them on in parallel. The overwhelming majority of the RAM lines are shared between chips, which is what makes this mod possible – all you need to connect to the extra chips is magnet wire for extra RAM chip select lines, which are, thankfully, still available on the board. He shares a tutorial with plenty of illustrations, so it should be easier for you to perform this mod, in case you’re stuck with a newer console that doesn’t have the RAM chip footprints left onboard.

We just covered an original XBox softmodding tutorial, so this is as timely as ever! If you’re looking to read about the 128MB mod, this is a good place to start.

We thank [DjBiohazard] for sharing this with us!

Video Ram Transplant Doubles RTX 3070 Memory To 16 GB

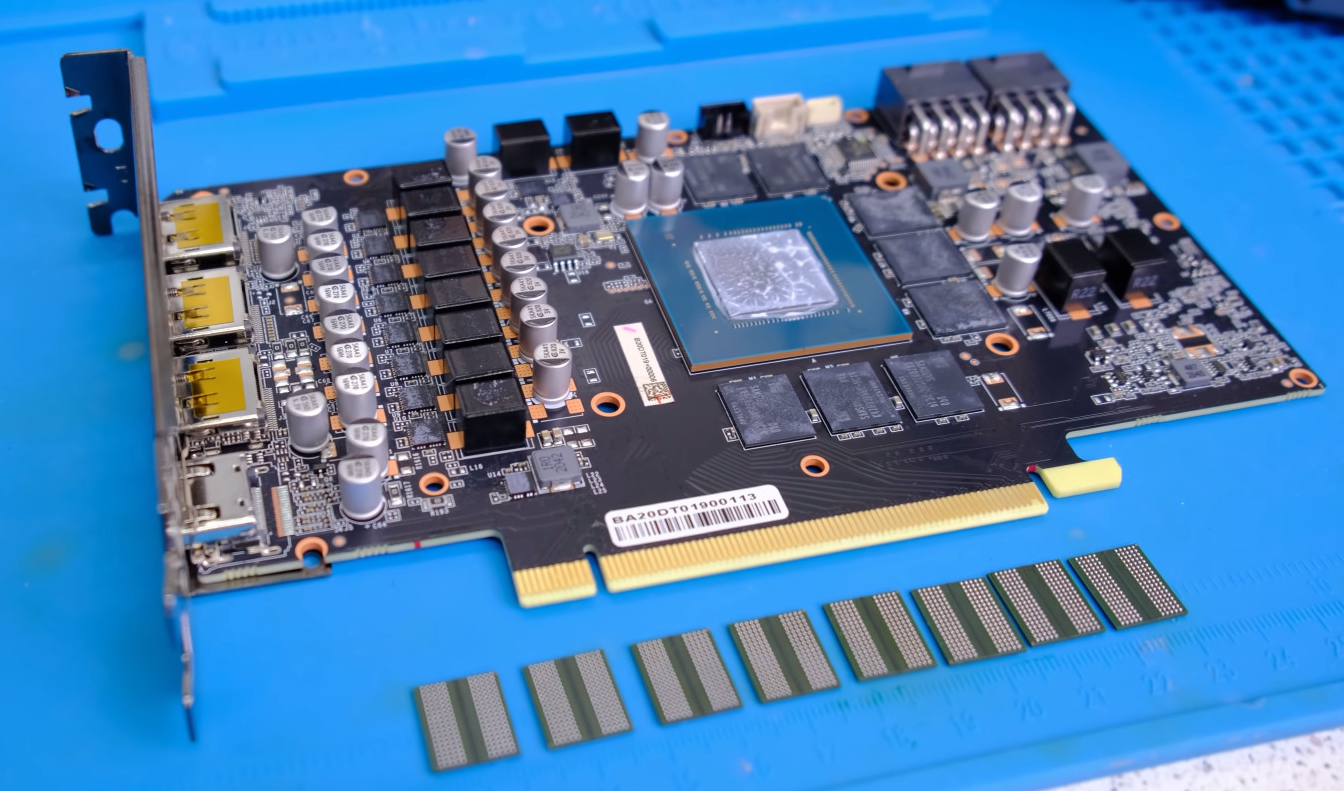
Making unobtainium graphics cards even more unobtainable, [VIK-on] has swapped out the RAM chips on an Nvidia RTX 3070. This makes it the only 3070 the world to work with 16 GB.

If this sounds familiar, it’s because he tried the same trick with the RTX 2070 back in January but couldn’t get it working. When he first published the video showing the process of desoldering the 3070’s eight Hynix 1 GB memory chips and replacing them with eight Samsung 2 GB chips he hit the same wall — the card would boot and detect the increased RAM, but was unstable and would eventually crash. Helpful hints from his viewers led him to use an EVGA configuration GUI to lock the operating frequency which fixed the problem. Further troubleshooting (YouTube comment in Russian and machine translation of it) showed that the “max performance mode” setting in the Nvidia tool is also a solution to stabilize performance.

The new memory chips don’t self-report their specs to the configuration tool. Instead, a set of three resistors are used to electronically identify which hardware is present. The problem was that [VIK-on] had no idea which resistors and what the different configurations accomplished. It sounds like you can just start changing zero Ohm resistors around to see the effect in the GUI, as they configure both the brand of memory and the size available. The fact that this board is not currently sold with a 16 GB option, yet the configuration tool has settings for it when the resistors are correctly configured is kismet.

So did it make a huge difference? That’s difficult to say. He’s running some benchmarks in the video, both Unigine 2 SuperPosition and 3DMark Time Spy results are shown. However, we didn’t see any tests run prior to the chip swap. This would have been the key to characterizing the true impact of the hack. That said, reworking these with a handheld hot air station, and working your way through the resistor configuration is darn impressive no matter what the performance bump ends up being.

Continue reading “Video Ram Transplant Doubles RTX 3070 Memory To 16 GB” →