Sometimes it starts with a 555 timer and an op-amp. Other times with a small microcontroller. But the timing’s not so great and needs a dedicated timing crystal circuit. And maybe some more memory, and maybe the ATtiny should be swapped out for some 74LS-series chips. And now of course it needs video output too. Before you know it, you’re staring at a 40-chip computer that hearkens back to a simpler, yet somehow more complex, time of computing. At least that’s where [Marcel] is with his breadboard computer based on 1970s-era chips.
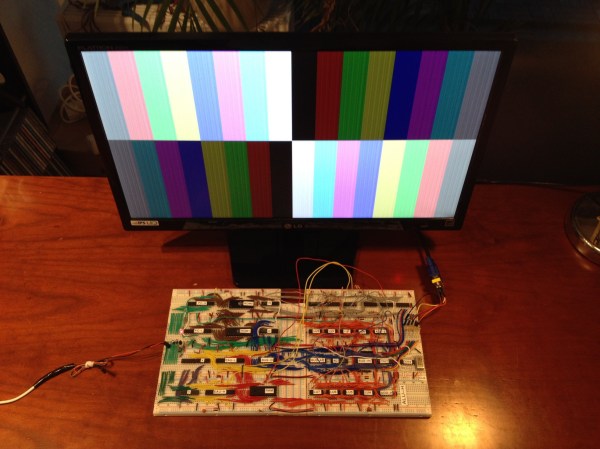
For what it does, this homebrew computer is relatively simple and straightforward. It gets 8 bits of processing power from 34 TTL chips. Another 6 round out the other features needed for the computer to operate. It is capable of rendering 64 colors in software and has more than enough memory for a computer of this sort. So far the only recurring problem [Marcel] has had has been with breadboard fatigue, as some of the chips keep popping out of the sockets.
This is a great project for anyone interested in homebrew or 8-bit computing, partially because of some of the self-imposed limitations that [Marcel] imposed on himself, like “only chips from the 70s”. It’s an impressive build on its own and looks to get much better since future plans call for a dedicated PCB to solve the issue with the worn-out breadboards. If you’re already invested in a project like this, don’t forget that the rabbit hole can go a little deeper: you can build a computer out of discrete transistors as well.


