It’s no secret that fossil fuels are quickly becoming extinct. As technology charges ever forward, they are disappearing faster and faster. Many of our current dependencies on fossil fuels are associated with high-energy applications like transportation. Since it’s unlikely that global transportation will ever be in decline for any reason other than fuel shortage itself, it’s imperative that we find something that can replicate the high energy density of fossil fuels. Either that, or go back to the drawing board and change the entire scope of global transportation.
Energy, especially solar and wind, cannot be created all over the world. Traditionally, energy is created in situ and shipped to other places that need it. The proposed solutions for zero-carbon energy carriers—batteries and hydrogen—all have their weaknesses. Batteries are a fairly safe option, but their energy density is pretty poor. Hydrogen’s energy density is higher, but its flammability makes it dangerously volatile to store and transport.
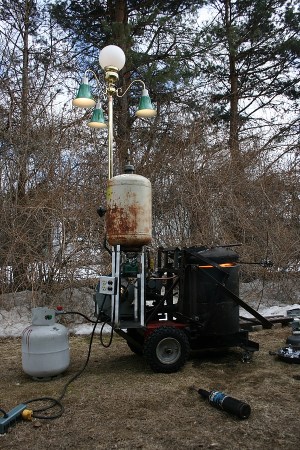
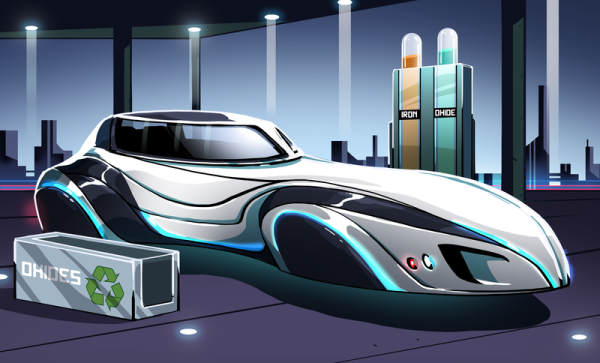
Recently, a group of researchers at McGill University in Canada released a paper exploring the use of metal powders as our zero-carbon fuel of the future. Although metal powders could potentially be used as primary energy sources, the transitory solution they propose is to use them as secondary sources powered by wind and solar primaries.
Continue reading “Are Powdered Metal Fuels Just A Flash In The Pan?”