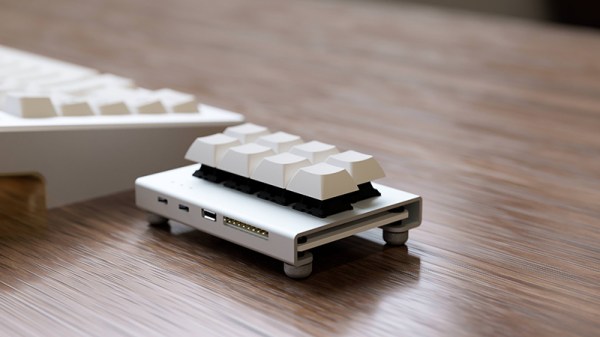
The new hotness for DIY electronics is mechanical keyboards, and over the past few years we’ve seen some amazing innovations. This one is something different. It adds an analog sensor to nearly any mechanical key switch, does it with a minimal number of parts, and doesn’t require any modification of the switch itself. It’s a reddit thread and imgur post, but the idea is just so good we can overlook the documentation on this one.
The key development behind this type of sensor is realizing that nearly every mechanical keyswitch (Cherry MX, Kalth, Gateron) has a spring in the bottom. A spring is just a coil of wire, and an inductor is just a coil of wire, too. By putting a spiral trace on the PCB of a mechanical keyboard underneath the keyswitch, you can sense the inductance of this spring. This does require a little bit of additional hardware, in this case an LDC1614 inductance to digital converter, but this is an I2C-readable part that can, theoretically, be integrated rather easily with any mechanical keyboard PCB and firmware.
The downside to using the LDC1614 is that sampling is somewhat time-limited, with four channels or individual keys being polled at 500 Hz. This isn’t a problem if the use-case is adding analog to your WASD keys, but it may become a problem for an entire keyboard. Additionally, the LDC1614 is a slightly expensive part, at about $2 USD in quantity 1000. A fully analog keyboard using this technique is going to be pricey.
Right now, the proof-of-concept for this analog mechanical keyswitch is just a 0.1 mm flexible PCB that is shoehorned inbetween a Cherry MX red and a (normal) mechanical keyboard PCB. The next step in the development will be a 2×4 keypad with analog sensors, and opening up the hardware and firmware examples up under a GPL license.


