Some SPI Flash Chip Nuances Worth Learning

Some hackers have the skills to help us find noteworthy lessons in even the most basic of repairs. For instance, is your computer failing to boot? Guess what, it could just be a flash chip that’s to blame — and, there’s more you should know about such a failure mode. [Manawyrm] and [tSYS] over at the Kittenlabs blog show us a server motherboard fix involving a SPI flash chip replacement, and tell us every single detail we should know if we ever encounter such a case.

They got some Gigabyte MJ11-EC1 boards for cheap, and indeed, one of the BIOS chips simply failed — they show you how to figure that one out. Lesson one: after flashing a SPI chip, remember to read back the image and compare it to the one you just flashed into it! Now, you might be tempted to take any flash chip as a replacement, after all, many are command-compatible. Indeed, the duo crew harvested a SPI chip from an ESP32 board, the size matched, and surely, that’d suffice.

That’s another factor you should watch out for. Lesson two is to compare the SPI flash commands being used on the two chips you’re working with. In this case, the motherboard would read the BIOS alright and boot just fine, but wasn’t able to save the BIOS settings. Nothing you couldn’t fix by buying the exact chip needed and waiting for it to arrive, of course! SPI flash command sets are fun and worth learning about — after all, they could be the key to hacking your “smart” kettle. Need a 1.8 V level shifter while flashing? Remember, some resistors and a NPN transistor is more than enough.

Antique Army Surplus Receiver Restored

If you’ve ever been to a hamfest in the United States, you probably have at least seen an ARC 5 Command set. These were very rugged receivers and there were a ton of them made. Hams have been reworking them for years. In a recent video [Tom N3LLL] shared some of his tips for restoring them.

You might think these are just like a regular old radio, but there are some unique challenges, including capacitors filled with beeswax and strange threaded screws. [Tom] made several custom boards to replace the dynamotor with a solid-state inverter, replace odd capacitors, and provided a faceplate. He also 3D printed some replacement studs to replace the often decayed anti-vibration studs for the dynamotor.

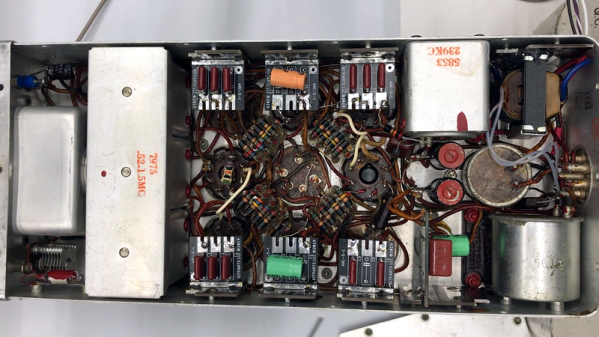
The teardown at the end shows how rugged these things are. Tom’s restoration philosophy is to modernize the set while keeping the outward aesthetics. The receivers perform well, and as you might expect are built like tanks.

If you want to try your hand at restoration, these are not very expensive because there were so many of them made. Often the shipping is about the same price as the radio, but one in good shape can cost a bit more. We think the real fun is getting one that is not in such good shape and making it better.

Everyone has their own style and we know some restorers are more purists, but as a practical matter, [Tom’s] restorations look great, sound great, and preserve these great old radios so that someone might still be using them in another 75 years.

We’ve covered the ARC 5 before, unsurprisingly, and that restoration was a bit more traditional if you prefer it that way. If you need something to listen to on the AM band, try a matching transmitter.

Continue reading “Antique Army Surplus Receiver Restored”