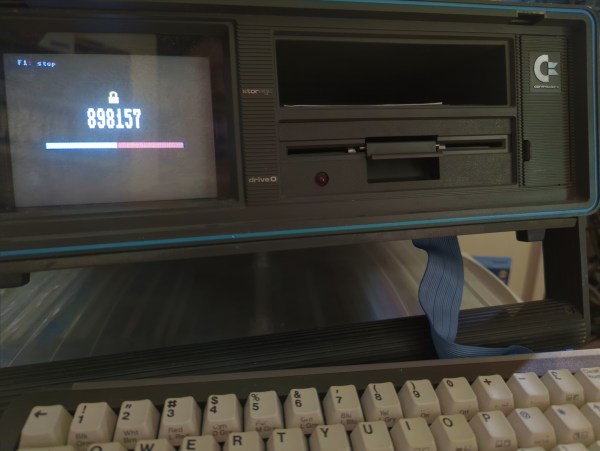
Released in 1984, the Commodore SX-64 Executive Computer was one of the first portable luggable color computers. It cost twice as much as a Commodore 64, had a tiny 5″ diagonal screen, and couldn’t actually support both 5¼” drives as advertised. On the upside, people say it had a slightly better keyboard than its classic cousin.
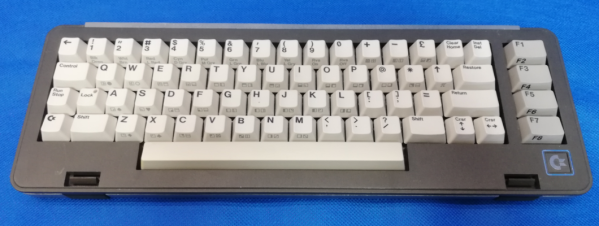
[Drygol] agreed to restore the keyboard from a friend’s Commodore SX-64 sight-unseen, and boy was this thing in bad shape. Most people would probably consider the condition a shame and write it off as a lost cause, since two of the corners were missing most of their plastic. But [Drygol] isn’t most people. [Drygol] had mad restoration skills to begin with, and this project honed them to a razor’s edge.
 Plenty of the other vintage computer restorations [Drygol] has done required plastic welding, which uses heat or a lot of friction to smooth over cracks. Some of those have not stood the test of time, so he’s now in the habit of stabilizing cracks with brass mesh before filling them with fiberglass putty.
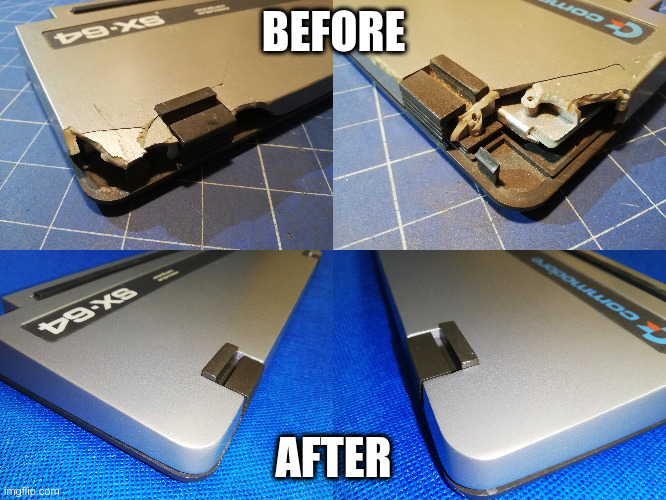
The best part is how [Drygol] managed to rebuild the corners using the same methods, soldering the brass mesh at the 90° joins, and reinforcing them with thick copper wire before beginning the painstaking putty/sand/putty process. The use of blank copper clad boards as straight edges and thickness gauges is genius.
There’s a whole lot to learn here, and the adventure beings with something that probably keeps a lot of people from trying stuff like this in the first place: how do you safely remove the badges?
You’re right, plastic welding is awesome. There even used to be a toy plastic welder. But there’s no need to troll the electronic auction bay to give it a try — just use a cheap soldering iron.