[Scott] doesn’t have any kids, but he’s the sort of type that likes to get ahead of the game. Of course this means spending time in his garage to build a rocking cradle. Usually, these are acquired from a baby shower and are powered by batteries. Terribly uncool, considering a mechanism to keep a pendulum swinging has existed for hundreds of years now. His latest project is the escapement cradle – a cradle (or hammock) that keeps rocking with the help of falling weights.
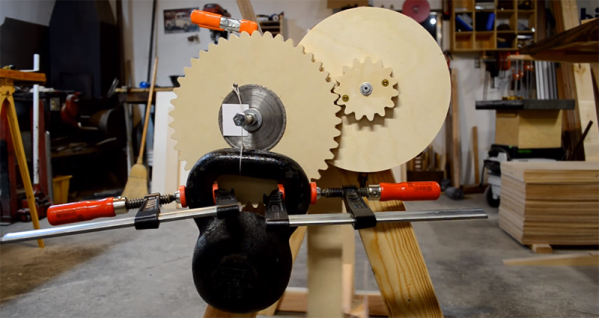
 The first video in this series goes over the inspiration and the math behind determining how much energy it will take to maintain a swinging pendulum. The second video goes over a very rough prototype for the escapement mechanism with some woodworking that looks dangerous but is kept well under control. The third video puts everything together, rocking a cradle for about 10 minutes for every time the weight is lifted to the top.
[Scott] has had a few of his projects featured on Hackaday, and he’s slowly becoming the number two mechanized woodworker, right behind [Matthais]. He recently put the finishing touches on the expanding wooden table we saw a year ago, and there are surely even cooler builds in the queue for his YouTube channel.
Continue reading “A Clockwork Cradle Is Baby’s First Escapement”