Ask Hackaday: What Puts This Photo In The Pink?

It’s an exciting time to be a camera hacker, because we are at a moment when even cheap camera hardware is starting to have high resolution sensors, and the awesome camera phones of a few years ago are now in people’s junkboxes. Lens swapping has been a feature of the art for a while now, usually taking the form of a C-mount add-on. So with a bit of 3D printing and glue, you can now make something more interesting from an AliExpress purchase or that old phone. These cameras have all the resolution and sharpness that the sensor can deliver assuming that their software isn’t too awful, but there’s a persistent problem . The photographs invariably have a pinkish tint, as reported in a recent Hackaday-featured project, just to name one. The original lens doesn’t have this problem, so what’s up?
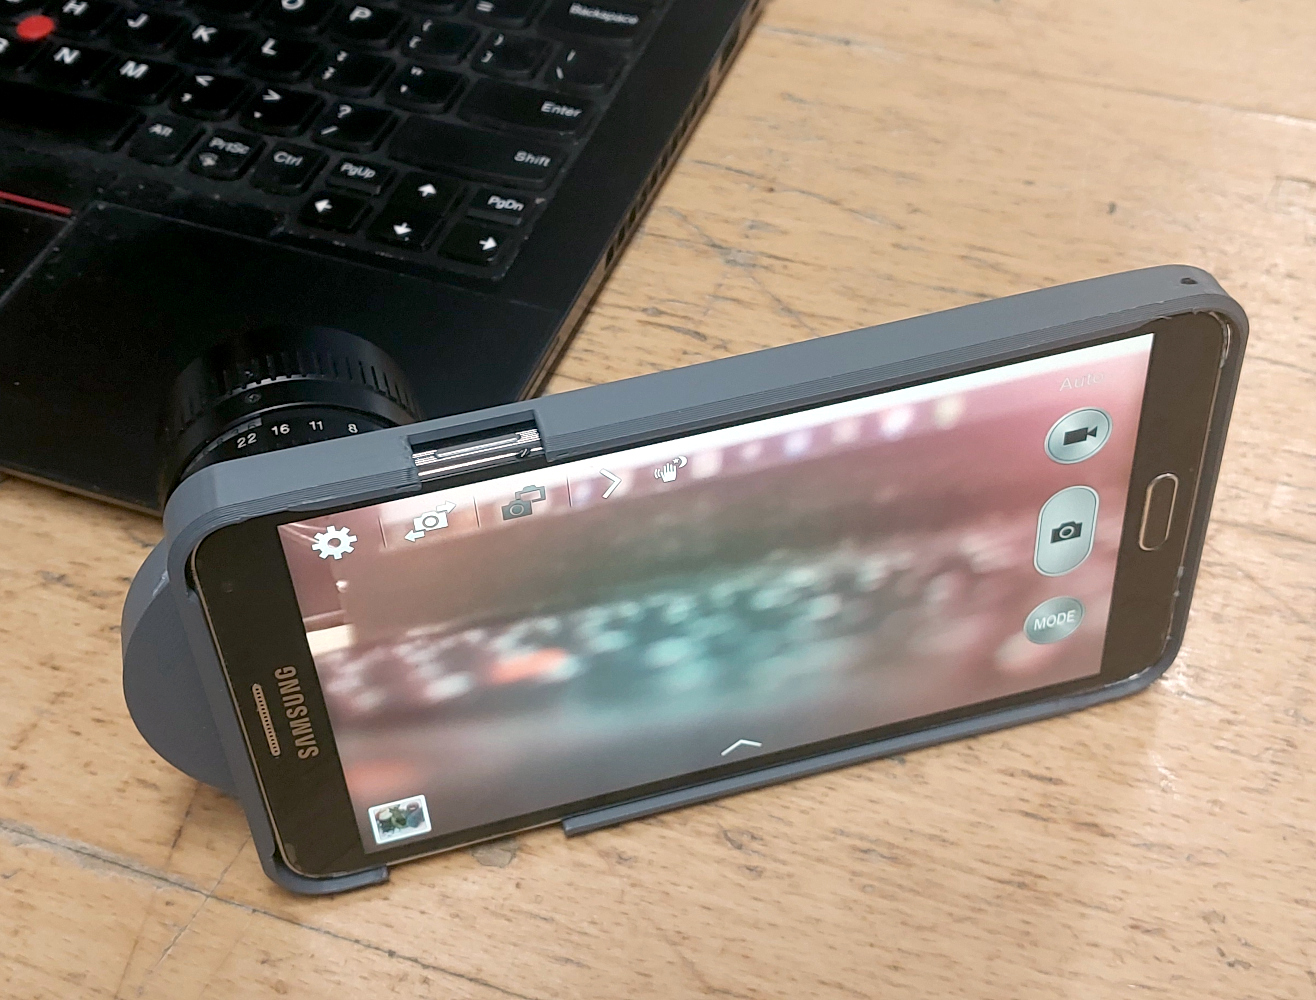
A mobile phone with a C-mount lens attached to its back, propped up on a laptop keyboard with the screen towards us. The screen shows a blurry view of the laptop.
Without the pink stuff, it’s not a bad camera, really.

Of course, the more astute readers are immediately thinking about IR filters. I did too, when one of my on-and-off projects had the pink tint. It’s a Samsung Galaxy Tab 3, an ancient Android 5 phone with a rather useless and gimmicky stylus, and a rather nice camera sensor. I bought a replacement camera module for it on AliExpress so I’d have something to experiment with, removed its lens assembly, and had a phone with a bare sensor peeking from the back of it. A 3D printed adjustable lens mount assembly that I’ll eventually clean up and release so any phone can have the same modification followed.

Faced with the dreaded pink when I started taking pictures, I ineptly glued an IR filter to the back of it, and awaited my perfect shots. Sadly they never came, so rather than admit defeat, I’m hoping one of you lot can help. Are any Hackaday readers in the optics business and can tell me what’s up? Continue reading “Ask Hackaday: What Puts This Photo In The Pink?” →
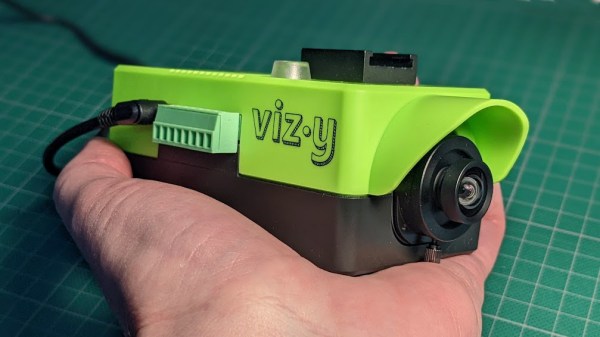
Camera held in hand

Review: Vizy Linux-Powered AI Camera

Vizy is a Linux-based “AI camera” based on the Raspberry Pi 4 that uses machine learning and machine vision to pull off some neat tricks, and has a design centered around hackability. I found it ridiculously simple to get up and running, and it was just as easy to make changes of my own, and start getting ideas.

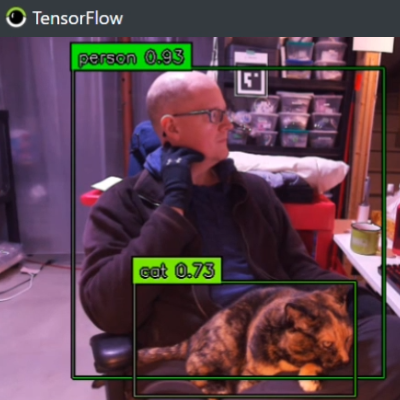
Person and cat with machine-generated tags identifying them
Out of the box, Vizy is only a couple lines of Python away from being a functional Cat Detector project.

I was running pre-installed examples written in Python within minutes, and editing that very same code in about 30 seconds more. Even better, I did it all without installing a development environment, or even leaving my web browser, for that matter. I have to say, it made for a very hacker-friendly experience.

Vizy comes from the folks at Charmed Labs; this isn’t their first stab at smart cameras, and it shows. They also created the Pixy and Pixy 2 cameras, of which I happen to own several. I have always devoured anything that makes machine vision more accessible and easier to integrate into projects, so when Charmed Labs kindly offered to send me one of their newest devices, I was eager to see what was new.

I found Vizy to be a highly-polished platform with a number of truly useful hardware and software features, and a focus on accessibility and ease of use that I really hope to see more of in future embedded products. Let’s take a closer look.

Continue reading “Review: Vizy Linux-Powered AI Camera” →

Adding Night Vision To The Raspberry Pi Camera

After months of promises, the Raspberry Pi camera is finally heading out to hackers and makers across the world. Of course the first build with the Pi cam to grace the pages of Hackaday would be removing the IR filter, and it just so happens [Gary] and his crew at the Reading hackerspace are the first to do just that.

As [Gary] shows in his video, the process of removing the Pi cam’s IR filter is extremely fiddly.  Getting the filter out of the camera involves removing the sensor, gently cutting it open with a scalpel, and finally gluing the whole thing back together with a tiny bit of superglue. Not for the faint of heart, and certainly not for anyone without a halfway decent bench microscope.

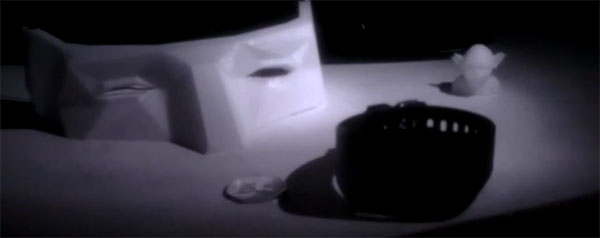
If you’re looking for a Raspberry Pi-powered security camera, game camera, or something for an astronomy application, this is the way to make it happen. You might want to be careful when removing the IR filter; [Gary] broke one camera on their first attempt. They got it to work, though, and the picture quality looks pretty good, as seen in the videos below.

Continue reading “Adding Night Vision To The Raspberry Pi Camera” →