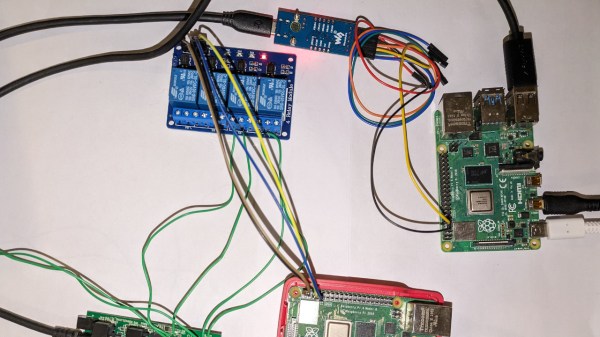
YouTube streaming typically involves a camera with an HDMI output, a USB3 HDMI digitiser, and a suitably beefy PC to run it all. It’s quite a process, and for [Coreymillia], more complex than it needs to be. He’s come up with something simpler, a dedicated self-contained streaming rig using a Raspberry Pi 4.
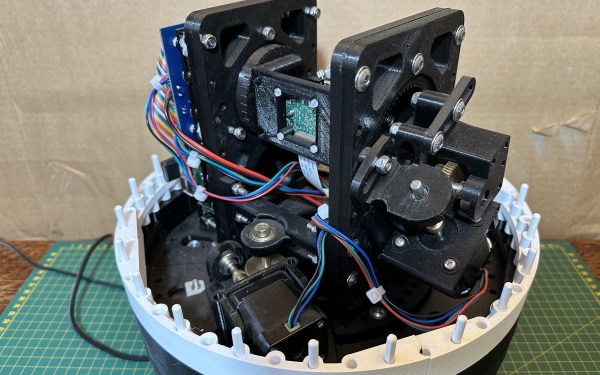
As you might expect it uses the Raspberry Pi HQ camera at the optical end, but it’s the software surrounding it that transforms it from a mere camera into a streaming rig. There’s a web based user interface, but perhaps more interesting are the companion dashboard peripherals. A Raspberry Pi or an ESP32 Cheap Yellow Display can both serve as a small in-view dashboard and controller.
We know from experience that a stream can be a difficult thing to get right even with high-end hardware, and we’re interested to see this standalone device allowing , we hope, an easier way to do it. If you’re a streamer we’re guessing you’ll be taking a closer look. Even so, this is surprisingly, not the simplest Raspberry Pi based streaming device we’ve seen.