But sir, it is wafer-thin. That’s how they get you! Just when you couldn’t possibly justify building another keyboard, let alone owning one, along comes the Kambala by [aroum2].
Image by [aroum2] via redditNow, ‘Kambala’ means a few things, but here it refers to fish, as evidenced by logo and matching themed PCB key chain shown in the gallery.
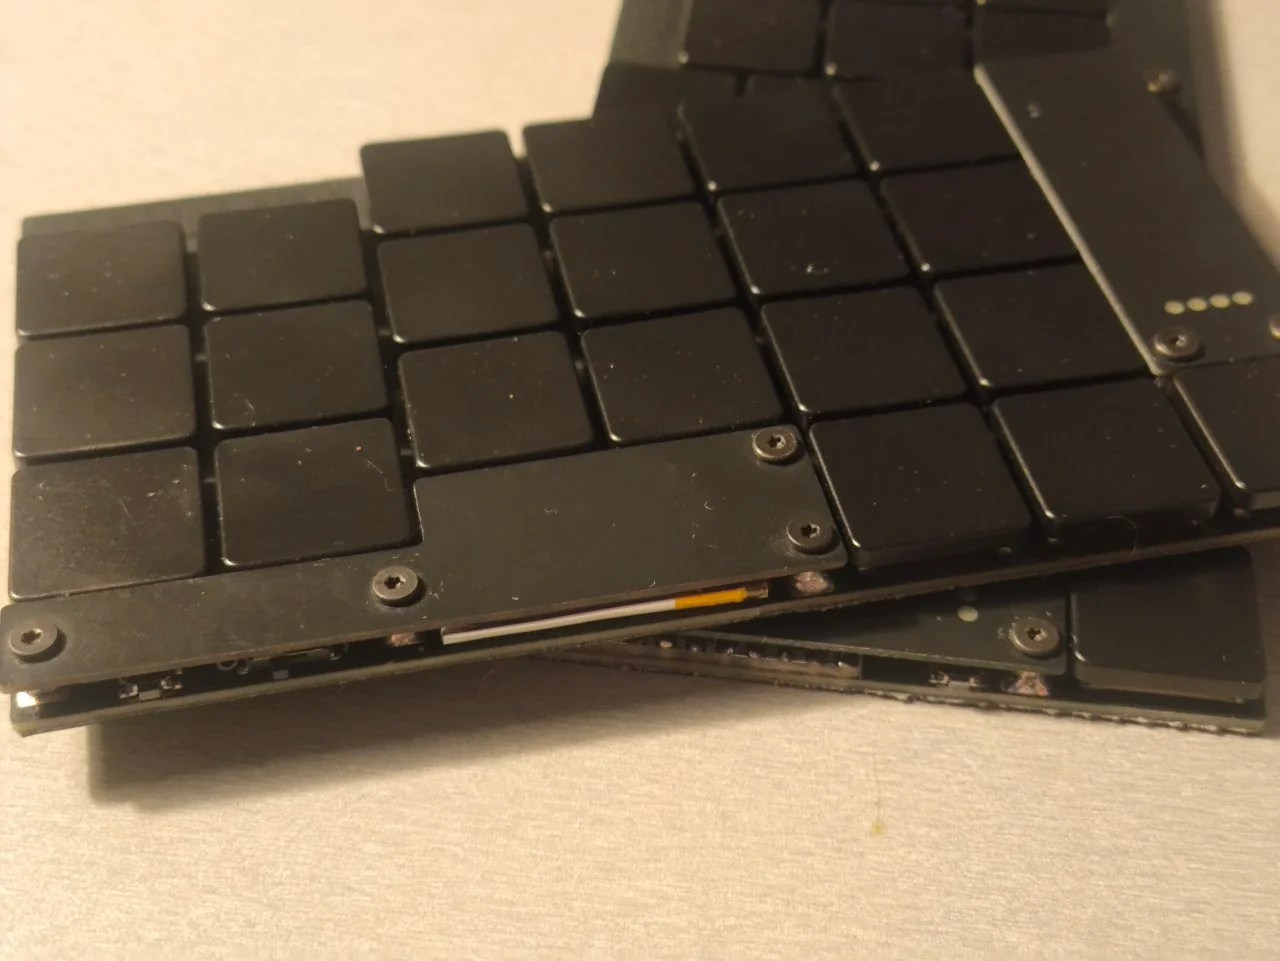
This catch is so flat because of the switches: PG1316S, and 42 of them. These are better known to some as Kailh butterfly switches, and are meant for laptops. But, this is Hackaday.
No matter what you call them, those switches are controlled by a nice!nano V2-compatible controller, which allows for ZMK firmware support. There’s a 110 mAh battery and four status LEDs, and best of all, the charging indicator is in the fish’s eyes.
[aroum2] might share the files later. Here’s hoping!
Some people are not merely satisfied with functionality, or even just good looks. These persnickety snoots (I am one of them) seek something elegant, a true marriage of form and function.
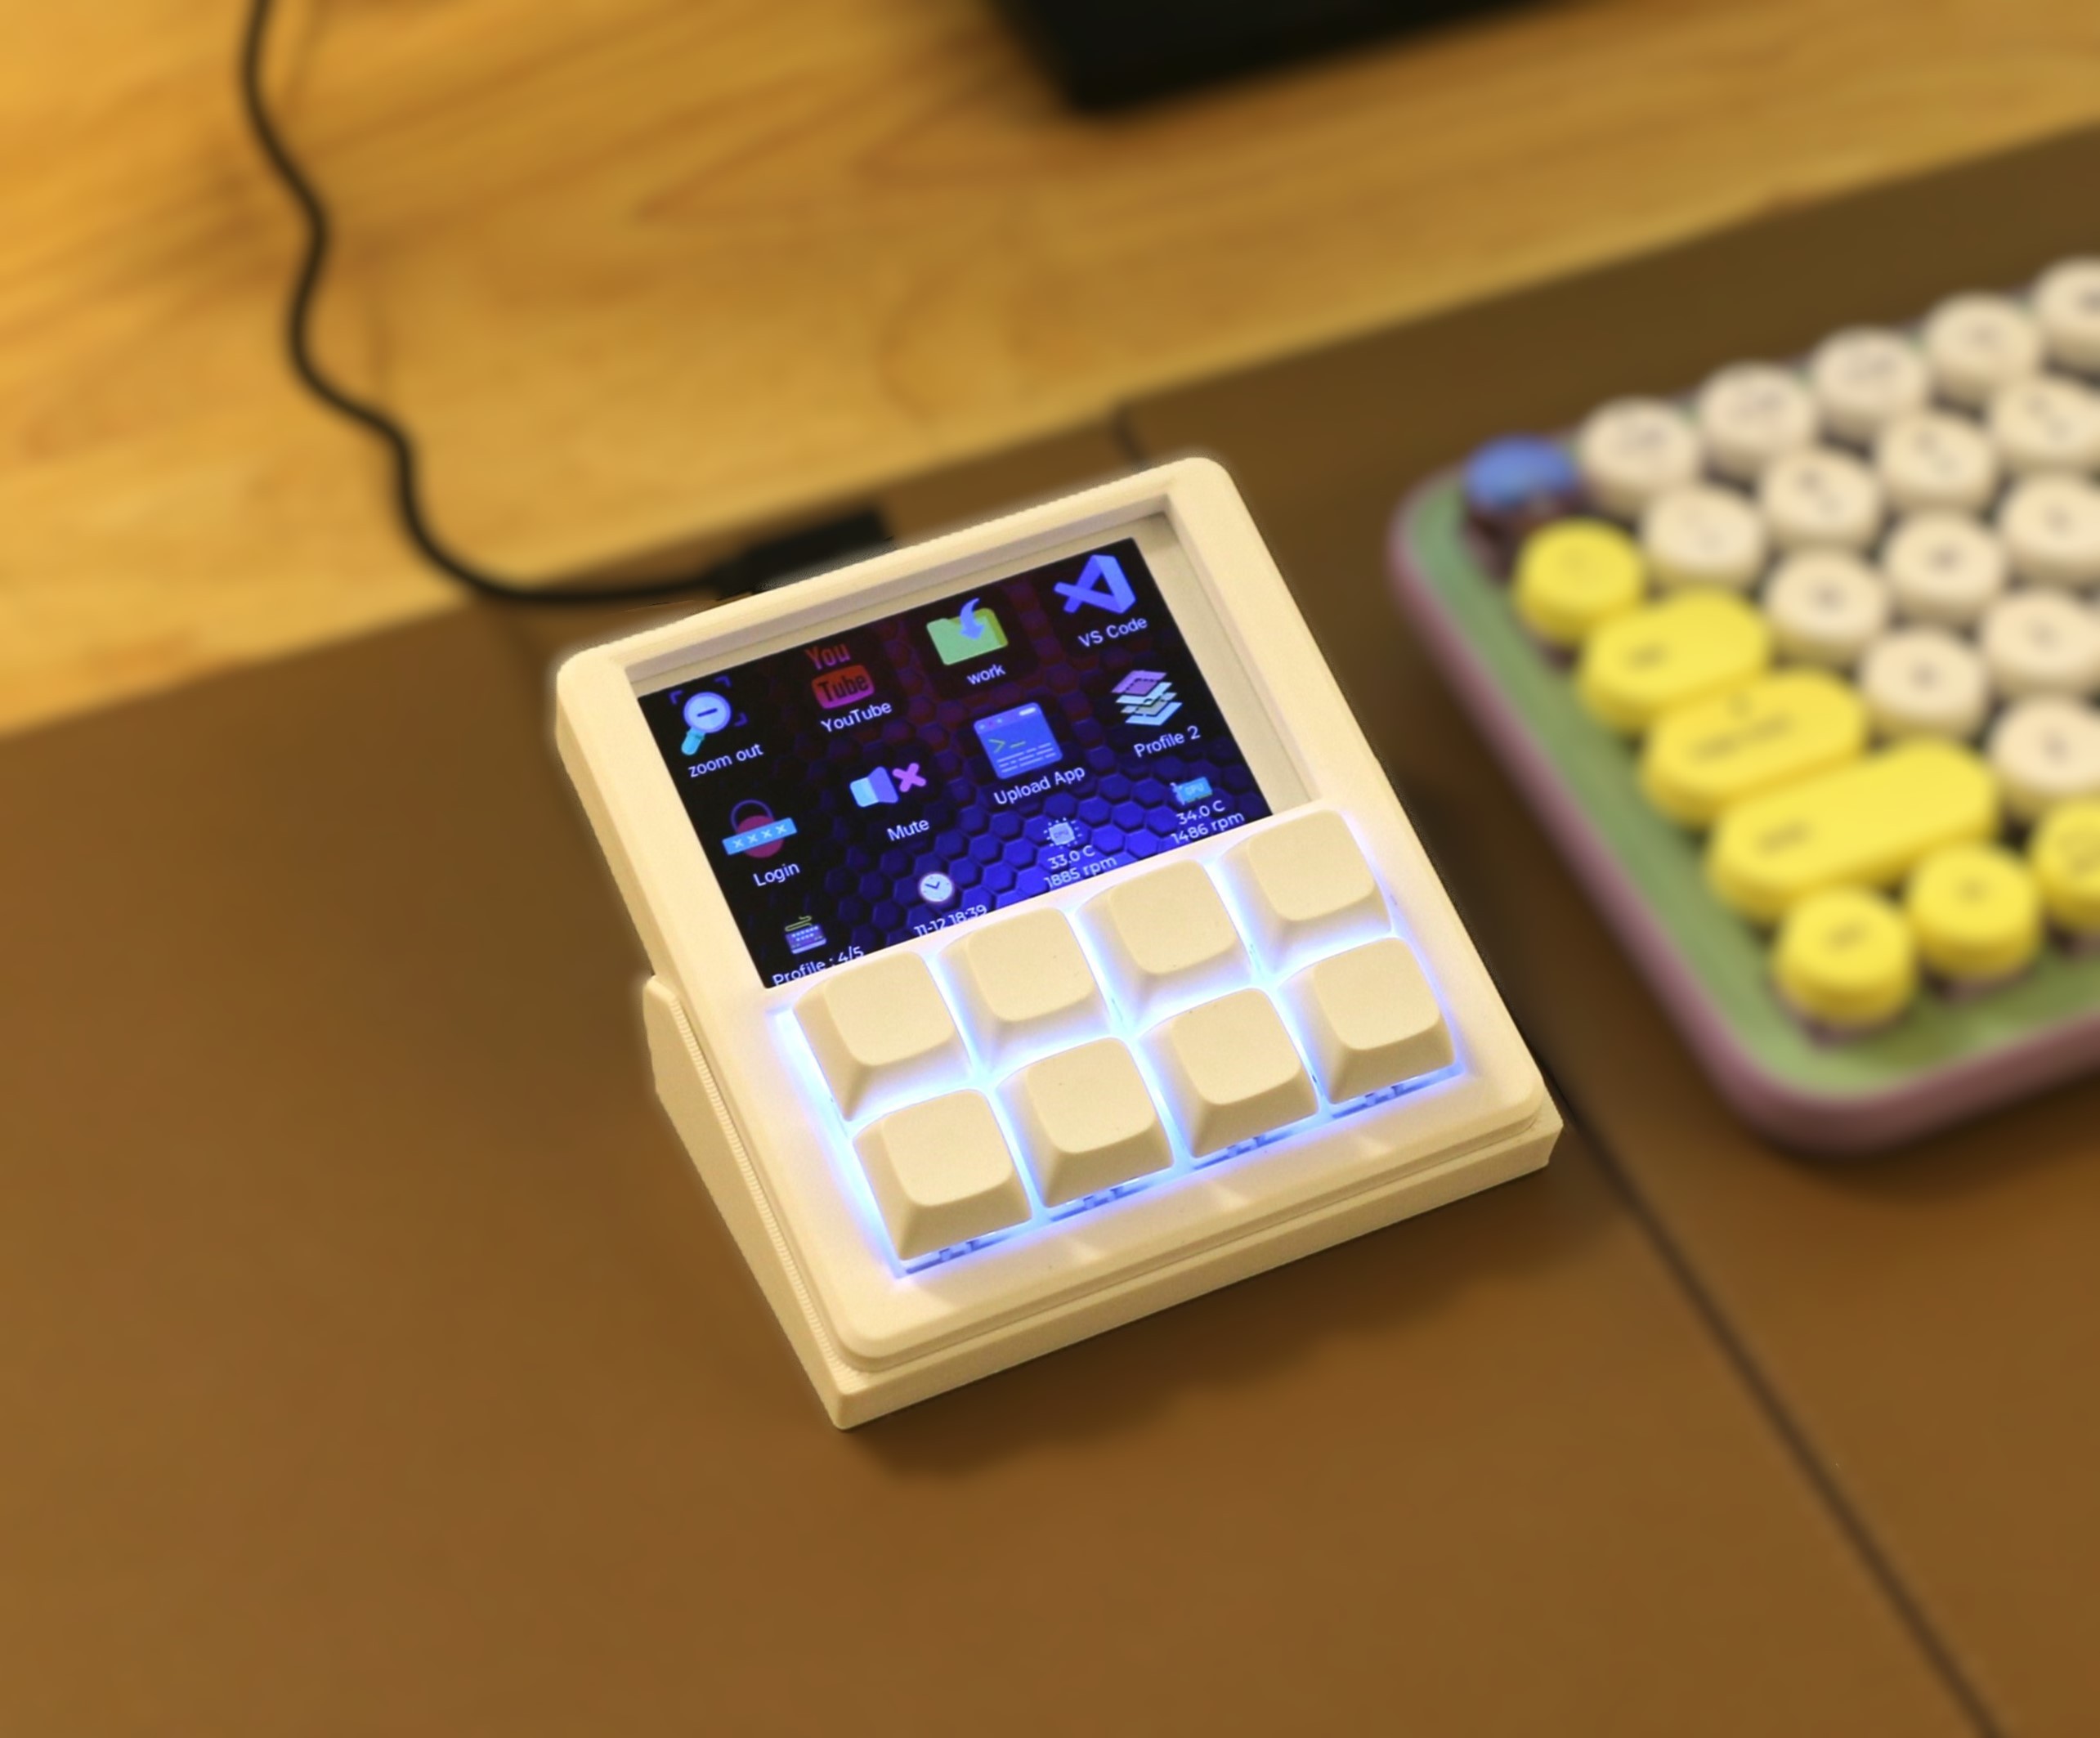
Image by [YANG SHU] via Hackaday.IOShould such a person be in the market for a macro pad (or ‘macropad’ if you prefer), that snoot should look no further than [YANG SHU]’s 8-key programmable stream deck-like device.
The main goal here was the perfect fusion of display and feel. I’m not sure that an FDM-printed, DIY macro pad can look any better than this one does. But looks are only half the story, of course. There’s also feel, and of course, functionality.
Yes those are (hot-swappable) mechanical key switches, and they are powered by an ESP32-S2. Drawn on the 3.5″ LCD are icons and text for each switch, which of course can be easily changed in the config app.
There’s a three-direction tact switch that’s used to switch between layout profiles, and I’m sure that even this is satisfying on the feel front. Does it get better than this? Besides maybe printing it in black. I ask Hackaday.
A business card is a convenient way to share your contact information, but it’s unfortunately prone to being thrown away or forgotten. PCB business cards try to get around this problem, but while impressive, most won’t keep the recipient engaged for a very long time. [Cole Olsen]’s macro pad business card, on the other hand, might actually get regular use.
The card has three buttons and a rotary encoder as controls, with an RGB LED to indicate the card’s current mode. It can perform three sets of functions: general productivity, serving as a presentation remote, and controlling music. The scroll wheel is the main control, and can switch through windows, desktops, and tabs, page through slides, and control music volume.
The card itself is made out of a PCB, the exposed side of which contains [Cole]’s contact information, and the other side of which is covered by a 3D-printed case. As thick as it is, this might be stretching the definition of “card” a bit, but as a mechanical engineer, [Cole] did want to demonstrate some mechanical design. A nice!nano wireless keyboard development board running ZMK firmware reads the sensors and sends commands. Conveniently for a presentation remote, the card is powered by a rechargeable battery and can work wirelessly (as a side benefit, if a recipient were minded to get rid of this card, the lithium-polymer battery would probably substantially delay disposal).
Have you ever finished up a bit of code and thought that typing “git push” in a terminal is just not a satisfying finish? So did [penumbriel], so he built a big red button he could smash instead.
This is a very simple hack: an Arduino sits inside a 3D-printed case that holds a big, red button. The case itself is very sturdily made to withstand a good satisfying smack: it has thick walls, brass insets, and rubber feet to protect the de The code for the Arduino is very, very simple: it spoofs a USB HID using the standard keyboard library, and automatically types out “git push” whenever the button is pressed. Or smashed, because you know you’re going to want to slam that thing. So far, so good– very innovative for 2006, right?
The detail that made this project stand out in 2025 was the technique [penumbriel] used for lettering– we’re always looking
With a simple soap-and-water mask, the cured silicone peels right off, leaving a clean label.
for new ways to make a good front panel. In this case, the letters were printed as a valley and filled with silicone adhesive. To protect the top surface of the print, soapy water was used as a mask. The silicone would not adhere to the wet plastic, so all [penumbriel] had to do was peel it off after it had cured, leaving solid white inside. It’s a neat trick, and a great way to use up an old tube of silicone before it goes hard. You could also use it for injection molding, but this is a great use for the dregs.
This might go well next to the programmer’s macro pad we featured a while back, but it really needs to stay as a big red button for maximum satisfaction.
Macro pads are handy for opening up your favorite programs or executing commonly used keyboard shortcuts. But why stop there?
That’s what [Jeroen Brinkman] must have been thinking while creating the Programmer’s Macro Pad. Based on the Arduino Pro Micro, this hand-wired pad is unique in that a single press of any of its 16 keys can virtually “type” out multiple lines of text. In this case, it’s a capability that’s being used to prevent the user from having to manually enter in commonly used functions, declarations, and conditional statements.
For example, in the current firmware, pressing the “func” key will type out a boilerplate C function:
int () { //
;
return 0;
}; // f
It will also enter in the appropriate commands to put the cursor where it needs to be so you can actually enter in the function name. The other keys such as “array” and “if” work the same way, saving the user from having to enter (and potentially, even remember) the correct syntax.
The firmware is kept as simple as possible, meaning that the functionality of each key is currently hardcoded. Some kind of tool that would let you add or change macros without having to manually edit the source code and flash it back to the Arduino would be nice…but hey, it is a Programmers Macro Pad, after all.
Looking to speed up your own day-to-day computer usage? We’ve covered a lot of macro pads over the years, we’re confident at least a few of them should catch your eye.
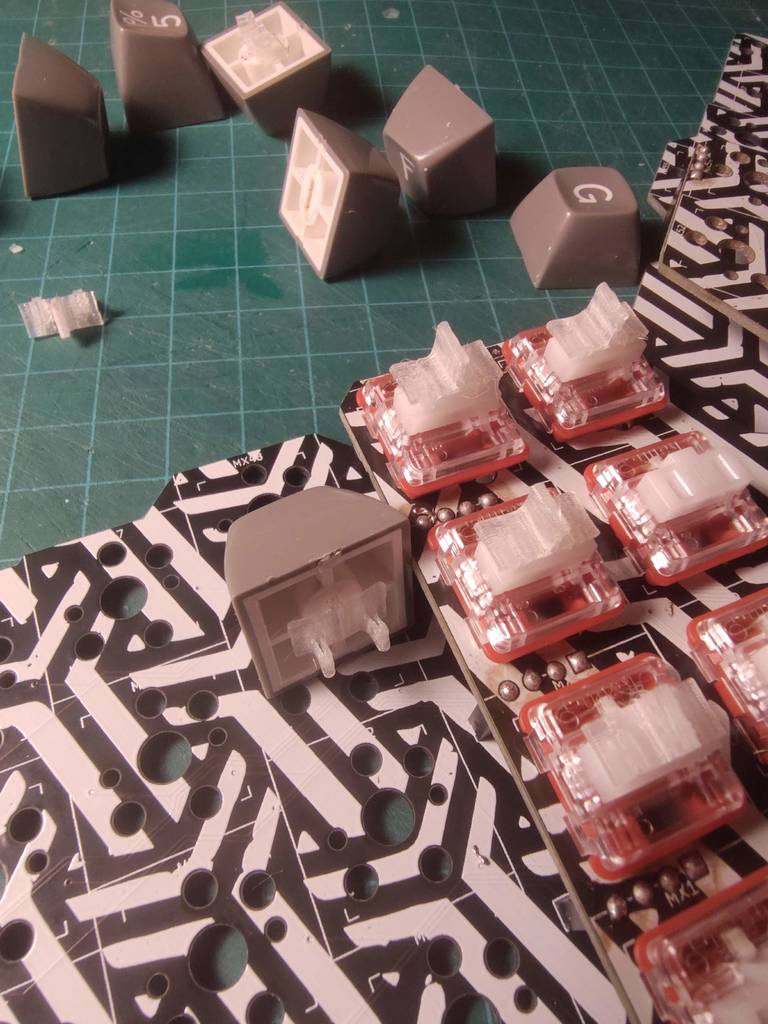
Those white chocs are attached to a ThumbsUp! v8 keyboard, a line that [Sasha K.] designed. His daily driver boards are on v9 and v10, but the caps were getting jammed up because of the spacing on those. So instead, he used v8 which has Cherry MX spacing but also supports chocs.
As you can see, there is not much to the adapter, which essentially plugs the Selectric keycap’s slot and splits the force into the electrical outlet-style pair of holes that chocs bear This feels like an easier problem to solve than making an adapter for MX-style switches. What do you think?
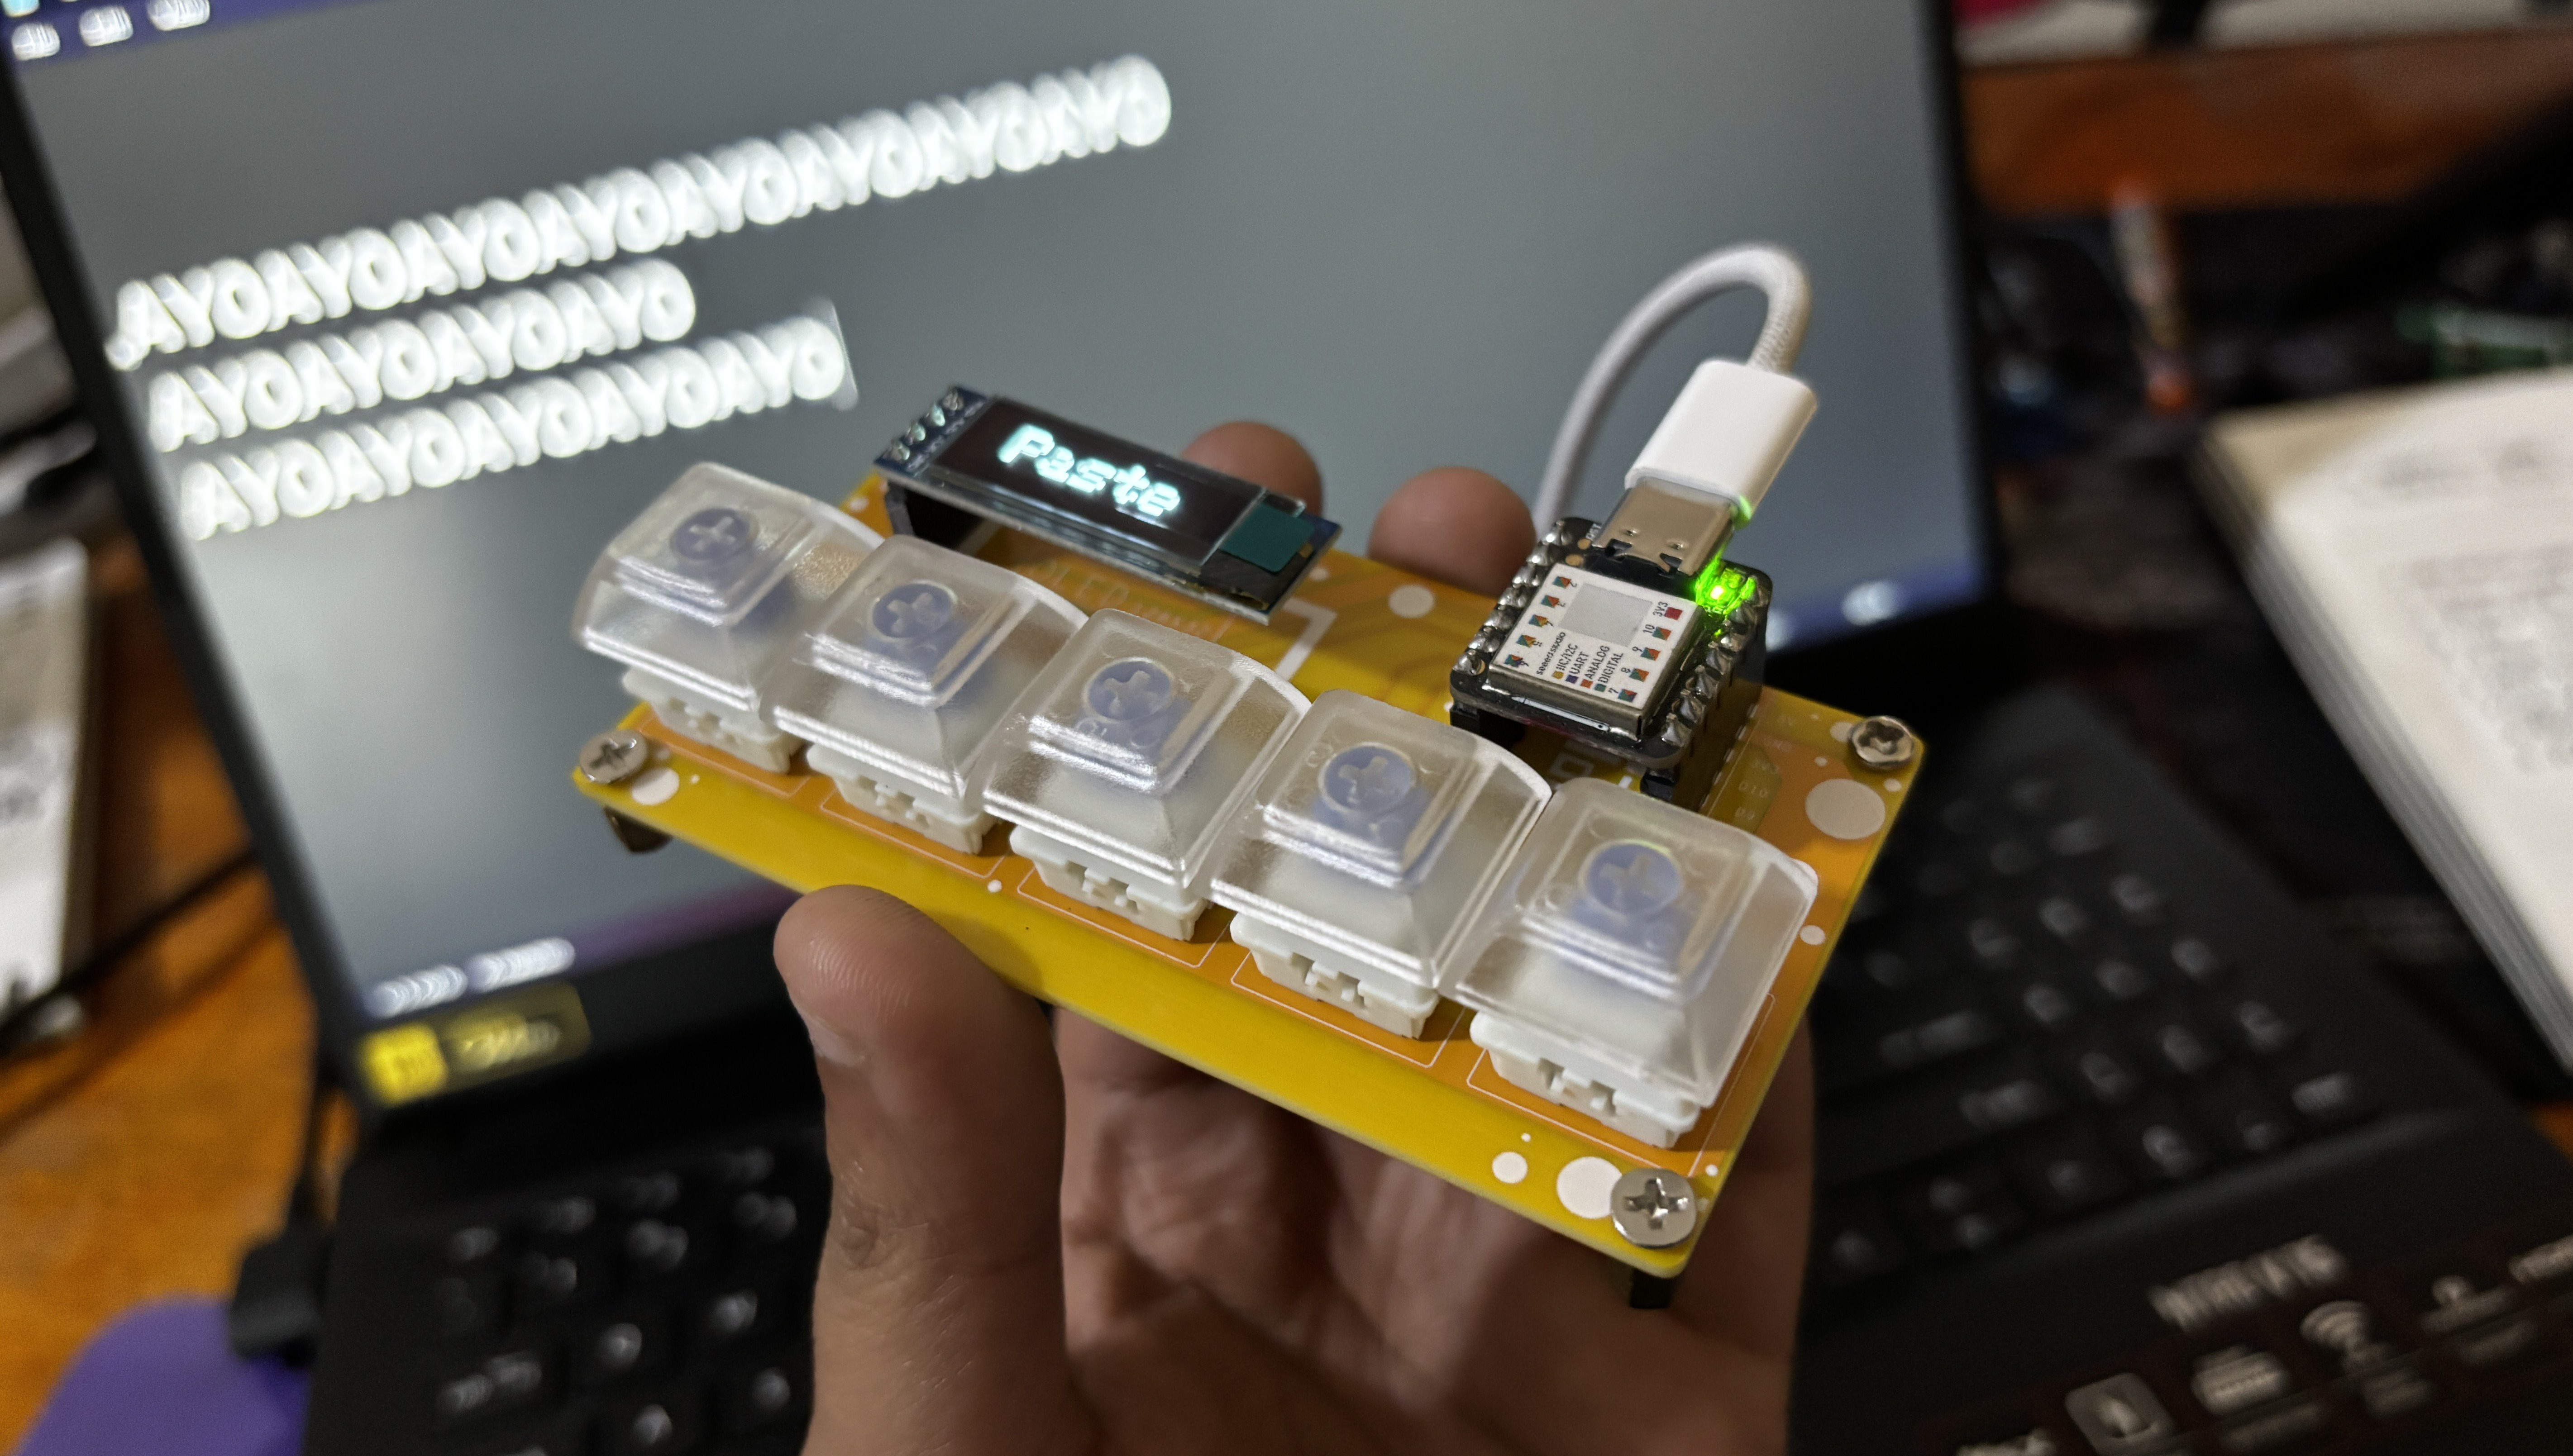
It’s been a minute since I featured a tiny keyboard, and that’s okay. But if you want to get your feet wet in the DIY keyboarding community, making a little macro pad like [Arnov Sharma]’s Paste Pal is a great place to start.
Image by [Arnov Sharma] via Hackaday.IOThis is a follow-up to his original Paste Pal, which only had two buttons for copy and paste plus an OLED display. This updated version does three more things thanks to a total of five blue (!) switches. The selected command shows up on the screen so you know what you’ve done.
Right now, [Arnov] has the Paste Pal set up to do Copy, Paste, Enter, Scroll Up, and Scroll Down, but changing the assignments is as easy as updating a few lines of code.
Paste Pal Mk. II is at heart a Seeed Xiao SAMD21, which in this case is programmed in Arduino. If you want to make things easier on yourself, you could program it in CircuitPython instead, although [Arnov] includes the Arduino code in his excellent build guide.