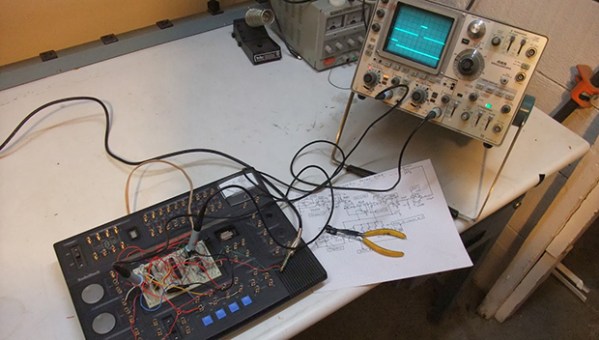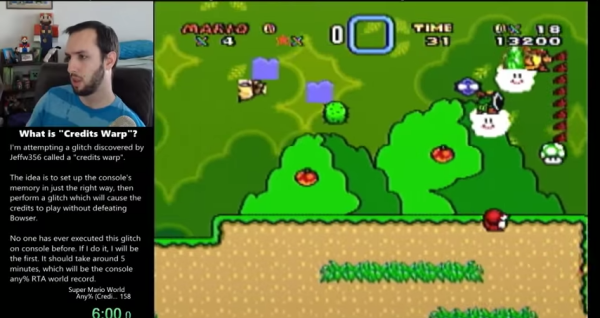
[SethBling] recently set a world record speed run of the classic Super Nintendo game Super Mario World on the original SNES hardware. He managed to beat the game in five minutes and 59.6 seconds. How is this possible? He actually reprogrammed the game by moving specific objects to very specific places and then executing a glitch. This method of beating the game was originally discovered by Twitch user [Jeffw356] but it was performed on an emulator. [SethBling] was able to prove that this “credits warp” glitch works on the original hardware.
If you watch the video below, you’ll see [SethBling] visit one of the first available levels in the game. He then proceeds to move certain objects in the game to very specific places. What he’s doing here is manipulating the game’s X coordinate table for the sprites. By moving objects to specific places, he’s manipulating a section of the game’s memory to hold specific values and a specific order. It’s a meticulous process that likely took a lot of practice to get right.
Once the table was setup properly, [SethBling] needed a way to get the SNES to execute the X table as CPU instructions. In Super Mario World, there are special items that Mario can obtain that act as a power up. For example, the mushroom will make him grow in size. Each sprite in the game has a flag to tell the SNES that the item is able to act as a power up. Mario can either collect the power up by himself, or he can use his friendly dinosaur Yoshi to eat the power up, which will also apply the item’s effects to Mario.
The next part of the speed run involves something called the item swap glitch. In the game, Mario can collect coins himself, or Yoshi can also collect them by eating them. A glitch exists where Yoshi can start eating a coin, but Mario jumps off of Yoshi and collects the coin himself simultaneously. The result is that the game knows there is something inside of Yoshi’s mouth but it doesn’t know what. So he ends up holding an empty sprite with no properties. The game just knows that it’s whatever sprite is in sprite slot X.
Now comes the actual item swap. There is an enemy in the game called Chargin’ Chuck. This sprite happens to have the flag set as though it’s a power up. Normally this doesn’t matter because it also has a set flag to tell the game that it cannot be eaten by Yoshi. Also, Chuck is an enemy so it actually hurts Mario rather than act as a power up. So under normal circumstances, this sprite will never actually act as a power up. The developers never programmed the game to properly handle this scenario, because it was supposed to be impossible.
If the coin glitch is performed in a specific location within the level, a Chargin’ Chuck will spawn just after the coin is collected. When the Chuck spawns, it will take that empty sprite slot and suddenly the game believes that Yoshi is holding the Chuck in his mouth. This triggers the power up condition, which as we already know was never programmed into the game. The code ends up jumping to an area of memory that doesn’t contain normal game instructions.
The result of all of this manipulation and glitching is that all of the values in the sprite X coordinate table are executed as CPU instructions. [SethBling] setup this table to hold values that tell the game to jump to the end credits. The console executes them and does as commanded, and the game is over just a few minutes after it began. The video below shows the speed run but doesn’t get too far into the technical details, but you can read more about it here.
This isn’t the first time we’ve seen this type of hack. Speed runs have been performed on Pokemon with very similar techniques. Another hacker managed to program and execute a version of single player pong all from within Pokemon Blue. We can’t wait to see what these game hackers come up with next. Continue reading “Reprogramming Super Mario World From Inside The Game”