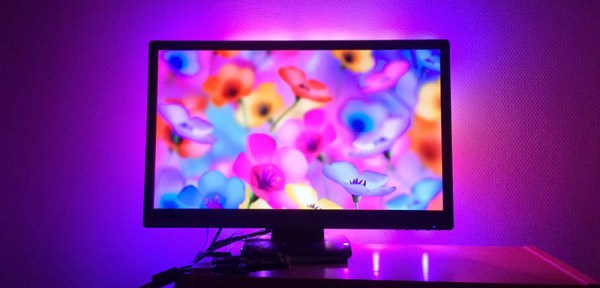
The Philips Ambilight – a bunch of rear-facing RGB LEDs taped to the back of a TV – is becoming the standard project for anyone beginning to tinker with FPGAs. [DrX]’s is the best one we’ve seen yet, with a single board that reads and HDMI stream, makes blinkey lights go, and outputs the HDMI stream to the TV or monitor.
[DrX] is using an FPGA development board with two HDMI connectors – the Scarab miniSpartan6+ – and a strand of WS2801 individually addressable RGB LEDs for this project. With a bit of level shifting, driving the LEDs was easily taken care of. But what about decoding HDMI?
Most of the project is borrowed from a project that displays a logo in the corner of a 720p video stream. The hardware is the same, but for an Ambilight clone, you need to read the video stream and process it, not just write to it. By carefully keeping track of the R, G, and B values for each pixel along with the pixel clock, the colors along the edge of a display can be averaged. It’s not as difficult or as memory-intensive as building a frame buffer; nearly all of the picture data is thrown out when assembling the averages around the perimeter of the display. It does work, though.
After figuring out the average color around the perimeter of the display, it’s just a simple matter of driving the LEDs. Tape those LEDs to the back of a TV, and there’s an Ambilight clone, made with an FPGA.
[DrX] has a few videos of his project in action. You can check those out below.


