Art of 3D printer in the middle of printing a Hackaday Jolly Wrencher logo

What To Expect From 3D Scanning, And How To Work With It

3D scanning and 3D printing may sound like a natural match for one another, but they don’t always play together as easily and nicely as one would hope. I’ll explain what one can expect by highlighting three use cases the average hacker encounters, and how well they do (or don’t) work. With this, you’ll have a better idea of how 3D scanning can meet your part design and 3D printing needs.

How Well Some Things (Don’t) Work

Most 3D printing enthusiasts sooner or later become interested in whether 3D scanning can make their lives and projects easier. Here are a three different intersections of 3D scanning, 3D printing, and CAD along with a few words on how well each can be expected to work.

Goal Examples and Details Does it work?
Use scans to make copies of an object.
  • 3D scan something, then 3D print copies.
  • Objects might be functional things like fixtures or appliance parts, or artistic objects like sculptures.
Mostly yes, but depends on the object
Make a CAD model from a source object.
  • The goal is a 1:1 model, for part engineering purposes.
  • Use 3D scanning instead of creating the object in CAD.
Not Really
Digitize inconvenient or troublesome shapes.
  • Obtain an accurate model of complex shapes that can’t easily be measured or modeled any other way.
  • Examples: dashboards, sculptures, large objects, objects that are attached to something else or can’t be easily moved, body parts like heads or faces, and objects with many curves.
  • Useful to make sure a 3D printed object will fit into or on something else.
  • Creating a CAD model of a part for engineering purposes is not the goal.
Yes, but it depends

In all of these cases, one wants a 3D model of an object, and that’s exactly what 3D scanning creates, so what’s the problem? The problem is that not all 3D models are alike and useful for the same things.

Continue reading “What To Expect From 3D Scanning, And How To Work With It”

How To Try Generative Optimization At Home

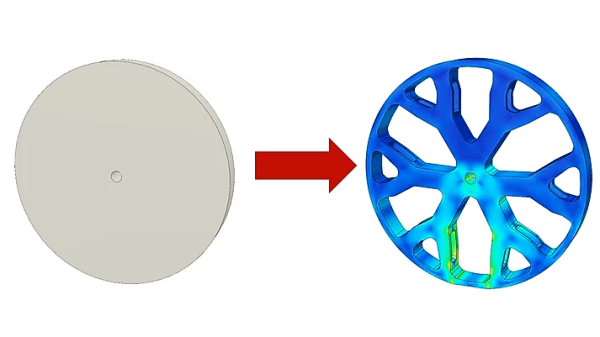
Chairs, spokes on a wheel, bridges, and all kinds of other load-bearing objects are designed such that material is only present where it is needed. There’s a process by which the decisions about how much material to put and where is determined by computer, and illustrating this is [Adam Bender]’s short primer on how to use generative optimization in Autodesk’s Fusion 360 (which offers a variety of free licenses) using a wheel as an example.

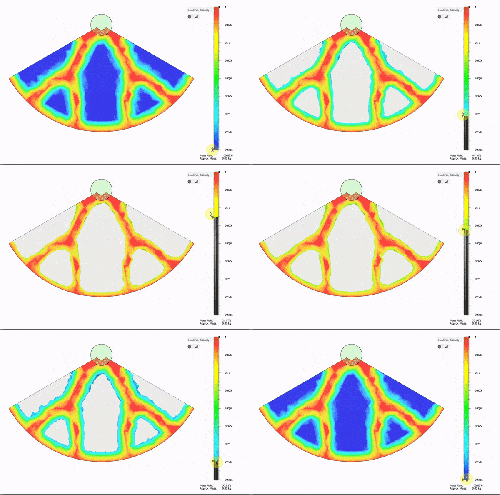
Things start with a solid object and a definition of the structural loads expected. The computer then simulates the force (or forces) involved, and that simulation can be used to define a part that only has material where it’s really needed. The results can be oddly organic looking, and this process has been used to optimize spacebound equipment where every gram counts.

It’s far from an automated process, but it doesn’t look too difficult to navigate the tools for straightforward designs. [Adam] cautions that one should always be mindful of the method of manufacturing when designing the part’s final form, which is always good advice but especially true when making oddball shapes and curves.  To see the short process in action, watch the video embedded below.

Continue reading “How To Try Generative Optimization At Home”