An Inexpensive Manual Pick-and-Place Machine

pick-and-place

When dealing with surface mount components, a manual pick-and-place machine is certainly a helpful device to have. Unfortunately, they can be quite expensive, so [Vassilis] came up with his own solution.

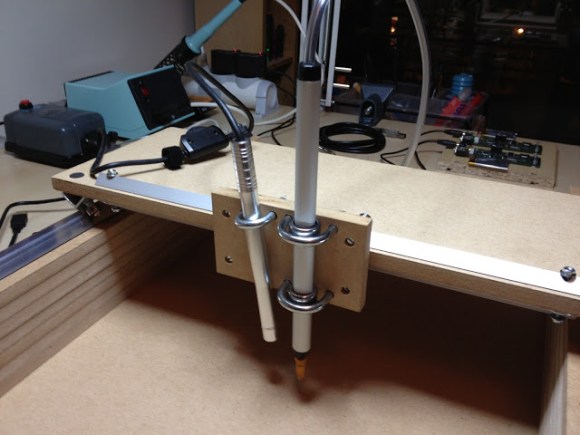
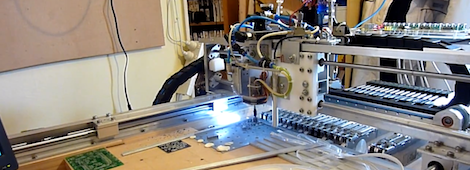
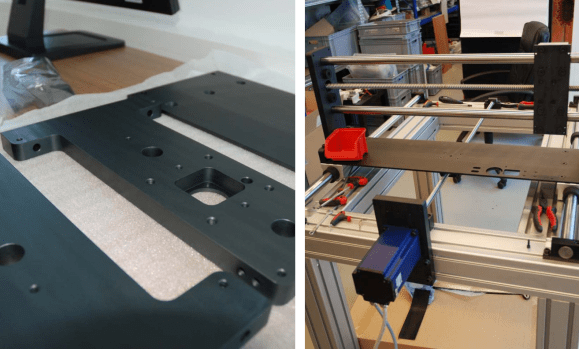
While commercial setups can cost upwards of a thousand dollars, this setup was made for less than a tenth of this cost. This one uses a simple setup of sliders and bearings available from a local hardware store. A cheap vacuum pen is used to lift the components, using an aquarium pump in reverse to generate suction. Finally, a USB microscope is used to make sure everything is placed in the correct position.

Plans are available on the site in DXF format, so you can build your own. The setup is reminiscent of a DIY CNC router, like this one that we featured a while ago. We could even see something like this serving a dual role with interchangeable heads for whatever you happen to be making that day!

Update: [Vassilis] published an video demonstration. See it after the break.

Continue reading “An Inexpensive Manual Pick-and-Place Machine”

Pick And Place That Can’t Pick Or Place… But It Looks Very Promising

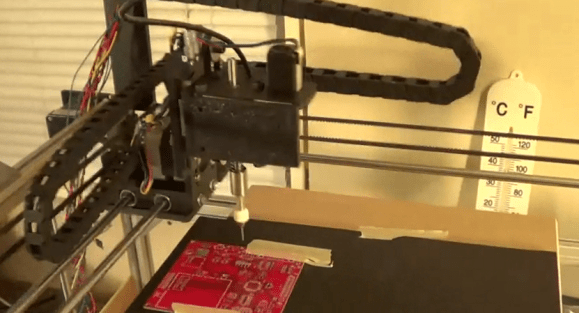
This sexy piece of CNC can really fly. It’s a pick and place machine which [Danh Trinh] has been working on. The thing is, so far it lacks the ability to move components at all. But the good news is the rest of the system seems to be there.

He posted a demo video of his progress so far which you can see embedded after the break. He starts of by showing off his computer vision software which he wrote in C#. The demonstration includes the view from the gantry-mounted camera, as well as the computer filtering which seems to accurately locate the solder pads and silk screen on the PCB. The second half of the video looks at the hardware seen above. It’s just executing some static code but the whine of those stepper motors is music to our ears. [Danh] reports that the movements of the needle that will eventually serve as the tip of the vacuum tweezer seem to be very accurate.

These home-built pick and place projects are quite a challenge, but we’ve seen a lot of really awesome work on them lately.

Continue reading “Pick And Place That Can’t Pick Or Place… But It Looks Very Promising”

DIY Pick And Place Builds Boards, Is Awesome

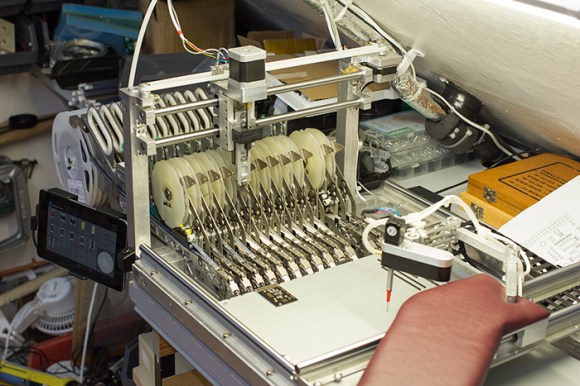
In what can probably be attributed to the pains of placing a lot of SMD components, [gravelrash] built his own home-made pick and place machine.

Instead of being frustrated with tweezers, stereo microscopes, and having an inordinate amount of concentration, [gravelrash] built a pick and place machine from a Chinese CNC router. The build doesn’t use automated feeders for its reels of parts. Instead,[gravelrash] picked up five manual feeders from eBay, allowing his pick and place to hold 25 different reels of components.

There is, of course, a vacuum pump for sucking up SMD parts and a two-axis gantry capable of moving components from reel to board. The software is Mach3, a program normally used with spinning cutters to mill away wood, metal and plastic. [gravelrash] replaced this motor with a few vacuum controlled needles to pick up, move, and drop components onto the board.

While the build may not be as fast as some other pick and place machines we’ve seen, it’s almost as fast as hand-placing components with the added bonus of not tearing your hair out over very tiny parts.

Tip ‘o the hat to [Alexander] for sending this one in.

Continue reading “DIY Pick And Place Builds Boards, Is Awesome”

Building A Pick And Place With 3D Printed Parts

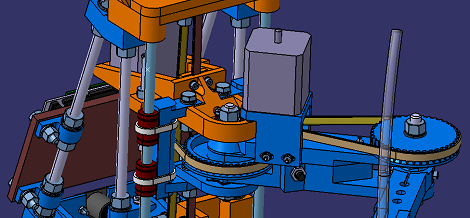
For the last few months, [HeliumFrog] has been building a SCARA bot to serve as the basis for a pick and place machine. Somewhat amazingly, this is the first robot of its kind to be printed on a 3D printer.

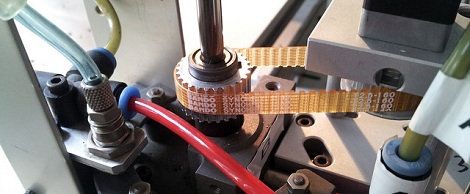
A SCARA-type robot is an articulated arm perfectly suited for transferring components from tubes and reels to a PCB. [HeliumFrog] began his build with an arm with large gears in joints driven by stepper motors and toothed belts. The Z axis was originally driven with a lead screw, but after a thoughtful redesign that was changed over to another toothed belt.

We’ve seen our share of DIY pick and place machines, but most of those have been based on a traditional X/Y Cartesian frame. [HeliumFrog]’s SCARA bot should be – theoretically, at least – faster and more accurate while taking up a smaller footprint in the workshop.

[HeliumFrog] is more or less done with the basics of his build, and is now moving on to building a plastic extrusion tool head for his SCARA bot. Very cool, and should make this robot capable of self-reproduction for under £400 (~$600).

You can check out a video of this articulated arm bot after the break.

Thanks, [Kyle] for sending this one in.

Continue reading “Building A Pick And Place With 3D Printed Parts”

Repairing A Commercial-grade Pick And Place Machine

It looks like Null Space Labs has a new pick and place machine. This immense repair job began when [Charliex] and [Gleep] found a JukiPlacemat 360 pick and place machine. The idea of having their very own pick and place machine proved intoxicating, possibly too much so because the didn’t return the machine when they found out it wasn’t working.

After a ton of work that involved adding a camera, [Charliex] and the rest of the builders at Null Space Labs finally have their own pick and place machine that works. This was a complete rebuild from the ground up. So many things didn’t work on the machine, they might have been better off building one from scratch. Aside from the massive effort that went into turning the shell of a machine into a working unit, we really have to commend everyone who worked on it.

The team added a nice GUI to control the machine. The guys have already run a successful test and ovened a few boards, so everything works as it should have at purchase. It’ll be great for making next year’s LayerOne conference badges.

OpenPnP Working To Create An Affordable And Completely Open Pick And Place Machine

open-pick-and-place

If you happen to do a lot of SMD work, a pick and place machine is an incredible time saver. The problem is that most automated pick and place solutions are well outside of the “small outfit” price range, let alone the budget of a hobbyist.

We have seen some great DIY pick and place implementations around here, though most are lacking professional features or the sort of documentation that would make it easy for others to replicate. The OpenPnP project is looking change things, with a completely open source hardware and software solution with a price target of under $1,000.

Things are already well under way, with plenty of details available in the project’s wiki. According to the development page, a prototype should go into construction in the near future, and development of the pick and place’s control software is coming along nicely.

While things are looking great for the OpenPnP project, they can always use some help to keep things moving. Be sure to check out the project page if you are interested in lending a hand.

To see some of the progress being made, stick around to see a short demo video of the control software and camera in action.

[via Make]

Continue reading “OpenPnP Working To Create An Affordable And Completely Open Pick And Place Machine”

Salvaging A Commercial-grade Pick And Place Machine

Why build a pick and place machine from the ground up when you can start with a full featured, but non-functional unit, and bring it back to life. That’s exactly what [Charliex] is doing with this Juki 360 rebuild.

A bit of background is in order here. [Charliex] is working alongside other hackers at Null Space Labs to restore this hardware. The Los Angeles based hackerspace sponsored the hardware badges at this year’s LayerOne, each of which was hand assembled. They’d like to avoid that tedium next year, which led to this project.

The seller of the used Juki 360 listed it in working condition, but it seems that they were polishing a turd since it is basically non-functional. The link at the top of this post is the second testimonial of their work so far. It covers the use of an Arduino board as a replacement interface, as well as a bunch of sensor repair, pneumatic testing, and motor driver firmware tweaking. If you’d like to see the initial teardown and hardware diagnostics don’t miss the first post in their adventure.