3D Print A Stenciling Frame For Your PCB

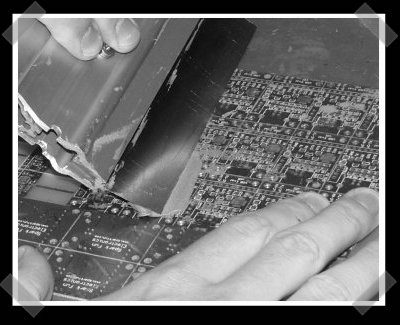
For many a hacker, stenciling a board for the first time is a game-changing experience – the solder joints you get, sure do give your PCB the aura of a mass-manufactured device. Now, you might not get a perfect print – and neither did [Atul R]. Not to worry, because if you have a 3D printer handy, he’s showing you how to design a 3D-printed frame using Blender and TinkerCAD, making your solder paste print well even if you’re trying to rest a giant stencil on top of a tiny board.

[Atul]’s situation was non-characteristic – the project is a 2mm thick PCB designed to plug right into a USB port, so the usual trick of using some scrap PCBs wouldn’t work, and using a 3D-printed frame turned out to be key. To get it done, he exported a .wrl from KiCad, processed it in Blender, and then designed a frame with help of TinkerCAD. These techniques, no doubt, will translate into your CAD of choice – especially if you go with .step export instead of .wrl.

This kind of frame design will get you far, especially for boards where the more common techniques fail – say, if you need to assemble a double-sided board and one side is already populated. Don’t have a stencil? You could surely make a 3D printed stencil, too, both for KiCad boards and for random Gerber files. Oh, and don’t forget this 3D-printable stencil alignment jig, while you’re at it – looks like it ought to save you quite a bit of trouble.

Shirt Design Stencil

Shirt Printing With Freezer Paper

There’s a pretty good chance that you’ve wanted to add a graphic or design to a t-shirt some time in your life. There are certainly ways to do it but most of us don’t have silk screening equipment or a steady enough hand to have the end product look cool. Lucky for us, [UrbanThreads] has put together a stenciling tutorial for personalizing garments. The process is easy and inexpensive. The results are good, although it can be time-consuming if the pattern is intricate.

To get started, a black and white graphic is printed on a sheet of paper. The design is then taped to a sheet of the secret ingredient: freezer paper. The two sheets are then placed on a table with the freezer paper up. Since the freezer paper is semi transparent, the printed out design shows through. It’s now time to use an exacto knife and trace the design while cutting through the freezer paper. The two sheets are then removed from each other and the freezer paper is put wax-side-down on the garment and ironed into place. The wax melts and acts as a temporary adhesive to hold the stencil down. At this point, fabric paint can be sprayed or dabbed on with a brush (avoid brushing back and forth as it may lift the stencil). Once the paint is applied, the stencil is removed and the paint is allowed to dry. According to [UrbanThreads] the freezer paper doesn’t leave any wax or residue on the garment.

For more garment modding, check out t-shirt bleaching or get ambitious with this DIY screen printing setup.

Solder Paste And Reflow How-to


I was poking around spark fun electronics, and came across this interesting walk through showing spark fun’s solder stenciling technique. (I’d put on some gloves before handling that much lead paste) They top it off with some alternative ways of doing reflow work. My favorite has to be the target hotplate method. It’s a nice introduction if you’re interested in doing SMD work to save money and space on your projects [but not sanity. say goodbye to that] Me? I’ve used a 15 watt weller with a dremel modified small tip. It works great if you’ve got some one of those syringes of heat activated glue. Place, bake and solder.