A New Way To Produce PCBs With Your 3D Printer

With the low-cost PCB fabrication services available to hackers and makers these days, we’ll admit that making your own boards at home doesn’t hold quite the appeal that it did in the past. But even if getting your boards professionally made is cheaper and easier than it ever has been before, at-home production still can’t be beat when you absolutely must have a usable board before the end of the day.

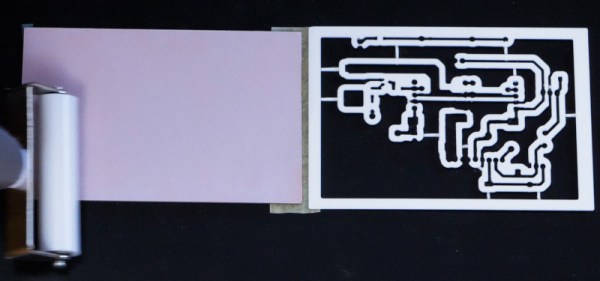
If you find yourself in such a situation, this new method of DIY PCB production detailed by [Adalbert] might be just what you need. This unique approach uses a desktop fused deposition modeling (FDM) 3D printer throughout all of its phases, from creating a stencil based on the exported board design, to warming the UV soldermask to accelerate the curing process. It may not be an ideal choice for densely packed boards with fine-pitch components, but could definitely see it being useful for many prototypes.

Continue reading “A New Way To Produce PCBs With Your 3D Printer”

Create Green, Soldermasked PCBs With Fritzing

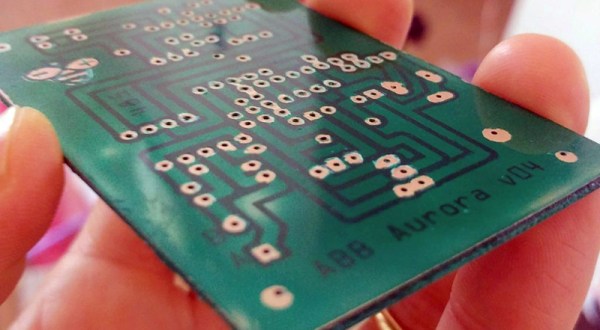
Even though you can easily order a PCB from any one of a dozen board houses and have it on your desk in a few weeks, there’s still a need for home-made circuit boards. If it’s because you have very special or strange requirements, you want to save money, or you need to suffer for your art, you can make printed circuit boards at home. You can even apply soldermask. It’s easy, and [Renzo] is here to show you how.

The beginnings of this tutorial cover well-tread territory such as building a CNC router, laying out a circuit, and cutting a piece of single-sided, copper clad board. If you stopped right there, after milling traces into a board, you would have a functioning circuit. But it wouldn’t look good; a piece of copper does not a PCB make, and you need soldermask. That’s where the real work comes in.

Applying the soldermask meant there needed to be places without soldermask, mostly the vias and through-holes. For this, [Renzo] pulled the copper pad layer out of Fritzing, printed it on a transparency sheet, and finally applied the UV-curing soldermask. This came as a kit, and right now, you can get 10 ml of green, red, blue, yellow, and black UV-curing soldermask, and a UV flashlight for ten dollars on the usual Internet shops. This soldermask was lathered on, rolled out, and exposed with the UV flashlight. After a quick wash in acetone, the result is a perfect PCB.