Ask Hackaday: What’s Your Etchant?

Although the typical cliché for a mad scientist usually involves Bunsen burners, beakers, and retorts, most of us (with some exceptions, of course) aren’t really chemists. However, there are some electronic endeavors that require a bit of knowledge about chemistry or related fields like metallurgy. No place is this more apparent than producing your own PCBs. Unless you use a mill, you are probably using a chemical bath of some sort to strip copper from your boards.

The standard go-to solution is ferric chloride. It isn’t too tricky to use, but it does work better hot and with aeration, although neither are absolutely necessary. However, it does tend to stain just about everything it touches. In liquid form, it is more expensive to ship, although you can get it in dry form. Another common etchant is ammonium or sodium persulphate.

pcbyThere’s also a variety of homemade etchants using things like muriatic acid and vinegar. Most of these use peroxide as an oxidizer. There’s lots of information about things like this on the Internet. However, like everything on the Internet, you can find good information and bad information.

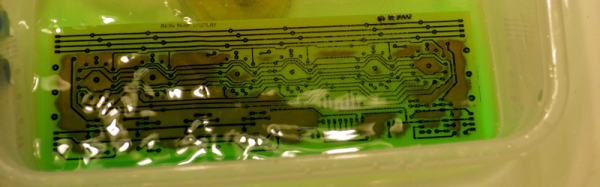
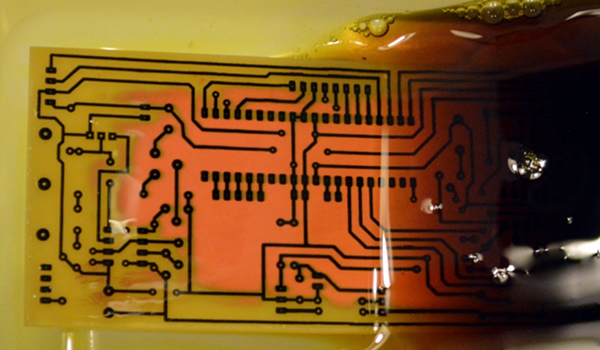
When [w_k_fay] ran out of PCB etchant, he decided to make his own to replace it and wrote a great guide on how this is done. He found a lot of vague and conflicting information on the Internet. He read that the vinegar solution was too slow and the cupric acid needs a heated tank, a way to oxygenate the solution, and strict pH controls. However, he did have successful experiments with the hydrochloric acid and peroxide. He also used the same materials (along with some others) to make ferric chloride successfully.

Continue reading “Ask Hackaday: What’s Your Etchant?”

How To Put A Jag On Your School Roof

Did you ever commit any pranks in your time at high school, college, or university? Maybe you moss-painted a rude word on the wall somewhere, or put a design in a sports field with herbicide, or even worse, slow-release fertiliser. [Roman Kozak] and his friends went far further than that last summer when they replicated some of the most famous student pranks; they put a Jaguar S type car on the roof of their school. And now the dust has settled, he’s posted an account of how they did it.

jag-on-roof-guy-cutting
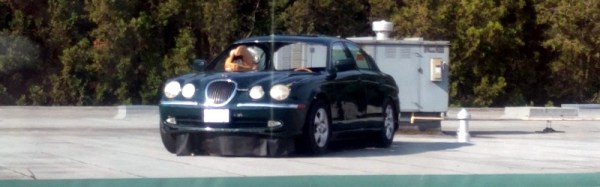
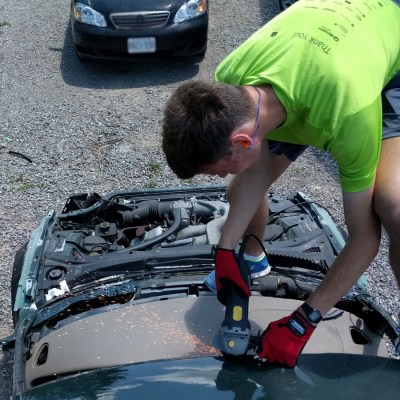
Of course, putting a car on the roof is a significant challenge, particularly when you only have the resources of a high-school student. Ensuring the roof was strong enough for a car, and then hiring a crane to do the deed, was beyond them. They therefore decided to take the wheels and outer body panels of a car and mount them on a wooden frame to give the appearance of a car.

They needed a statement vehicle and they didn’t have a huge budget, so it took them a while to spot a for-parts Jaguar S type which when it came into their possession they found only had a fault with its reverse gear. Some hard work removed the panels, and the rest of the car was taken for scrap.

Frenetic work as the term end approached gave them their frame, and a daring midnight raid was mounted to winch the parts to the roof with a pulley. The result was so popular with their classmates and teachers that they owned up to the prank rather than preserve their anonymity. We think these young scamps will go far.

This is definitely the first car-on-roof prank we’ve brought you on Hackaday, but it’s not the first to be done. [Roman] and his friends cited an MIT prank as their inspiration, but the daddy of car-on-roof stunts has to go to Cambridge University students in the 1950s. Their Austin might be a lot smaller than the MIT Chevy or [Roman]’s Jag, but they got it onto their roof in one piece as a full car rather than a facsimile of one.

Important note: The author would like to state for the record that she and her friends were somewhere else entirely and had solid alibis when in summer 1993 the logo of Hull University Union Technical Committee appeared in the lawn outside Hull University Union. We’re sure that commenters will be anxious to set their own records straight for posterity in a similar manner.

$10 Raspberry Pi Zero W Adds WiFi And Bluetooth

The Raspberry Pi was born on February 29th which means we’re only three years away from its second birthday, and a new hardware release from the Pi Foundation is becoming somewhat of a tradition. This year is no different: a new Raspberry Pi has been announced. The Raspberry Pi Zero W is the latest iteration of the Pi foundation’s tiny and extremely inexpensive single board computer. It’s a Raspberry Pi Zero with WiFi and Bluetooth.

The specs of the new Pi Zero W are nearly identical to the previous incarnation of the non-W Zero. It sports a 1GHz single-core processor, 512 MB of RAM, features Mini HDMI and USB OTG ports, uses a micro USB port for power, features the now-standard 40-pin header with four additional pins for composite video and a reset button. This board, like the second hardware revision of the Pi Zero, also features a CSI camera connector.

Of course, the big feature is the addition of WiFi and Bluetooth. The Pi Zero W adds the wireless functionality from the Raspberry Pi 3B. That’s 802.11n and Bluetooth 4.0.

The Pi Zero’s claim to fame was, of course, the price. The original Pi Zero was at first a bit of hardware glued to the cover of the MagPi magazine, later to sell for just $5 USD. The Raspberry Pi Zero W is priced at just $10.

Continue reading “$10 Raspberry Pi Zero W Adds WiFi And Bluetooth”