Even if you’re pretty sure what the answer will be, a marriage proposal is attended by a great deal of stress to make the event as memorable and romantic as possible. You’ve got a lot of details to look after, not least of which is the ring. So why not take some of the pressure off and just 3D-print the thing?
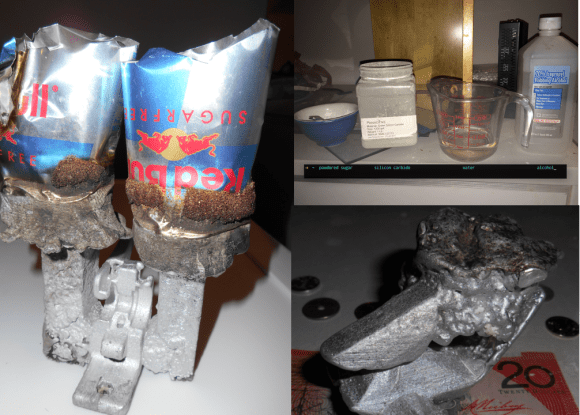
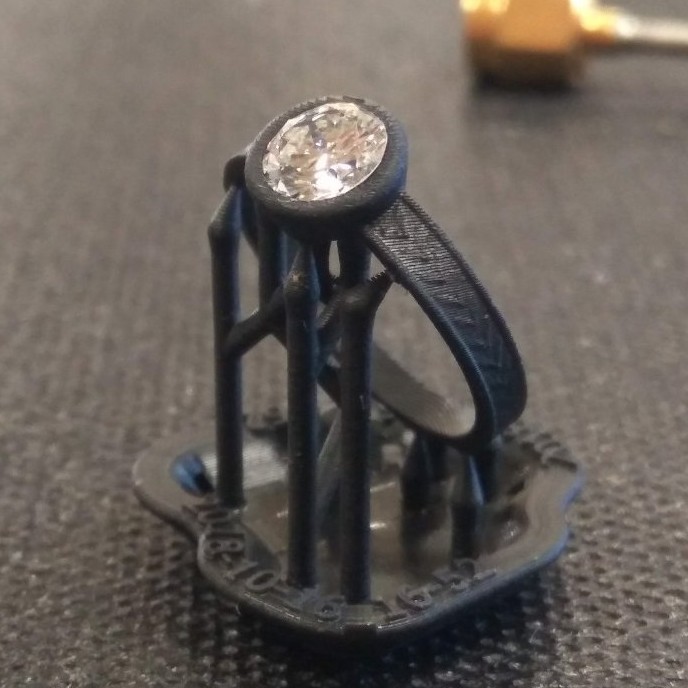 No, a cheesy PLA ring is probably not going to cut it with even the most understanding of fiancees, and that’s not at all what [Justin Lam] did with this DIY engagement ring. He took an engineer’s approach to the problem – gathering specs, making iterative design changes in Fusion 360, and having a prototype ring SLA printed by a friend. That allowed him to tweak the design before sending it off to Shapeways for production. We were surprised to learn that jewelry printing is a big deal, and Shapeways uses a lost-wax process for it. First a high-resolution wax SLA printer is used to make a detailed positive, which is then used to make a plaster mold. The mold is fired to melt the wax, and molten gold is poured in to make the rough casting, which is cleaned and polished before shipping.
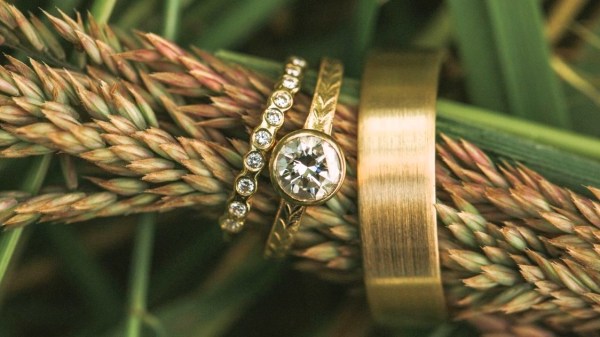
Once he had the ring, [Justin] watched a few jewelry-making videos to learn how to set the family heirloom stone into the bezel setting; we admit we cringed a bit when he said he used the blade shaft of a screwdriver to crimp the edge of the bezel to the stone. But it came out great, even if it needed a bit of resizing. The details of the proposal are left to the romantically inclined, but TL;DR – she said yes.
Congratulations to the happy couple, and to [Justin] for pulling off a beautiful build. Most of our jewelry hacks are of the blinkenlight variety rather than fine jewelry, although we have featured a machinist’s take on the subject before.