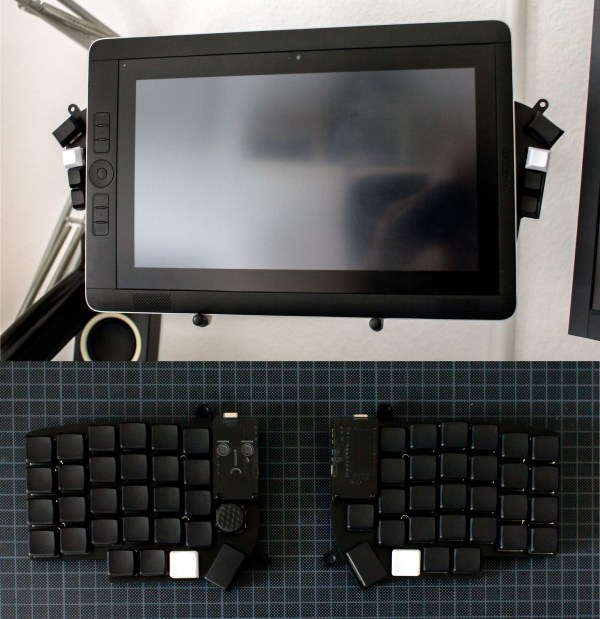
Split keyboards are great for many reasons, but mostly because you can place the halves as far apart as you want and really give your arms and shoulders the room they need. [Jason Cox] hit the nail on the head, though: add in a couple of palm rests, and you now have four things that will potentially shift and drift out of place on your desk or keyboard tray. It was such a problem that [Jason] hardly ever used his Kyria. That is, until he built a stand out of LEGO to hold everything.
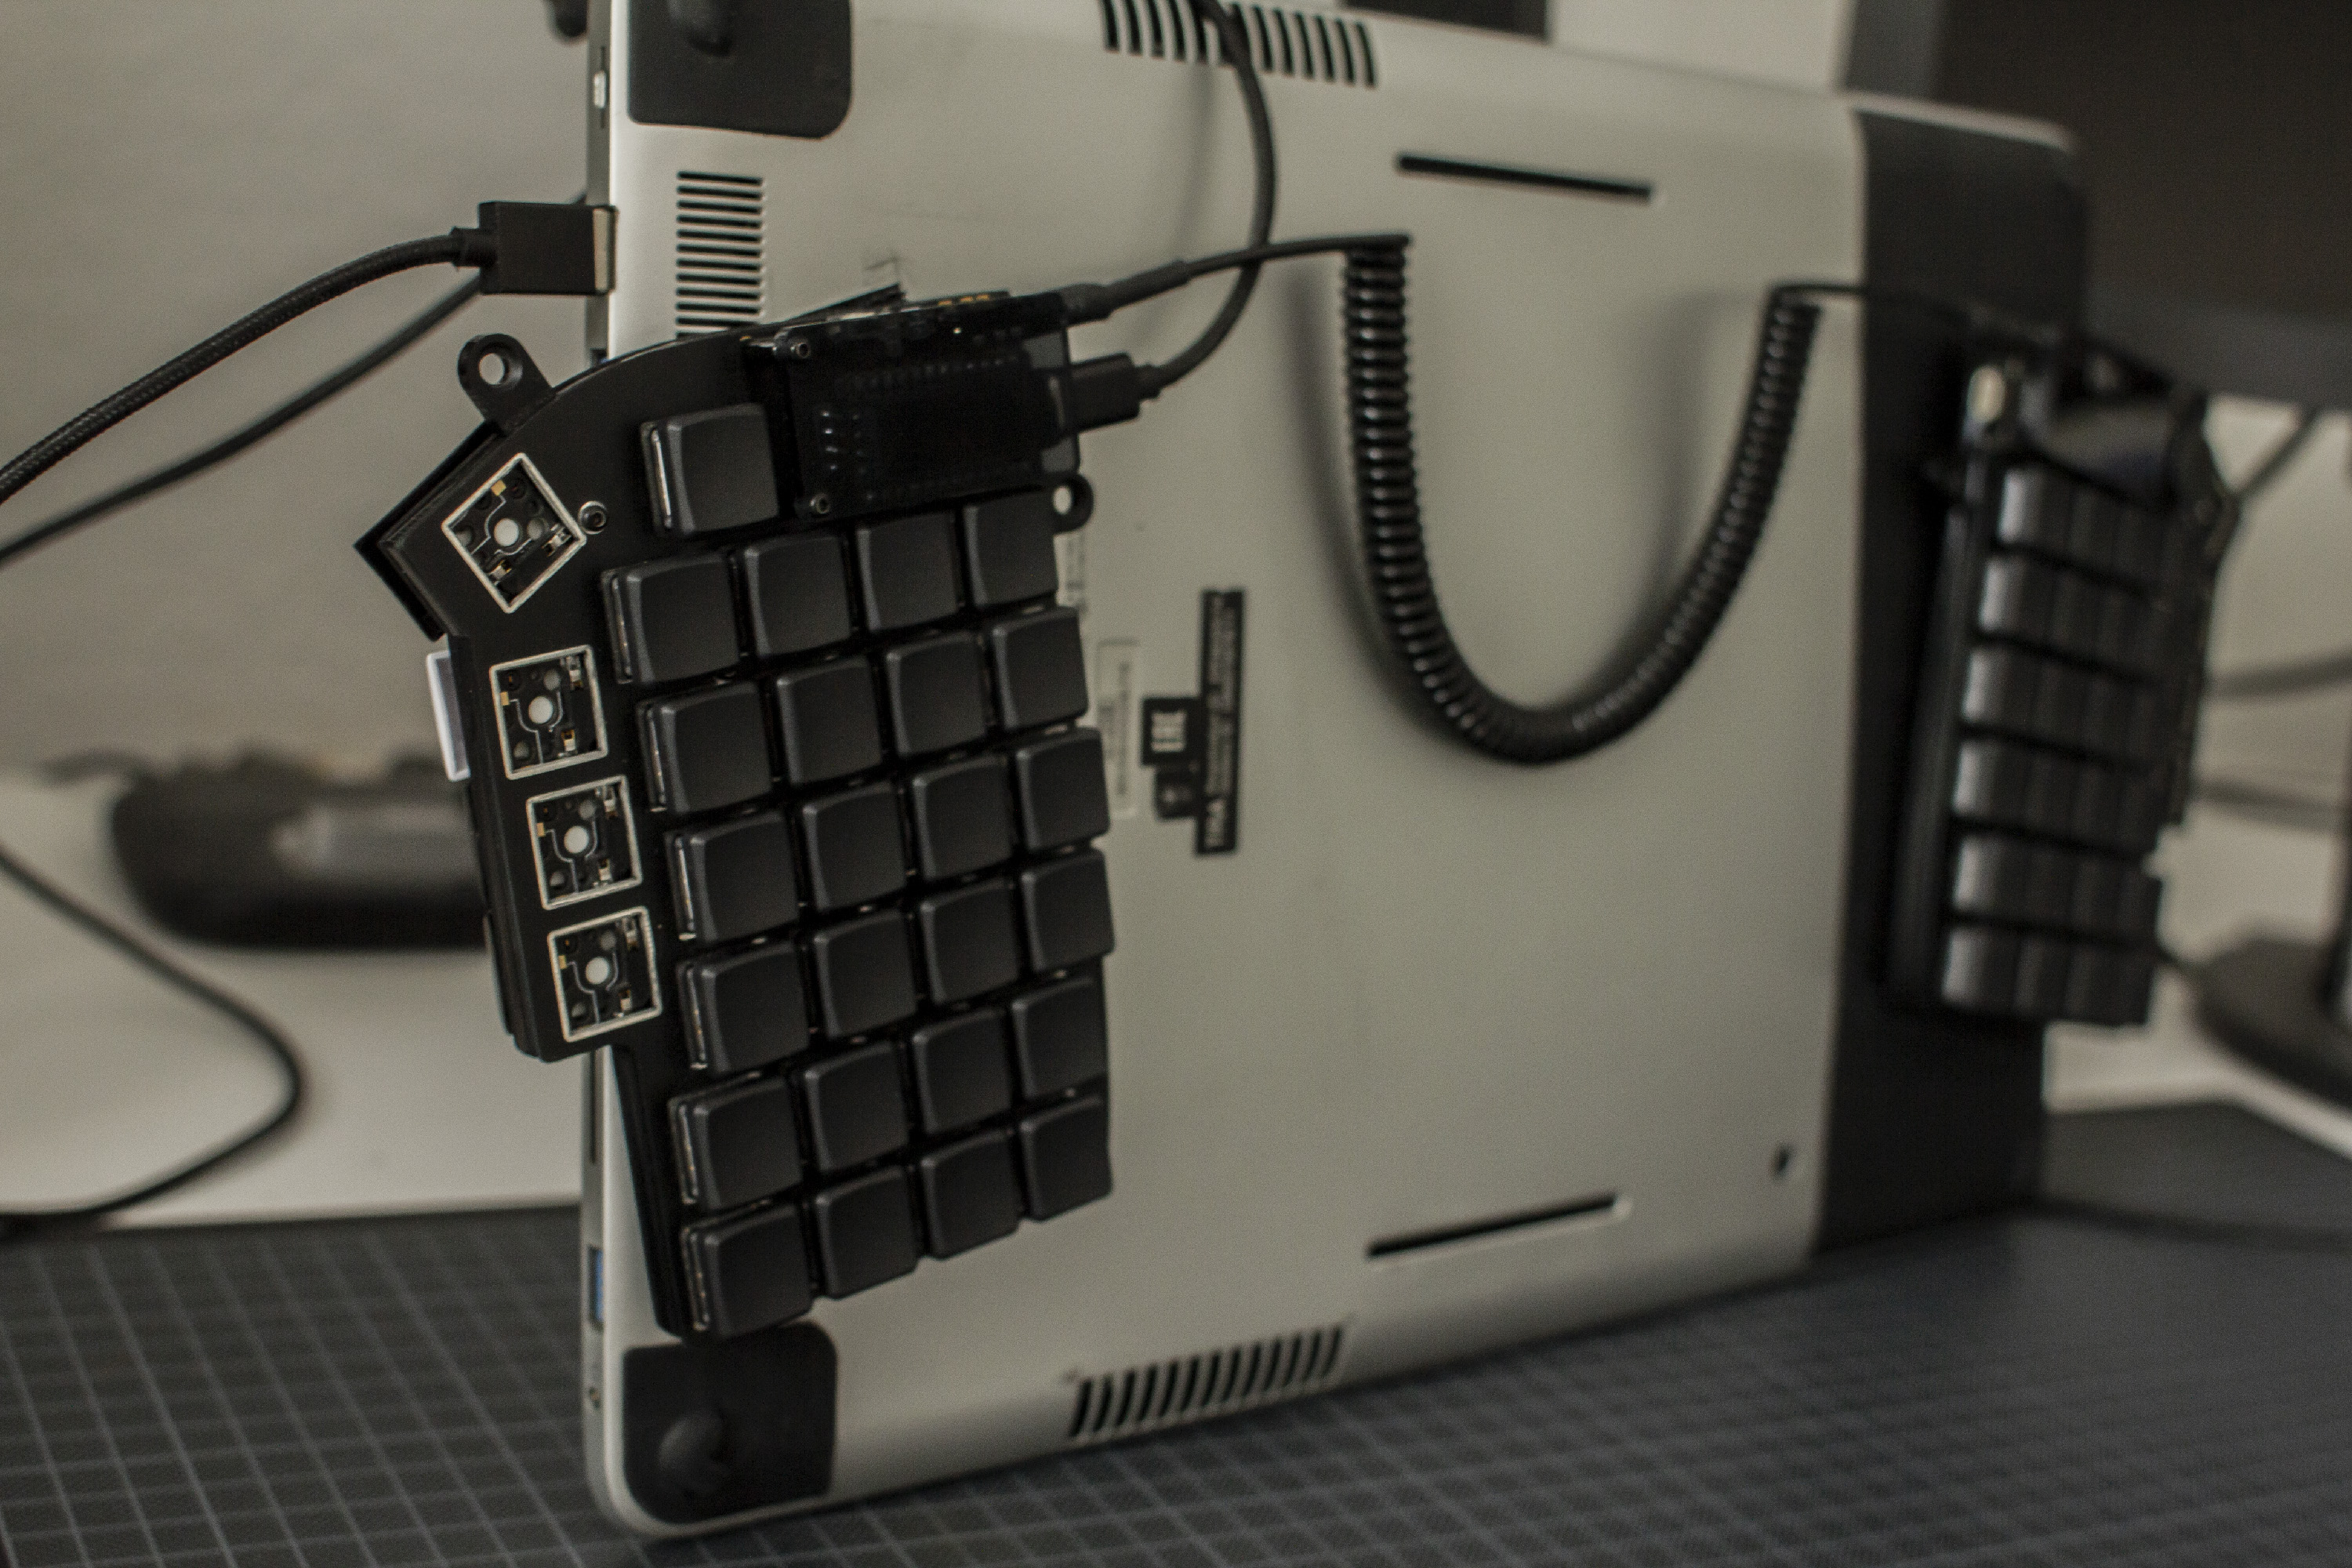
 [Jason] was using a pair of Manfrotto pocket tripods to tent the keyboard, and those held their position surprisingly well, even though he tweaked them here and there over time. Ultimately, [Jason] knew he wanted the answer to be something customizable. And what’s more customizable than LEGO?
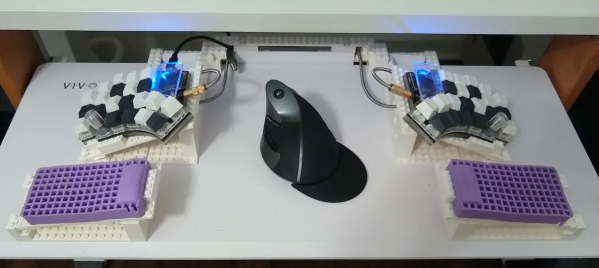
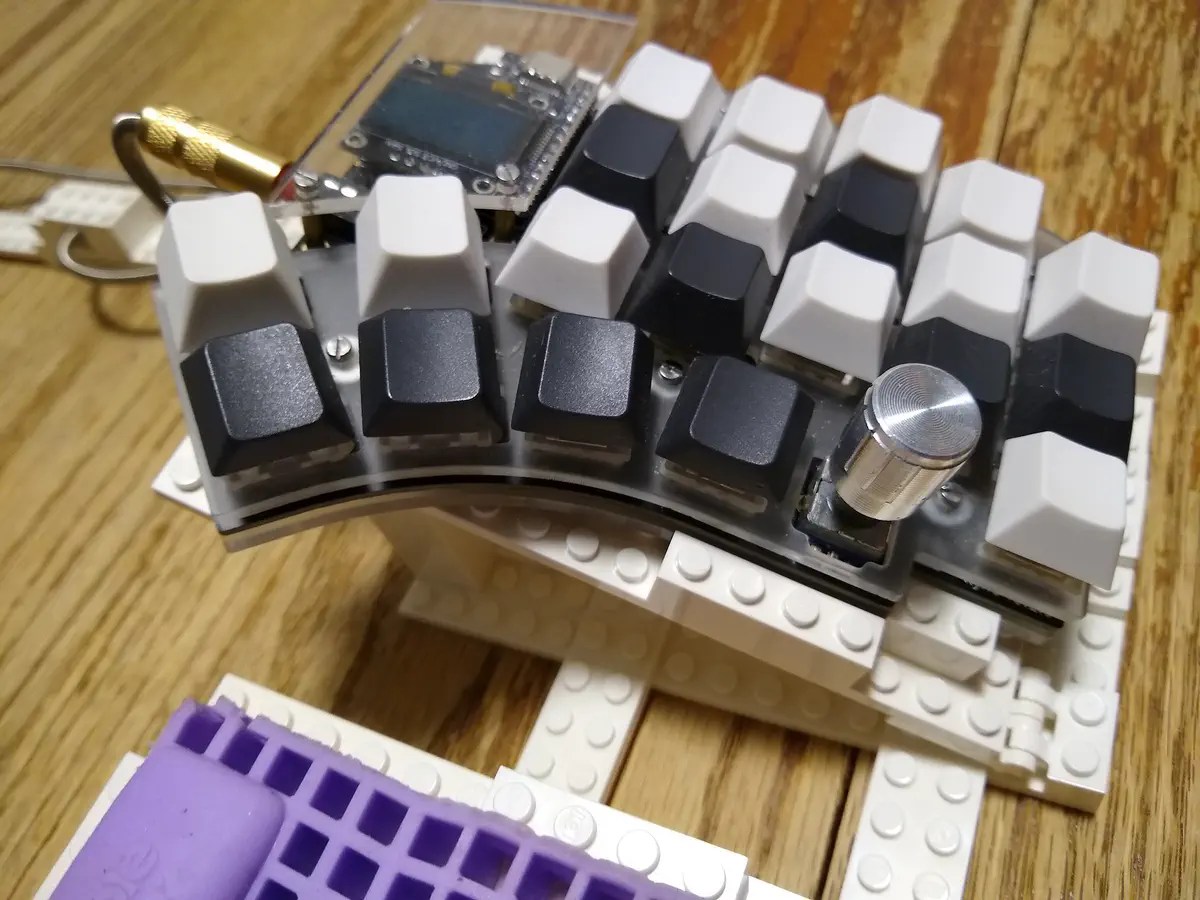
About $60 worth of new white bricks and plates later, [Jason] got to work, spending an evening building the thing. He ended up using a few bricks to hold the keyboard in place on the plate, and it worked perfectly.
Of course, he didn’t get the whole contraption exactly how he wanted it the first time, but tweaking builds is half the fun, right? After a while, [Jason] figured out he could rebuild the part that connects the two keyboard halves to go around a plastic piece at the back of the keyboard tray, which holds the whole thing in place. The end result? Wonderful. The Kyria stays in place, and now [Jason] is using it way more than before.
You know LEGO is versatile, but did you know you can use it to build a hydroelectric dam?
Via reddit