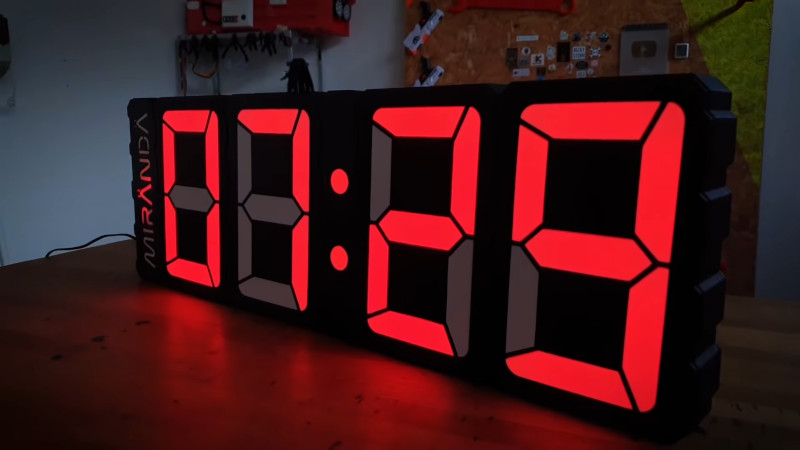
Time is something uniquely important to humans, and they remain the only creatures on the planet to build devices to regularly track its progress. [Ivan Miranda] is one such creature, and built a giant 7-segment clock for his workshop that really ties the room together.
The clock is a testament to [Ivan]’s design skills in the 3D printed space. Taking advantage of his large format printer, each segment consists of a front panel, large single-piece diffuser, LED carrier, and backing plate. There are plenty of nice touches, from the interlocking ridges between each digit, to integral printed arrows on the inside that guide installation of the LED strips. Fit and finish approaches the level of a commercial product, a reward for [Ivan]’s years of practice in the field.
Electronically, an ESP8266 runs the show, synchronizing the time over its in-built WiFi connection. Each segment contains 9 WS2812B LEDs, wired up in a single long strip that’s addressed by the microcontroller. This means that the segments can be lit up to any color of the rainbow, though [Ivan] is a man who best appreciates the look of classic red.
[Ivan]’s long been a proponent of big 3D-printed builds — his tank-tracked electric skateboard is a particularly good example. Video after the break.


WS2812B has weak brightness – for home ok, for more space like office no
Well since this is 3D printed the next project must be a giant 12 number calculator. 58008.
I have a question, on a lot of older LED 7 segment displays they would put a piece of smoked plastic over the digits and it made it read better. Why is that? Would a piece of smoked plastic (that is transparent but dark) help this clock too?
Purely for contrast. And not needed for anything that is used only in dark environments.
However… if you look at it at normal lighting conditions, you see the digits even when they aren’t lighted.
So by putting a filter over it you increase the contrast between the lit and dark digits.
Because without a filter, the light hitting the segments that are OFF, simply reflect and are clearly visible.
With a filter the light hitting the OFF segement needs to go through that filter TWICE (once to hit the digit and once to return to your eye). But the digit that is ON only needs to go through that same filter once and if the filter is chosen correctly, it will pass the light of the ON digit relatively easy (red filter for red digit).
But you’ll rarely see this in DIY projects, simply because adding a filter seems to be difficult. Strange because a simple piece of correctly colored candy wrap can do the trick for even the tiniest of displays. But I guess it is mostly because people don’t know and therefore don’t care. It is also very rare to see a project with normal piece of glass in front of a display and a decent bezel is also non present in most project here either. But because the filter is mostly a thick piece of colored plastic, it acts as both a filter and a piece of protective glass.
So in short, the filter is the finishing touch that improves contrast greatly. But you can get away with it when you use your project in dark environments OR when you’re segment light source (LED) is so bright that it will always be significantly brighter then the reflected light from the OFF segments.
There is a small sidenote, if you spend hours and hours printing a set of 7-segments displays to hang on your wall, you DO NOT want to hide it behind a piece of colored glass. So in the case it makes sense not to use an additional filter over the entire display. However… if he did, it would be much better to read during the day.
That’s would be a great idea for a red display yes. But using a red filter for this project would defeat the point of being able to display the range of colours the led strips are capable of. Eg. Green will not show very well if at all through a red filter. So I’m sure he used the diffuser by design in this case. And not because he forgot to use a red filter! 😏
Neutral Density Filter. i.e. gray
Really? Because this looks like a prime example of how NOT to use a 3d printer.
Spending how long, how much power, and how much on filament to make something that could have been made just as easily with $30 worth of acrylic/polycarbonate sheets?
This is LITERALLY a “What 3d printing isn’t for” video…