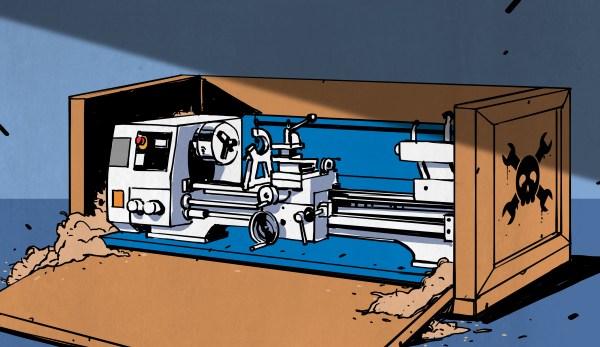
Scratch Building A Lathe From Pieces Of Granite

As hackers, we’re well accustomed to working with what we have on hand. That’s the name of the game, really. A large majority of the projects that have graced these pages are the direct result of trying to coerce a piece of hardware or software into doing something it was never designed to do, for better or for worse.

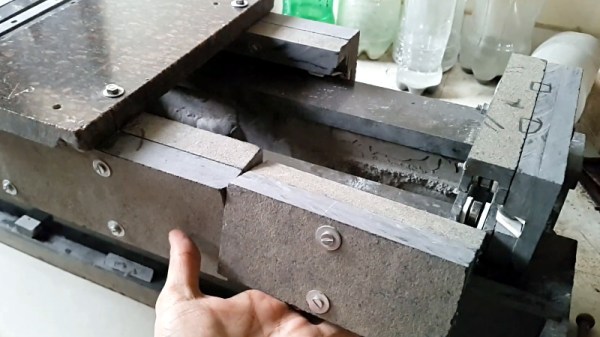
But even still, attempting to build a functional lathe using scrap pieces from granite countertops is a new one for us. [Nonsense Creativity] has spent the last several months working on this build, and as of his latest video, it’s finally getting to the point at which the casual observer might recognise where he’s going with it.

We won’t even hazard a guess as to the suitability of thick pieces of granite for building tools, but we’re willing to bet that it will be plenty heavy enough. Then again, his choice of building material might not be completely without precedent. After all, we once saw a lathe built out of concrete.

Building a lathe out of what you’ve got laying around the shop is of course something of a tradition at this point., but if you’re not quite up to the challenge of cutting your own metal (or granite, as the case may be), [Quinn Dunki] has put together a lathe buying guide that you may find useful.

Continue reading “Scratch Building A Lathe From Pieces Of Granite”

Casting The Bed Of A CNC Machine In Granite

If you’re looking at CNC machines, or machine tools in general, heavier is better. That old drill press or mill made of a few hundred pounds of cast iron isn’t just better because it’s stood the test of time for a hundred years — greater mass equals less vibration. Thanks to modern epoxy resins, we now have a replacement for tons and tons of iron. Epoxy granite, or chips of granite bound together with epoxy resin, is a viable and very good base for CNC machines, mills, and other tools that are served well with a ton of mass. [Joerg Beigang] is building his own CNC router, and he’s building the base out of epoxy granite. Here’s how he’s doing it.

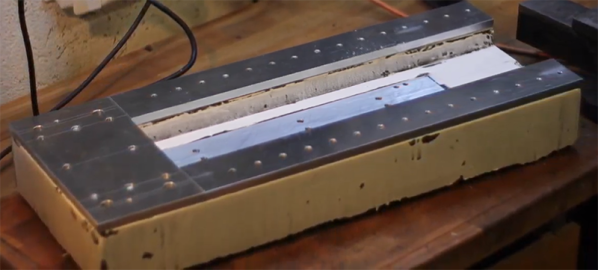
Before you pour epoxy into a mold, you’ll need to figure out how you’re going to attach your ways, linear rails, and ball screws. [Joreg] is bolting these parts to pieces of aluminum he cut on his home made panel saw before carefully drilling and tapping them to accept the linear rails. These aluminum plates were then mounted to the bottom panel of the mold, in this case melamine-coated plywood.

As you would expect, the most intricate part of this build isn’t globbing up a mold with epoxy resin. No, the real trick here is making sure the rails of the CNC are aligned perfectly before the epoxy goes in. This was done by bolting the linear rails to the mold box and checking everything with a dial indicator. Once that was done it was time to pour.

The bed itself is made of 18kg of epoxy granite, with the entire pour done in four batches. The best way to settle a big pour of epoxy granite is through vibration, just like concrete, but it looks as though [Joreg] is getting some good results by tamping it down with a few sticks. You can check out the first part of this build series below.

If we’ve captured your interest, it’s worth reminding you that this isn’t the first epoxy granite CNC machine we’ve featured.

Continue reading “Casting The Bed Of A CNC Machine In Granite”

A Polymer Concrete DIY CNC With No Perceptible Budget In Sight

The Jargon File describes a wizard as someone who groks something to a very high degree, or the kind of person that builds a polymer concrete CNC machine with a pneumatic tool changing spindle that they designed by themselves.  It makes you think that maybe Tony Stark COULD build it in a cave with scraps.

It’s a five part video series showing snippets of the build process. The last video gives an overview of the design of the machine. It is all very much in German, so if you speak German and we got anything wrong about the machine or missed anything cool, please fill us in down in the comments.

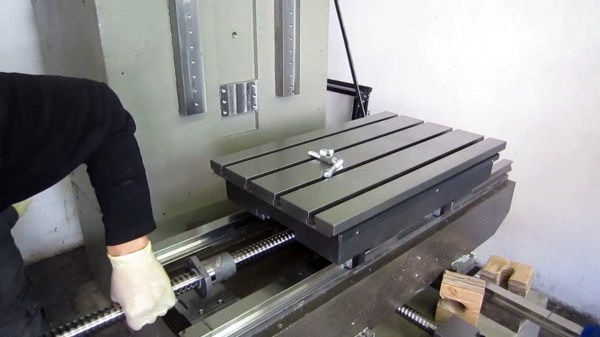
The machine starts with a 1500 kg polymer concrete pour with some steel stock embedded in it. It is then machined within an inch mm of its life as shown by practically zero deviation over its length when measured against a granite block. The wizard then goes on to make his own spindle, get castings made, and more. We liked his flowery kitchen hotplate, which he used to heat the bearings for an interference fit. It added a certain amount of style.

Unfortunately the videos don’t show the machine running, but we assume this sort of person is happily building arc reactors, power suits, and fighting crime. They probably don’t have time to film “CNC Bearbeitungszentrum im Eigenbau Teil 5”. Videos after the break.

Continue reading “A Polymer Concrete DIY CNC With No Perceptible Budget In Sight”

Bricking Your 3D Printer, In A Good Way

In our vernacular, bricking something is almost never good. It implies that something has gone very wrong indeed, and that your once-useful and likely expensive widget is now about as useful as a brick. Given their importance to civilization, that seems somewhat unfair to bricks, but it gets the point across.

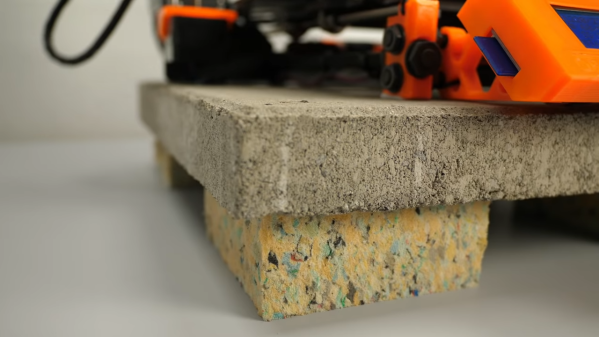
It turns out, though, that bricks can play an important role in 3D-printing in terms of both noise control and print quality. As [Stefan] points out in the video below, living with a 3D printer whirring away on a long print can be disturbing, especially when the vibrations of the stepper motors are transmitted into and amplified by a solid surface, like a benchtop. He found that isolating the printer from the resonant surface was the key. While the stock felt pad feet on his Original Prusa i3 Mk 3S helped, the best results were achieved by building a platform of closed-cell packing foam and a concrete paver block. The combination of the springy foam and the dampening mass of the paver brought the sound level down almost 8 dBA.

[Stefan] also thoughtfully tested his setups on print quality. Machine tools generally perform better with more mass to damp unwanted vibration, so it stands to reason that perching a printer on top of a heavy concrete slab would improve performance. Even though the difference in quality wasn’t huge, it was noticeable, and coupled with the noise reduction, it makes the inclusion of a paver and some scraps of foam into your printing setup a no-brainer.

Not content to spend just a couple of bucks on a paver for vibration damping? Then cast a composite epoxy base for your machine — either with aluminum or with granite.

Continue reading “Bricking Your 3D Printer, In A Good Way”

Hackaday guide to Lathes

The Machinists’ Mantra: Level Thy Lathe

Let’s say you’ve gone and bought yourself a sweet sweet metal lathe. Maybe it’s one of the new price-conscious Asian models, or maybe it’s a lovely old cast iron beast that you found behind a foreclosed machine shop. You followed all the advice for setting it up, and now you’re ready to make chips, right? Well, not so fast. Unlike other big power tools, such as band saws or whatever people use to modify dead trees, machine tools need to be properly level. Not, “Hurr hurr my carpenter’s level says the bubble is in the middle”, but like really level.

This is especially true for lathes, but leveling is actually a proxy for something else. What you’re really doing is getting the entire machine in one plane. Leveling is a primitive way of removing twist from the structure. It may not seem like a huge piece of cast iron could possibly twist, but at very small scales it does! Everything is a spring, and imperceptible twist in the machine will show up as your lathe turning a couple thousandths of taper (cone) when it should be making perfect cylinders. All this is to say, before making chips, level your lathe. Let me show you the way. Continue reading “The Machinists’ Mantra: Level Thy Lathe”