At first we thought that [Pete Prodoehl] was using the wrong term when calling his project a Laser Kaleidoscope. We usually think of a kaleidoscope as a long tube with three mirrors and some beads or glass shards in one end. But we looked it up and there’s a second definition that means a constantly changing pattern. This fits the bill. Just like the laser Spirograph from last week, it makes fancy patterns using spinning mirrors. But [Pete] went with several 3D printed parts rather than repurposing PC fans.
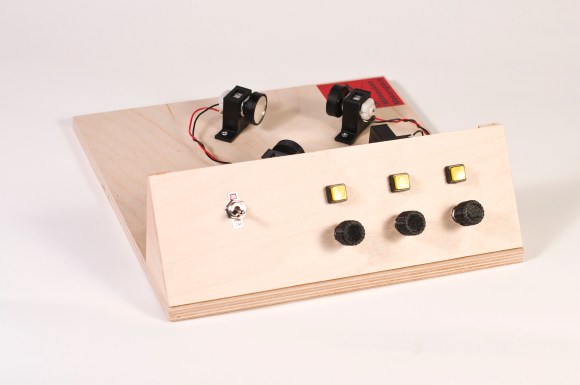
In the foreground you can see the potentiometers which adjust the motor speeds. The knobs for these were all 3D printed. He also printed the mounting brackets for the three motors and the laser diode. A third set of printed parts makes mounting the round mirrors on the motor shaft quite easy. All of this came together with very tight tolerances as shown by the advanced shapes he manages to produce in the video after the break. Continue reading “Laser Kaleidoscope Uses More 3D Printing And Less Scavenging”