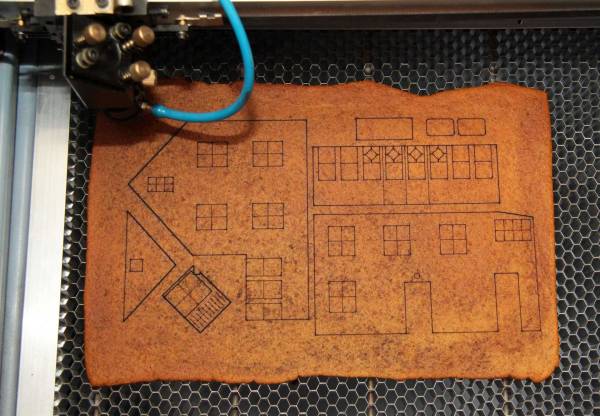
Members of Sector67 tried their hands at laser cut gingerbread houses. The Madison, Wisconsin based hackerspace is using the tabbed box method of assembly for the corners of the structure. They’ve also put up a bunch of information about laser settings and published the recipe used to mix up a sheet of gingerbread. This quite a bit more info than was provided with the project we saw a couple of weeks back.
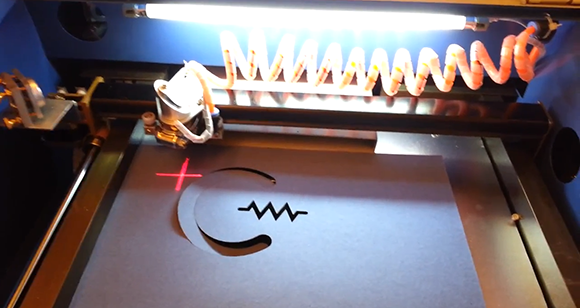
The initial designs were made in Inkscape and then transferred to Corel Draw before heading to the cutter. They’ve got a 150W machine and found that a speed of 15 worked well when the speed was set to 100, with a corner speed of 60. The raw dough was rolled out to 1/8″ thickness. Possibly the best tip coming out of Sector67 is to lay 1/8″ dowels on either side of the dough. This way the rolling pin will stop when it hits the dowels resulting in the best possible uniform thickness. As reported in the previous project the odor generated while cutting is not the most pleasant. But we love the fusion of lasers with the age old process of building with cookies and decorating with candy.