Most project tips involving brainwaves get passed over because it’s hard to make much out of that type of control. This project doesn’t necessarily make progress on the control side on this, but you have to admit that herding life forms with your thoughts deserves a closer look.
[Geva] set up a rig that allows him to interact with paramecium — tiny single cell organism that are happy to swim around all day long. Just like vertebrates they’re not big fans of electric shocks. Run some current through the fluid and they’ll swim toward the negative electrode.
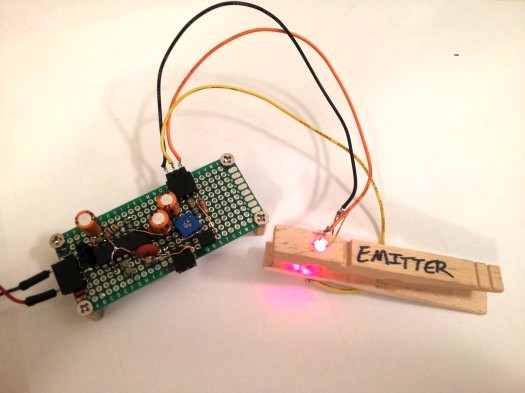
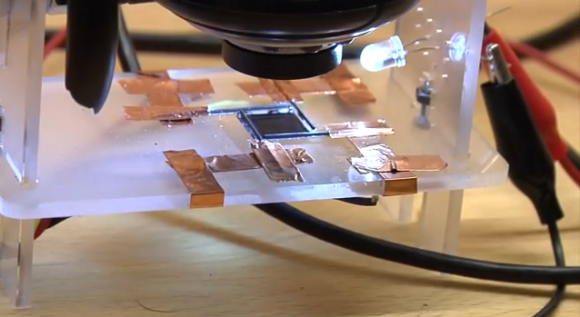
This experiment uses four pencil leads as electrodes. These are driven by an Arduino which reacts to the input from a toy brain wave device. Concentrate in just the right way and they will swim wherever you will them to.
This isn’t quite as involved as cockroach mind control, but it’s every bit as interesting
Continue reading “Herd Single Cell Organisms With Your Mind”