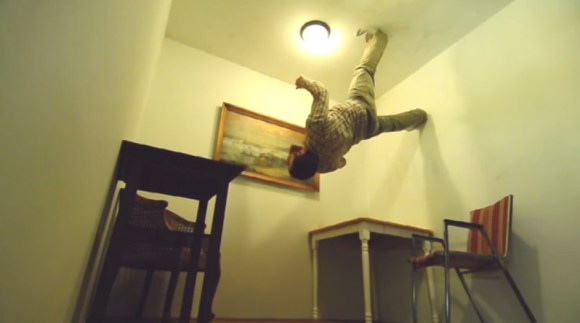
They built a shed using only this tool
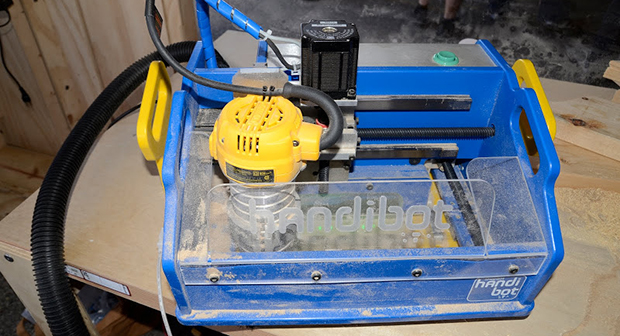
One of the more interesting structures at WMF was a garden shed made entirely out of plywood cut with the Handibot. It’s a handheld luggable CNC router that allows you to place the machine over a work piece, punch some settings into the software, and cut mortises, CNC engravings, and just about any other shape you can imagine.
The Handibot recently finished a very successful Kickstarter, and from the looks of it they have a really great tool on their hands. They managed to carve a few Hackaday logos in the floor of their shed, but we forgot to film that. It was a busy day.
Future Crew and a 1930s teletype Model 15 Teletype

Being from the area, NYC Resistor, the Brooklyn-based hackerspace just had to make a showing. Some of the smaller project they brought with them is Space Rocks, an Asteroids clone played on an old, slowly dying oscilloscope. They also had a Minitel terminal made for the US market, which was just weird.
Their big, impressive project for the Maker Faire was Future Crew a Starship/TARDIS bridge simulation game that pits five players against a common enemy: time itself.
Each station has a certain task, such as advancing the timeline on an old video edit console, playing a short ditty on a toy electronic piano, and reading what a Model 15 Teletype was printing out. All these stations are connected to a Raspberry Pi, and the game looks really fun, provided all the players know what’s going on.
Now we know what Make does with their networking hardware
For anyone who visited Maker Faire, you may have noticed your iDevice’s current location was in San Mateo, CA. I noticed this when my MacBook’s time was set for Pacific time, and a few other people who were there early on Saturday told me their iPhones were doing the same thing.
Apparently, shipping a bunch of WiFi routers across the country (along with a bunch of PA gear and other ephemera) is cheaper than buying two sets and warehousing them. This was mildly interesting and we’re now accepting proposals to figure out how quickly Apple/Google/Whatever’s database can be updated with the correct information. Deadline for applications is before the next SFO Maker Faire.
Phone Trucks Around the World
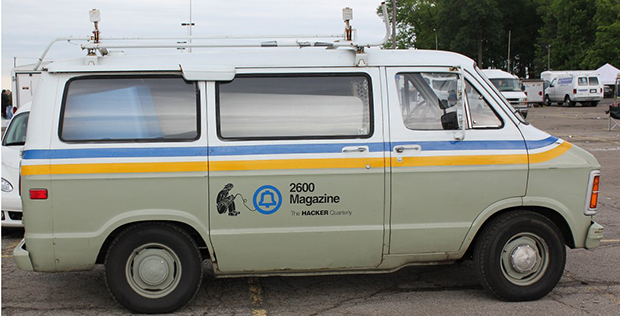
Like most years, 2600 made a showing with their reclaimed Bell service van, ‘Free Kevin’ bumper sticker included. They had a ton of swag including a few old HOPE badges, current and back issues, t-shirts, Department of Hopeland Security passports and stickers.
The 2600 van did give us a few ideas should Hackaday ever need a booth for Maker Faires and other shows. Anyone up for building a heart-shaped bed?