When it comes to routers, there is one that is hacker’s favorite, the WRT54GL. But a slightly lesser known company, Pirelli with their “Alice Gate2 plus Wi-Fi”, seems to be a popular choice among our Italian friends.
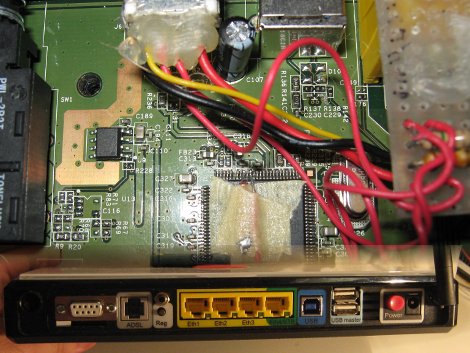
[Esteban] has done everything from installing serial and parallel ports, to unlocking firmware while installing Debian. Our personal favorite is the creative wiring of an additional USB port, where he had to custom create a power circuit to run his webcam and external drive.
[Thanks Marco]
[Update: It would appear Roleo, Beghiaro, and Zibri did the actual grunt work at ilpuntotecnicoeadsl and Esteban simply wrote the guides. Thanks for your hard work and hacking skills guys!]


