DHT11 Humidity And Temperature Sensor Package

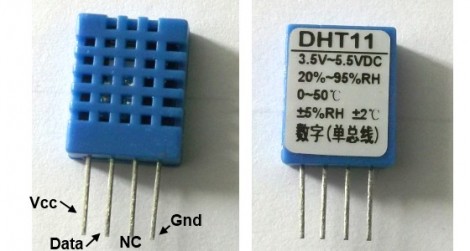
Temperature and humidity measurements are a nice addition to many hobby projects. But [Rajendra Bhatt] makes the point that many of these sensors have a price tag that is well above what most hobbiests are willing to spend. He decided to take an in-depth look at the DHT11 sensor; which you can get your hands on for under $3 if you know where to look.

The four-pin device uses a 1-wire protocol. [Rajendra] discusses the ins and outs of the communications, demonstrating the part using a PIC 16F628. It’s a snap to connect to your project, requiring VCC, GND, and a pull-up resistor on the single data line. We’ve already seen it used on at least one project, and hope to see more of this little guy in your own hacks.

Now we found this part listed on eBay for less than $3 (buy it now price including shipping… how can they do that?). But Octopart didn’t come up with any options. If you know how to get this through traditional parts suppliers let us know in the comments.
TSC230 Color Light-to-Frequency Module

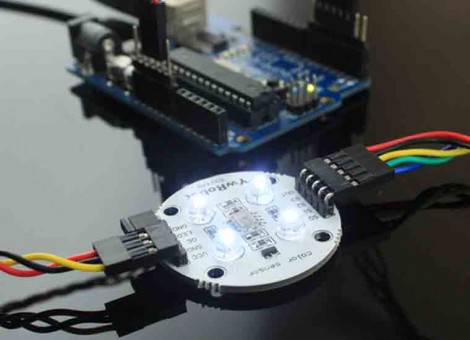
ElecFreaks is selling a new color sensing module based on the TSC230 sensor. They’ve posted a demonstration using an Arduino that shows off what this sensor is capable of. The module includes four white LEDs which give a baseline of light to help normalize readings when reflected off of differently colored surfaces. The white balance of the sensor needs to calibrated in software in order to ensure accurate readings, but once that’s done you’ll be cable to pull RGB values off of whatever you put in front of the sensor.

What a nice addition to sorting machines like this LEGO sorter. Of course you can do something like this yourself using an RGB LED as a detector, but the TSC230 is extremely sensitive and should be quite reliable in comparison. They’re selling the module for $15, a price point that’s hard to beat if you need precise color detection in your next project. A colored token reader for your MAME cabinet perhaps?

An ARM Dev Board You Can Make At Home


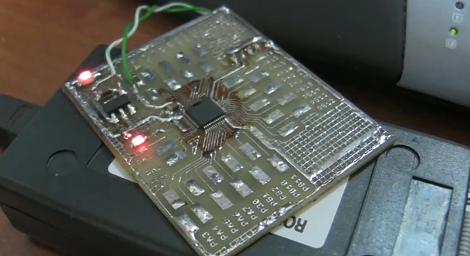
[BarsMonster] just challenged our conceptions of ARM development with his single-sided development board that’s loaded with an STM32F100 (PDF warning) ARM microcontroller. The board is remarkably simple – just a regulator, resistor and a few caps are necessary to get a $1 ARM μC up and running.

Continue reading “An ARM Dev Board You Can Make At Home” →

Component Storage Roundup

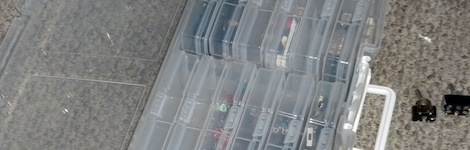
It’s been suggested that the first self-replicating computer virus was a single IC that eventually expanded into multiple plastic component storage boxes. Organizing components by their values is a huge PITA as well. Here’s some solutions we’ve found:

Photo Boxes

[Mathew] sent in his organization scheme that uses 4×6 photo boxes. Better get those boxes while they’re hot – we can’t remember the last time we used film.

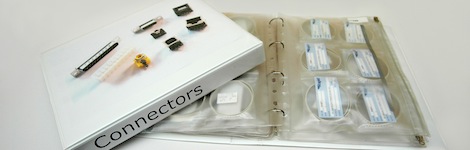
Use a binder

This instructables uses binders for storage. Good for passives, but unless someone can find anti-static bags for a binder, we’ll keep our ICs separate.

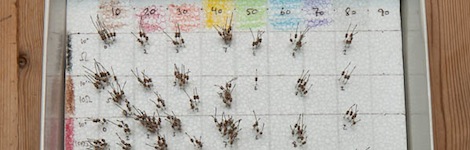
The only way to organize resistors

[Johannes] stores his resistors on a sheet of styrofoam. The grid has the first color band on the left side and the second color band on the top. Extremely, extremely clever. We’re wondering why we Radio Shack didn’t come up with this in the 70s. The grid could be laid out on a log scale, though.

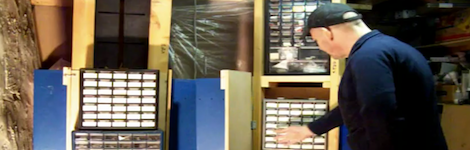
If Susan is lazy, why does she do all the work?

[D.C. Boyce] hacked up a couple of lazy susans, built frames out of 2x4s and mounted plastic component drawers on them. The result is probably more space than we’ll ever need. To keep things simple, he wrote a database program to keep track of everything.

All About Accelerometers

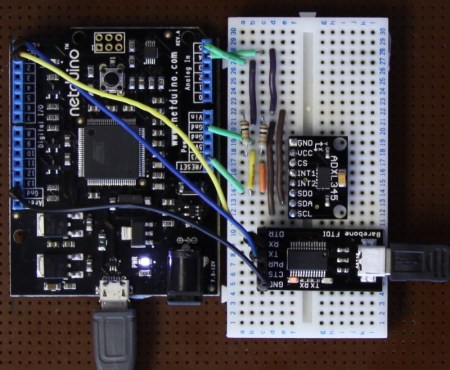
If you’ve ever wondered about the use of or theory behind or the use of accelerometers, this tutorial by Love Electronics is a very good resource. In this article, Love takes one through how to hook up an ADXL345 accelerometer and use it with a Netduino processor. Before the subject of hooking everything up is broached, a very good discussion is given on the general theory and operation of accelerometers.

Information is given about installing all the required software and libraries. Additionally, a mini tutorial about writing a “hello” application using the .NET framework is given. Finally, the application gives the [Windows Presentation Foundation] tools necessary to visualize the raw data that the Netduino produces.

One could really start using this processor and accelerometer from scratch with this tutorial and some basic electronics knowledge.  This could add a great new feature to your next robot or allow measurement that couldn’t be done with simpler sensors.

Color Changing EL Wire

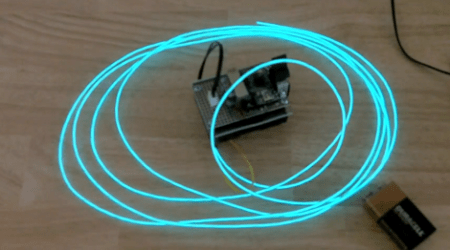
All EL wire drivers use a resonator circuit to supply power to the EL wire. It’s an efficient system, but [Paul] noticed that there was some color change when powering different lengths of wire off of the same driver. He realized that this is because of the changing frequency of the resonator circuit, so the only reasonable thing for [Paul] to do was to build a color fading EL wire driver.

The circuit used to drive the wire is very simple. [Paul] used a Teensy board to switch two transistors and produce AC current. This is sent through a step-up transformer which powers the EL wire. It was necessary to use aqua or ‘Tron blue’ EL wire for this build because of the clear wire jacket. Many colors of EL wire have a fluorescent jacket – much like a fluorescent light bulb – that changes the color produced inside the wire to something different. [Paul] says the color change is subtle, but unique.

Of course the build is nothing without a video of the color changing EL wire. Check it out after the break.

Continue reading “Color Changing EL Wire” →

DIY Resin Cast Project Box

resin_casting

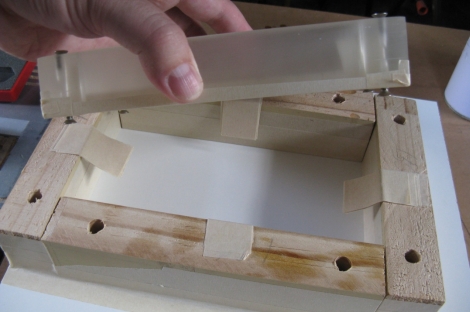
[Rhys] wrote in to share a custom project box he built from scratch using polyester resin. He states that in New Zealand, he tends to have problems finding the perfect project box. They are typically too big or small to get the job done, so he figured he might as well just build his own to spec.

Using Google SketchUp, he designed his ideal project box, then got busy building wooden molds. He scored some free melamine scraps from a local company, which he used to build the base of his molding rig. Once the inner and outer molds were built, he secured them to his base and mixed up some polyester resin.

A few hours later, he pulled apart his molds and smoothed out his project box with some sandpaper. He drilled and tapped screw holes, then prepared to make a lid and base for the box.

He admits that the process is quite involved, but there is something to be said for building yourself an enclosure made specifically for the project it is going to house. If you are looking to do something similar be sure to check out his blog – he offers up some sound resin casting tips, as well as some pitfalls to avoid.