One of the great things about building electronics today is how affordable SMT components have become — sometimes just fractions of a cent each. That low price often means ordering far more than you need so you’ll have spares on hand the next time a project calls for them. Keeping track of exactly how many of each part you actually have, though, is rarely easy. To solve that problem, [John] built the Dotterboard, an open-source SMT tape counter.
While working on some of his other projects, [John] found himself managing thousands of tiny SMT parts and decided it was time to automate the counting. The Dotterboard takes inspiration from the BeanCounter — a compact, portable SMT tape counter — but expands the design to handle larger components beyond the 8 mm tapes the BeanCounter targets.
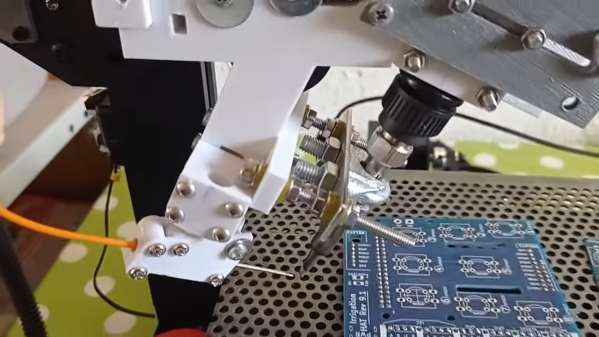
The Dotterboard is mostly 3D-printed and uses just a few common hardware parts such as springs and ball bearings. An OLED displays the current count, which comes from an encoder tracking movement and multiplying by the number of components per hole. At the heart sits an RP2040 Zero that needs nothing more than a single USB-C cable for power, unlike the bulky industrial SMT counters that demand AC outlets and desk space.
Be sure to check out all the details of the build on [John]’s website, and grab the files from his GitHub if you want to make your own. Let us know what are some projects you’ve done to save you the headache of doing the same task by hand for hours on end.
Continue reading “Tame The Tape: Open-Source Dotterboard For Bulk SMT Parts”