Switching Over To SMPS For Efficiency

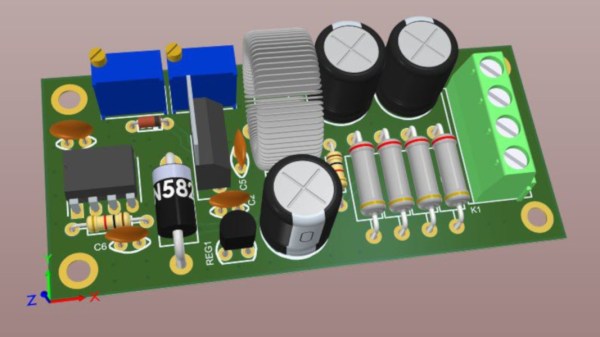
[Hesam Moshiri] has built a variable switch-mode power supply over on hackaday.io. When prototyping a new circuit, often the goal is to get a proof-of-concept working as soon as possible to iron out all of the bugs it might have. The power supply can easily be an afterthought, and for smaller projects we might just reach for an adjustable LM317 voltage regulator to dial in the correct voltage and then move on with the meat of the project. These linear regulators are incredibly inefficient though, so if you find yourself prototyping with one of these often enough, it might be worthwhile to switch to something better.

While it’s easy to simply buy a switch-mode power supply (SMPS) that has everything you need, and rated for 90% or higher efficiency at the same time, getting one with an adjustable output isn’t as easy. This one is based on the relatively popular LM2576-Adj chip which handles the switching frequency part of the circuit automatically. You will also need some large capacitors, an inductor (one of the disadvantages of an SMPS circuit) and a small potentiometer to use as the feedback control for the LM2576. This special pin allows the output voltage of the SMPS to be precisely controlled.

Granted, this project might not be breaking any new grounds, but if you’ve never given serious thought to your small breadboard circuit power supplies, it’s definitely worth looking into. An improvement from a linear regulator’s 30% efficiency to 90% efficiency from an SMPS will not only save you a ton of energy but also solve a lot of heat dissipation problems. If you don’t want to build a switch-mode supply 100% from scratch, though, it might also be possible to modify an existing one to suit your needs as well.

Junkbox Constant Current Source Helps With Kelvin Sensing

Is it ironic when a YouTube channel named “The Current Source” needs to build a current source? Or is that not ironic and actually just coincidental?

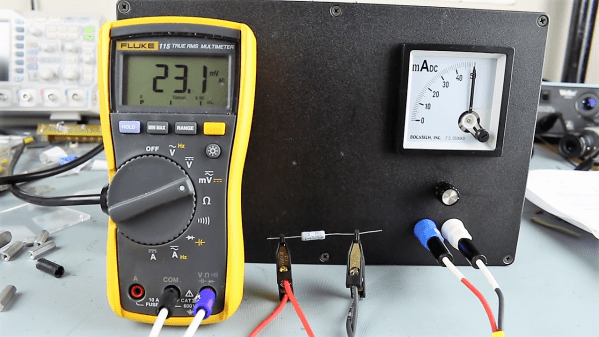
Regardless of linguistic considerations, [Derek], proprietor of the aforementioned channel has made and disassembled a few current sources in his day. Most of those jobs were for one-off precision measurements or even to drive a string of LEDs in what he describes as a pair of migraine-inducing glasses. Thankfully, The junk box current source presented in the video below is more in service of the former than the latter, as his goal is to measure very small resistances in semiconductors using Kelvin clips.

The current source uses a 24-volt switch-mode power supply and the popular LM317 adjustable voltage regulator. The ‘317 can be configured in a constant current mode by connecting the chip’s adjustment pin to the output through a series resistance. A multiturn pot provides current adjustment, although the logarithmic taper is not exactly optimal for the application. We spotted a pair of what appear to be optoisolators in the build too, but there’s no schematic and no discussion of what they do. [Derek] puts the final product to use for a Kelvin measurement of a 0.47-Ω 1% resistor at the end of the video.

We’re glad to see [Derek] in action; you may recall his earlier video about measuring his own radiation with a Geiger counter after treatment for thyroid cancer. Here’s hoping that’s behind him now.

Continue reading “Junkbox Constant Current Source Helps With Kelvin Sensing”

Dewalt Radio Repair

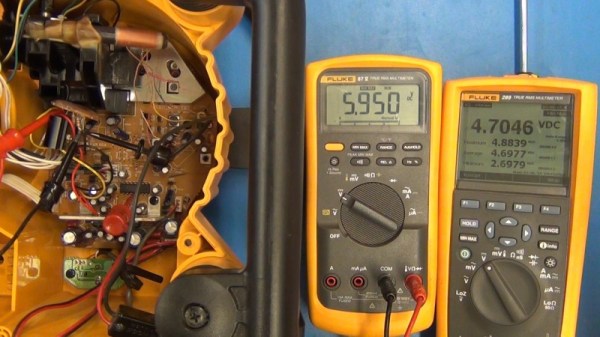
We’re suckers for repair videos and this Dewalt worksite radio repair (YouTube Link) from Hackaday alum [Todd Harrison] is no exception. Like a detective story, we’re always trying to guess who did it.

In his first video [Todd] traced the issue down to a faulty 6 volt regulator which was pushing out 8 volts. He fixed that by hacking a LM317 into the circuit to replace the original non-adjustable part. That helped but after a few days the radio failed again. So here he traced out the voltages to find the second culprit. Along the way, we get to see some of the nicer features of his Fluke 87 and 289 meters. As well as puzzling over the some of the design decisions in the radios construction, before identifying the final issue.

We won’t spoil the surprise, but find out how Todd solves this riddle, wrapped in a mystery, inside an enigma in the video below!

Continue reading “Dewalt Radio Repair”

Using A Voltage Regulator As A Constant Current Source

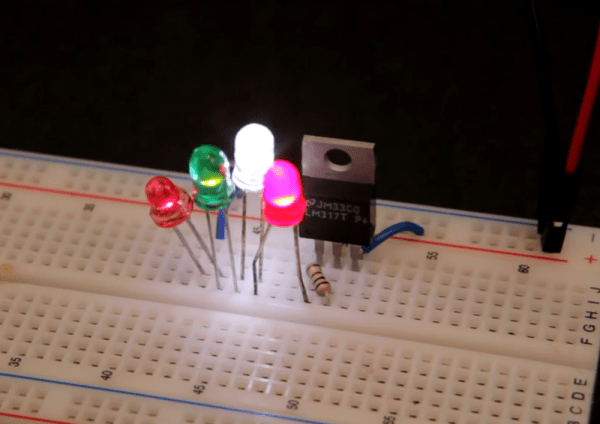
[Afroman] contacted us to share his new video on the LM317. The humble LM317 adjustable voltage regulator is everywhere. From wifi routers, to high spec lab equipment. Given a noisy input and a variable load, a voltage regulator will give a nice clean, stable output voltage. We’ve covered the basic operation and usage of the LM317 many times. But even the most common of parts can be used in new and interesting ways.

In his video [Afroman] describes how the LM317 can be used to regulate current rather than voltage to provide a constant current source under varying load. This can useful for a number of applications including driving LEDs and laser diodes. While this circuit may not be as efficient as an LED driver module or a switching solution the LM317 is cheap and readily available. [Afroman] also describes how the circuit works in detail allowing us to enjoy this ubiquitous part in this slightly unusual application.

Continue reading “Using A Voltage Regulator As A Constant Current Source”

Wireless Weather Station

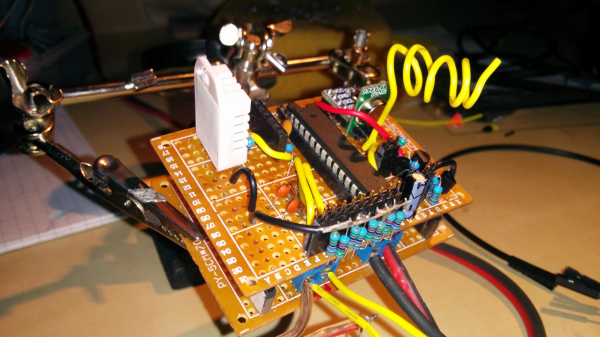
High schooler [Vlad] spent about a year building up his battery-operated, wireless weather station. Along the way, not only has he learnt a lot and picked up useful skills, but also managed to blog his progress.

The station measures temperature, humidity, pressure and battery voltage, and he plans to add sensors for wind speed, wind direction and rainfall soon. It is powered via a solar panel and can run on a charged battery for a full month. The sensor module transmits data to a remote receiver connected to a computer from where it is published to the internet. Barometric pressure is measured using the BMP180 and the DHT22 provides temperature and humidity values. The link between the transmit and receive sections uses a 433MHz Superhetrodyne RF Kit which gives [Vlad] a range of 50m. There’s an ATMega328 on the transmitter and receiver side. He’s taking measurements once every 12 minutes, and putting the micro controller in low power mode using the Rocket Scream Low Power Library. A 5W, 12V solar panel charges the 6V Lead Acid battery via a LM317 based charge circuit. This ensures the battery gets charged even when the solar panel is not receiving optimal radiation. One hour of sunlight provides enough charge to keep it going for 2 days. And a fully charged battery will keep it running for a full month even when there’s no sunlight.

The server software consists of two parts. The first pushes serial data to a mySQL database. This is written in Visual Studio C# using help from Oracle mySQL connector. The second part publishes the entries in the mySQL database to the web server. This is written in php, and uses  Libchart for graphing. He’s got the code, schematics, parts list and a lot of other information available for download on his blog. There’s a couple of items pending on his to-do list, so if you have any tips to offer post your comments below.

Unjettisoned Inkjet Turned Tumbler

printer parts tumblerDon’t throw out that old printer! Not that you would, but even if you’ve already scavenged it for parts, you can use the shell and the rollers to make a rock/coin/what-have-you tumbler. If your printer is part scanner, it might end up looking as cool as [th3_jungle_inv3ntor]’s. You’ll have to laser-cut your own arachnid to supervise from above, though.
Somewhere between having an irreparable printer, being inspired by another tumbler, and the desire to make a mancala set for his sister-in-law, [th3_jungle_inv3ntor] was sufficiently motivated to get out his hacksaw and gut the printer. He used the main paper roller and its motor to do the tumblin’, and a smaller roller to help accommodate different jar sizes.

Aside from adding those sweet blue LEDs, he wired in a toggle switch, a speed control pot, and an LM317 to govern the tumbling rate. Unfortunately, the rocks in [th3_jungle_inv3ntor]’s town are too soft and crumbly, so he can’t make that mancala set after all. But hey, (almost) free stuff tumbler.

No dead printers lying around? If you have a drill and a vise, you could always make a tumbler that way, and nothing is compromised but the peaches jar.

Bolstering Raspberry Pi HDMI With A Current Regulator

rpi-hdmi-current-regulator

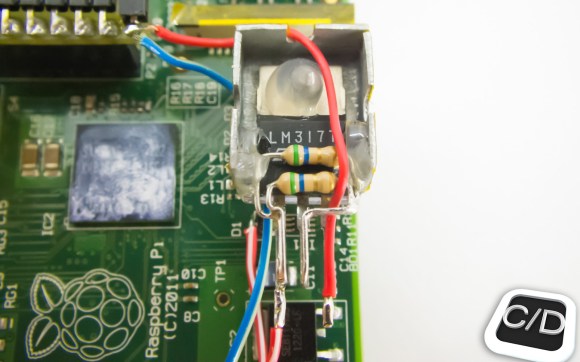
We’ve never tried using an HDMI to VGA converter with Raspberry Pi. We heard they were expensive and have always just used HDMI out (although DVI would be just as easy). Apparently if you have a VGA converter that isn’t powered the RPi board may output unstable video due to lack of current from the connector. [Orlando Cosimo] shows how to fix the problem with a few inexpensive components.

Just this morning we saw a portable PSU using an LM317. This project uses the same part, but in a different way. [Orlando] uses three resistors in parallel to make the LM317 behave like a current regulator (as opposed to a voltage regulator) which will output about 550 milliamps. Input voltage is pulled directly from the 5V line of the microUSB port. The output is injected into the HDMI connector. This will boost the amount of juice available to the unpowered VGA converter, stabilizing the system.

There are a lot of other power hacks out there for the RPi. One of our favorites is pulling the stock linear regulator in favor of a switch mode regulator.

[via Dangerous Prototypes]