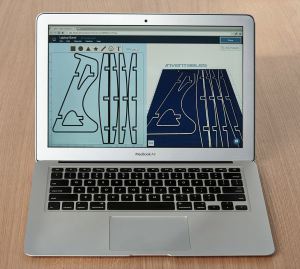
Inventables has been working hard on a successor to the extremely popular Shapeoko CNC milling machine, and to bring digital fabrication to the masses, they’ve created Easel, possibly the easiest 3D design software you’ll ever use. [Sacha] was trying out the beta version of Easel and mentioned to the dev mailing list he was running his installation on a Raspberry Pi. One of the developers chimed in, and after a bit of back and forth we now have a workflow to use Easel with the Raspberry Pi.
Easel is a web app, but since the graphics, design, and g-code generation are handled locally, even the most rudimentary CAD suite would choke the decidedly low power Raspi. Instead, [Sacha] is using the Raspberry to grab 2D and 3D files, turn that into g-code for a machine, and send it off to a Shapeoko router.
Easel doesn’t yet have local sender support that works on Linux, so a separate piece of software is used to shoot the g-code over a serial port to the machine. That’s something that will probably be added in a later version of Easel, making a Raspberry Pi a great way to control router or milling machine.

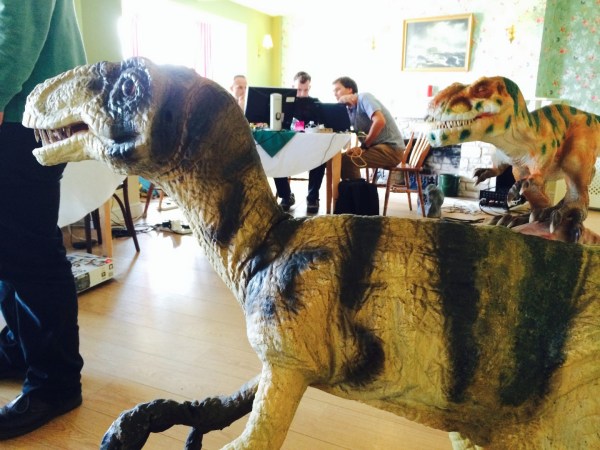
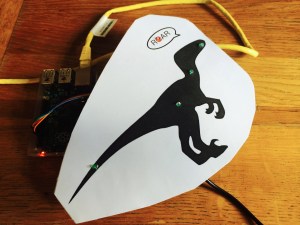 Before the group arrived, the native dinos didn’t do much else than run a preprogrammed routine when triggered by someone’s presence… which needless to say, lacks the appropriate prehistoric dynamism. Seeing that their dated wag, wiggle, and roar response could use a fresh breath of flair, the park’s technical projects coordinator [Mark Butler] began adapting one of the dinosaur’s control boxes to work with a Raspberry Pi. This is when [Lucy] and her group were called upon for a two-day long excursion of play and development. With help and guidance from Raspberry Pi expert, [Neil Ford], the group learned how to use a ‘drag and build’ programing environment called