You’re probably not going to hang out around Chernobyl any time soon. Still, knowing the conditions there can both satisfy your curiosity and provide scientific value. To that end, [Yury Ilyin] has spent the last couple decades installing homebrew weather stations across the Exclusion Zone for his own interest.
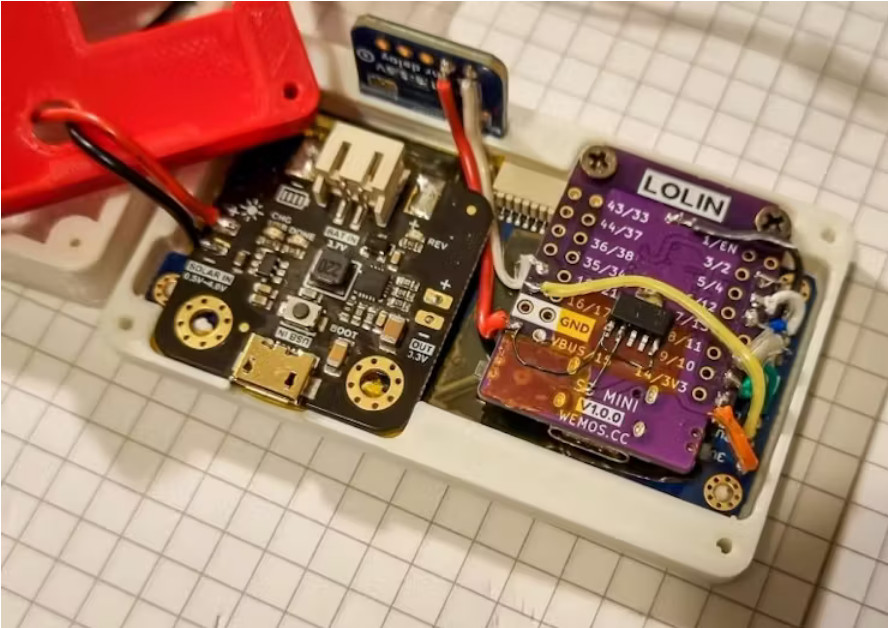
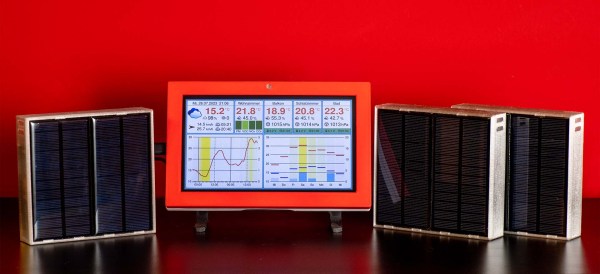
The remote weather stations that [Yury] builds all follow a similar design. Each runs on three 18650 lithium cells, charged via a small solar panel. Most of these cells were salvaged from old laptop battery packs. These cells are used to power a GPRS or WiFi communications module, along with a temperature, humidity, and pressure sensor, and a Geiger counter, because, well… it’s Chernobyl.
He has been lucky enough to keep costs down by finding an old generation GPRS SIM card that could be cloned and used across multiple devices, and thus far has had no trouble receiving signals from his many distributed stations. He’s been able to use his sensor network to track the gradual decline of radioactive emissions in the area from Cs-137, as well as keep an eye on the local weather conditions in an area few ever tread.
[Yury] has built over two dozen of these devices, and several have passed the test of time—with the lithium cells and cellular hardware surviving both high and freezing temperatures as well as the ravages of rain and time. He’s continued to refine the design over the years, starting out with an ATmega644 running the show, and later upgrading to STM32 microcontrollers.
We’ve explored distributed radiation sensor networks before, too, as well as many a remote weather station. Continue reading “DIY Weather Stations Report In From Chernobyl”