The invention of the relatively affordable 3D printer for home use has helped bring methods used to produce parts for prototypes, samples, and even manufacturing, closer to designers. This tutorial on how to cast metal parts from 3D printed silicone molds is a perfect example of how useful a 3D printer can be when you are looking to make a custom and durable metal part at home.
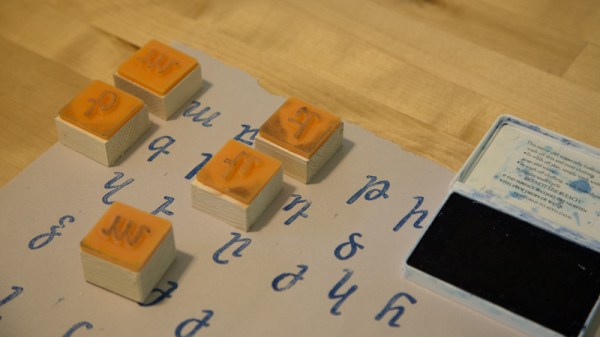
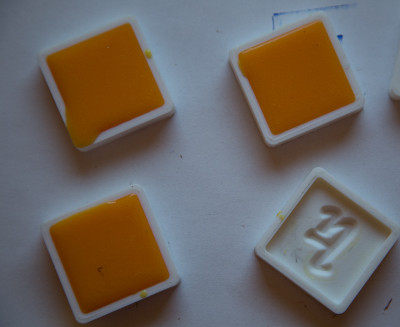
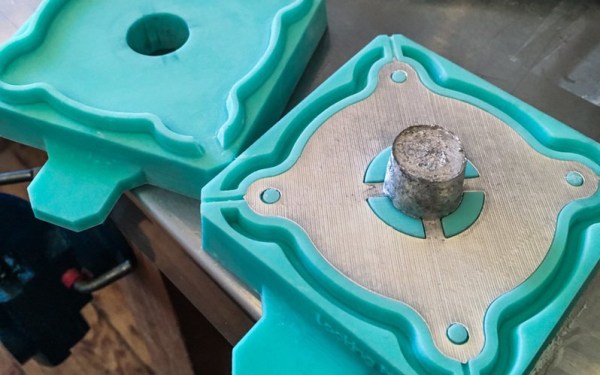
 After 3D printing a mold design using an Ultimaker 2 [Matt Borgatti] casts the mold using Smooth-On Mold Star 15 that can withstand heat up to 450 °F (232 °C), which he points out is ideal for the low-temp metal casting alloy tin-bismuth comprised of 58% Bismuth and 42% Tin with a melting point of 281 °F.
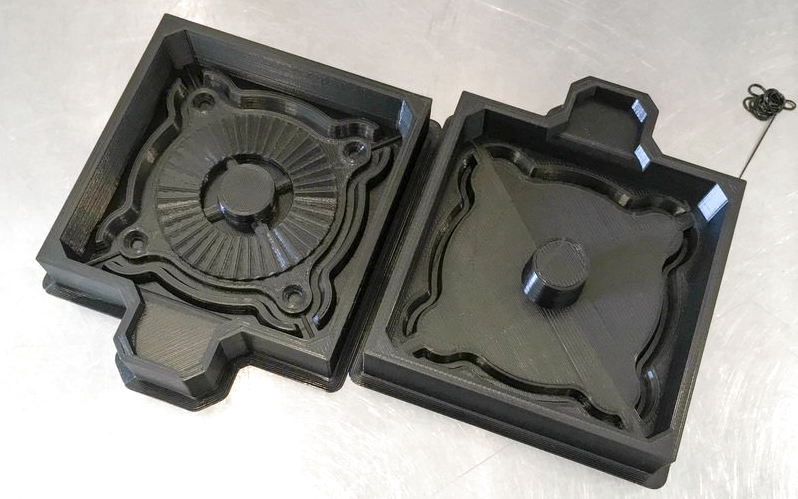
You may have heard of molds created from 3D printed parts before, but what makes this tutorial great is that the author, [Matt Borgatti], really sets you up to be successful. He offers up plenty of insights including mold-making techniques and terminology like why you would need a well and runners designed as part of your mold when casting with metal.
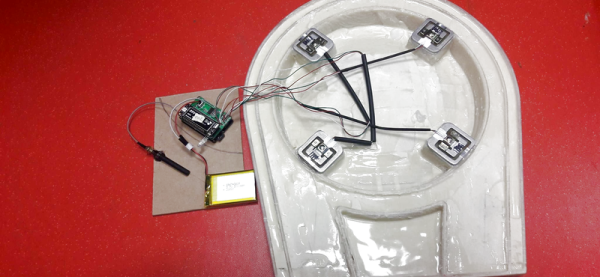
You can either reproduce his designs or use the tutorial to create your own which makes it a good start for beginners as well as another method to file away for people who already have experience 3D printing molds. This post is also really a twofer. Not only do you get detailed instructions for the method but [Matt Borgatti] uses his casted metal part for a flat-pack camera arm he designed to document projects with which you can also build using his files found on Thingiverse.
To create molds for precision parts and to learn more about using a 3D printer as a tool in the casting process, check out this method for creating higher resolution molds with a resin printer.
Continue reading “Casting Metal Parts And Silicone Molds From 3D Prints”