Collider Prints Hollow Shells, Fills Them

3D printing is full of innovations made by small firms who’ve tweaked the same basic ideas just a little bit, but come up with radically different outcomes. Collider, a small startup based in Chattanooga TN, is producing a DLP resin printer that prints hollow molds and then fills them.

colliderThat’s really all there is to it. The Orchid machine prints a thin shell using a photocuring resin, and uses this shell as the mold for various two-part thermoset materials: think epoxies, urethanes, and silicones. The part cures and the shell is dissolved away, leaving a solid molded part with the material properties that you chose.

This is a great idea for a couple of reasons. DLP-based resin printers can have very fine features, but they’re slow as dirt when a lot of surface area needs to be cured. By making thin-walled molds, this stage can go faster. The types of UV-curing resins out there for use in resin printers is limited by the need to photo-cure, while the spectrum of two-part plastic materials is much broader. Finally, resin printers are great for printing single topologically-simple objects, and molds are essentially just vases.

Continue reading “Collider Prints Hollow Shells, Fills Them”

Tools Of The Trade — Injection Molding

Having finished the Tools of the Trade series on circuit board assembly, let’s look at some of the common methods for doing enclosures. First, and possibly the most common, is injection molding. This is the process of taking hot plastic, squirting it through a small hole and into a cavity, letting it cool, and then removing the hardened plastic formed in the shape of the cavity.

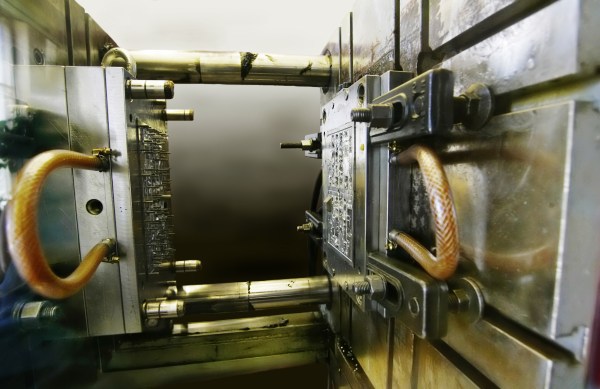
The machine itself has three major parts; the hopper, the screw, and the mold. The hopper is where the plastic pellets are dumped in. These pellets are tiny flecks of plastic, and if the product is to be colored there will be colorant pellets added at some ratio. The hopper will also usually have a dehumidifier attached to it to remove as much water from the pellets as possible. Water screws up the process because it vaporizes and creates little air bubbles.

Next the plastic flecks go into one end of the screw. The screw’s job is to turn slowly, forcing the plastic into ever smaller channels as it goes through a heating element, mixing the melted plastic with the colorant and getting consistent coloring, temperature, and ever increasing pressure. By the time the plastic is coming out the other end of the screw, and with the assistance of a hydraulic jack, it can be at hundreds of tons of pressure.

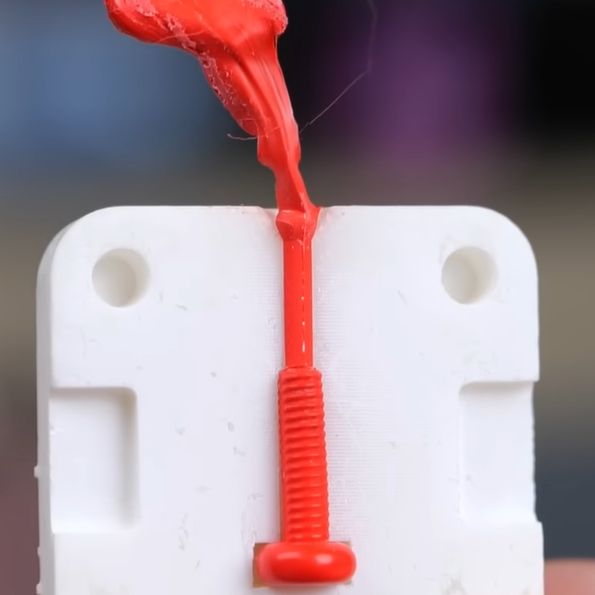
Finally, the plastic enters the mold, where it flows through channels into the empty cavity, and allowed to sit briefly to cool.  The mold then separates and ejector pins push the part out of the cavity.

Continue reading “Tools Of The Trade — Injection Molding”

3D Printed Injection Molds

A team at Budapest University has successfully created a functional injection mold for prototyping by using a Stratasys 3D printer.

Prototype injection molds are expensive. They are typically machined out of steel or aluminum which is both costly and time consuming, due to the complex geometries of most molds. [Dr. Jozsef Gabor Kovacs] works in the Department of Polymer Engineering at Budapest University, which is where he came up with the innovative approach of using 3D printing to produce a prototype mold.

The mold was printed in Digital ABS PolyJet Photopolymer plastic using a Objet Connex 3D printer. The injection material used was polyacetal; which has a fairly low melting point of 175°C. By using this method they were able to go from a prototype mold to a test part in less than 24 hours. We don’t even want to think about how expensive that would be to expedite from a machine shop.

After the break you can watch the entire production process from printing to molding.

Continue reading “3D Printed Injection Molds”