Generally speaking, creating custom mirrors is a complex task that involves a lot of careful grinding, and isn’t something to be taken lightly if you need precision results. Just ask the folks who provided NASA with a wonky mirror for the Hubble. But assuming you’re not working on an orbital space telescope (or even a ground based one, for that matter), [volzo] has recently documented some techniques for producing single and double curved mirrors of reasonable quality using common workshop tools.
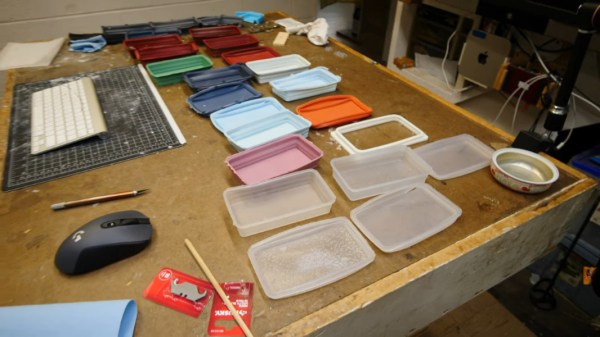
 The first step is finding something that’s a bit easier to work with than glass. After testing various reflective materials such as PVC foil and painted PETG sheets by comparing the reflections of projected test patterns, [volzo] found that laminated polystyrene gave the most accurate results. If you just want to make a simple bent mirror, he shows how you can pop one of these sheets on a CNC router, make the appropriate cuts, and fold them into shape.
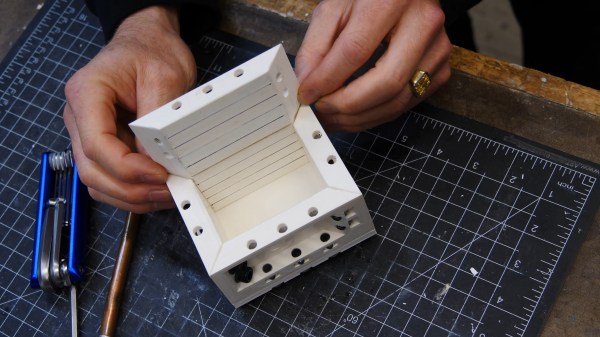
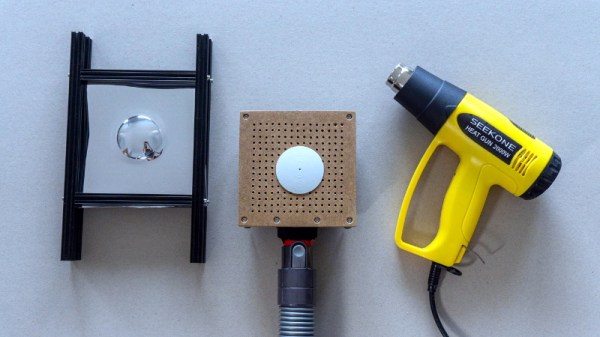
That part might seem a bit obvious, but what about a more complex shape? Here, [volzo] points to how the thin sheets of polystyrene also lend themselves to vacuum forming. As demonstrated in the video below, all it takes is a 3D printed plug and some basic equipment to rapidly produce mirrors in arbitrary shapes.
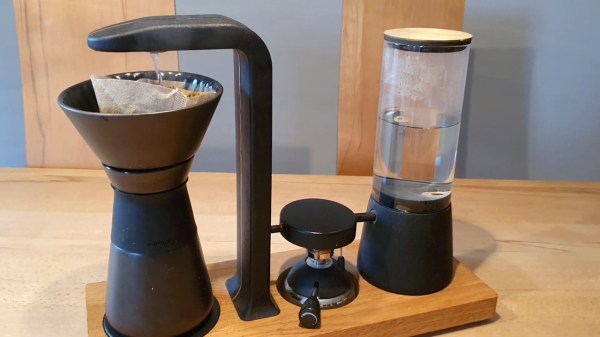
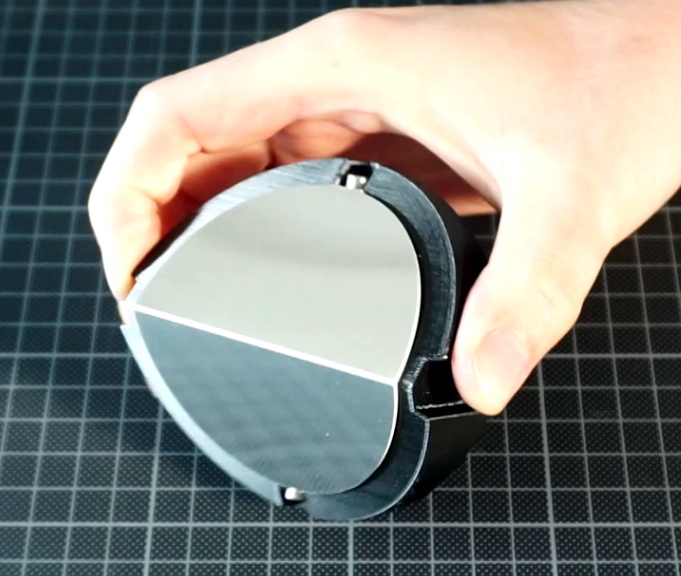
Now obviously the optical properties of such mirrors will leave something to be desired, but depending on your application, that might not be such a big deal. As examples [volzo] shows off a few projects using these custom mirrors, such as a tabletop camera that captures both sides of the table simultaneously and a circular projector. Laminated polystyrene could potentially even be used to create low-cost variable mirrors.