Since the dawn of the age of the automobile, motorheads have been obsessed with using as few wheels as possible. Not satisfied with the prospect of being incompletely maimed by a motorcycle, the monocycle was born. Gracing the covers of Popular magazines and other periodicals, these futuristic wheels of doom have transfixed hackers of all kinds. [James Bruton] is one such hacker, and in the video below the break you can see his second iteration of a 3d printed monowheel.
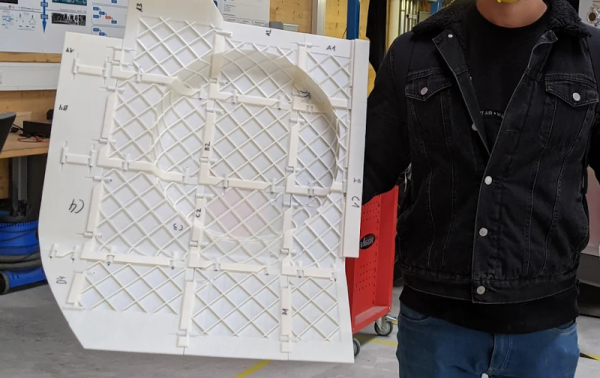
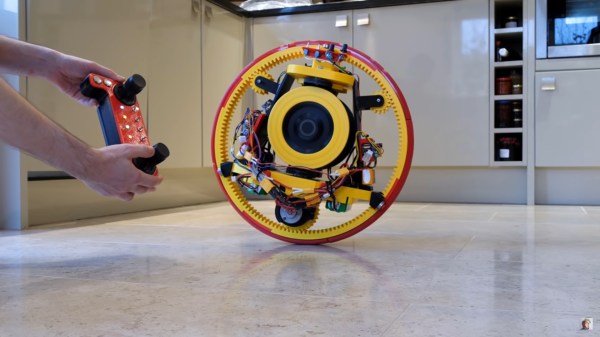
[James]’ wonderful monowheel is beautifully engineered. Bearing surfaces, gears, idlers, motors, and yes, twin gyroscopes are all contained within the circumference of the tire. The gyroscopes are actuated by a rather large servo, and are tied together by a gear that keeps their positions in sync. Their job is to keep the monowheel balanced at all times.
But as [James] discovered, the chief difficulty of only having one wheel isn’t lateral balancing. Ask any monocyclist and they’ll assure you that it’s possible. The real trick is balancing the machine fore and aft. Unlike a two wheeled velocipede, the monowheel has nothing to exert torque against save for a bit of gravity.
As [James] found out the hard way, it was within this fore-aft balancing act that the gyroscopic precession reared its ugly head. The concept is explained well in the video. We won’t spoil the surprise ending because the explanation and conclusion are quite good so make sure to watch to the end!
If you’d like to look at [James]’ first version, we covered it here. And if you’re the daredevil type, perhaps we can interest in you in a two stroke human sized monowheel that will probably end in an ER visit. At least they wore a helmet. Thanks to [Baldpower] for the tip!
Continue reading “Monowheel Mayhem: When Good Gyroscopic Precession Goes Bad”