You don’t normally think of die casting as something to do at home. Pressurized fluids demand respect at all times, which is perhaps in part why we see most projects skipping hydraulics for linear actuators. When the pressurized fluid is molten metal? Well, we’d say don’t try this at home, except that’s exactly what this video by [Know Art] is making us want to do. He’s doing die-cast aluminum, and it looks way easier than we thought it would.
If you’re wondering why anyone would attempt such a thing, it’s for the same reason die-casting has been an industrial powerhouse for the last couple hundred years — you can crank out a lot of parts, very quickly, with excellent detail and dimensional stability. You just need a mold, which in this process is called a die, and a way to squeeze metal into it with some force.
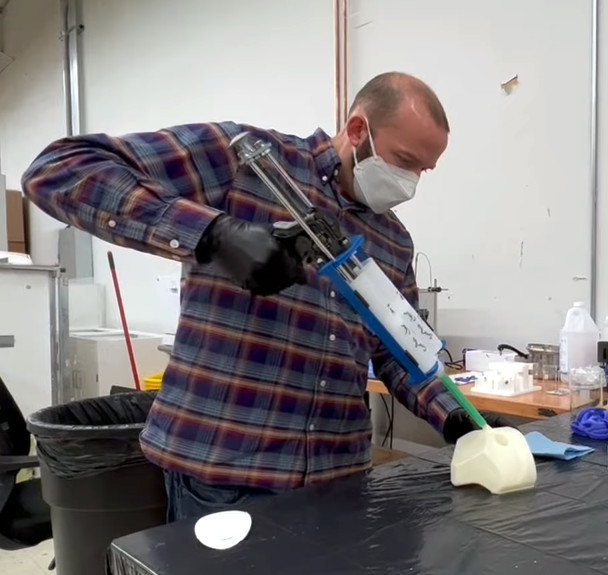
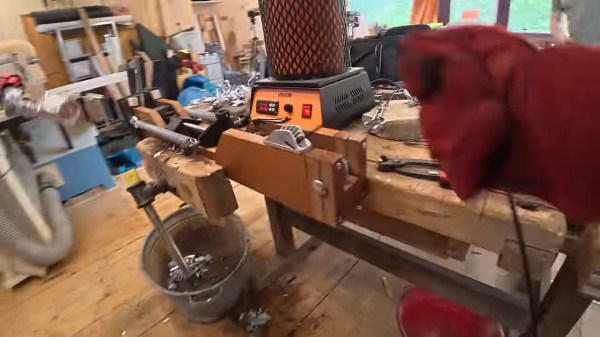
In this case the die was carved on a desktop CNC machine. Depending on how long you want your die to last, you’ll need something hard and heat resistant, like the graphite used in this video. Graphite is also used in constructing the piston for the injector, which is made from a modified hydraulic cylinder and a couple of old trampoline springs.
He first tests the setup with molten wax before moving onto aluminum, as the process is the same regardless: pour the hot liquid in, release the springs to provide the pressure that forces it into the die, and a part is made. It looks easy, if a bit frantic, as you have to work fast before the metal cools in the cylinder.
After CNC milling, EDM machining and all the fun things we’ve learned how to do with lasers and 3D printers, and now this we’ve got to wonder– is there any industrial process you can’t hack onto your desktop? We’ve even seen the chemists get in on the game.