Continuous self-affirmation is a vital component to the modern lifestyle. Of course you know the world loves you, but exactly how much do they love you? Checking your phone every few minutes to see if you’ve gained any followers is gauche, and perhaps more to the point, doesn’t let you show off when you’ve got visitors over. In the modern era, the up-and-coming social media star needs a stylish way to display just how popular they are for the world to see.
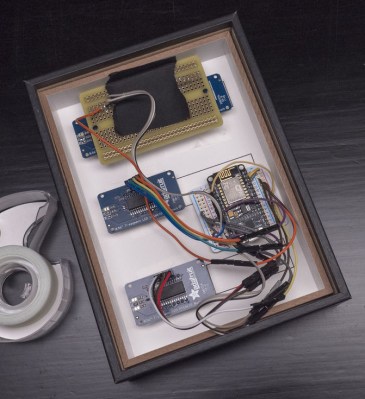
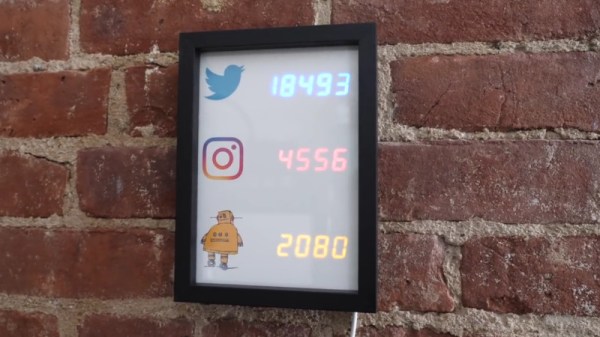
 That’s the idea behind this very slick social media counter created by [Becky Stern]. Built into a standard shadow box frame and using LED displays glowing through a printed piece of paper, the finished product looks more like modern art than the usual hacker fare.
The counter is powered by a NodeMCU, but you could drop in your favorite variant of the ESP8266 and things would work more or less the same. For the displays, [Becky] is using four Adafruit 7-Segment LED modules, which are easily controlled via I2C which keeps the wiring to a minimum.
It’s interesting to note that since her follower count on Twitter has already hit five digits, two of the display modules are used next to each other for that particular service. Her Instructables and Instagram counters only have one display each however, limiting her counts on those services to 9,999 each. There’s probably something to be learned here in terms of the relative follower counts you can expect on the different social networks if you’re targeting your content to the hacker and maker crowd, but we’ll leave the analysis to those with a better handle on such matters.
Hardware aside, [Becky] spends a lot of time in the video talking about the code she’s come up with to pull her stats from the various services and push them out to the LED displays at a regular interval. It’s nice to see so much attention and explanation given to the software side of a project like this, as more often than not you’re left to your own to figure out what the source code is doing.
This project is quite similar to the YouTube Play Button hack we covered a few months back, but the addition of multiple social networks in one device is a nice improvement over the basic concept.
Continue reading “Count Your Fans With This Stylish ESP8266 Display”


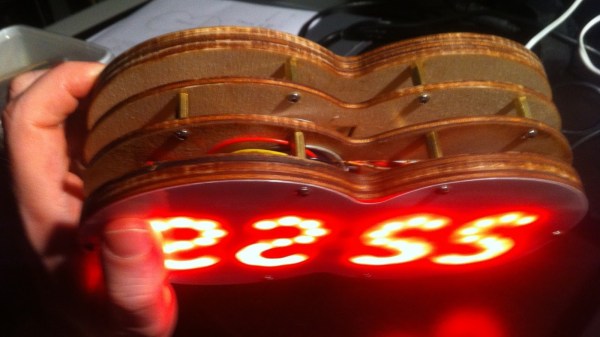
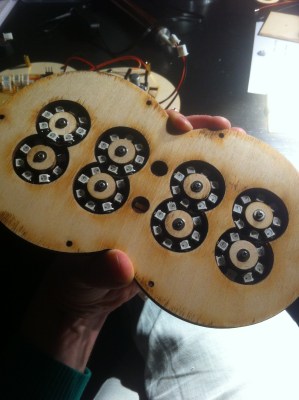
 Each digit is made using one pair of Neopixel rings, stacked to form a figure of eight. All the digits are composed of arcs, so readability isn’t the best but it’s not hard either. [rhoalt] does mention that the display is easier to read via blurred camera images rather than visually, which isn’t surprising. We’re long used to seeing numbers composed of straight line segments, so arc segmented digits do look weird. But we wouldn’t have known this if [rhoalt] hadn’t shown us, right ? Maybe a thicker diffuser with separator baffles may improve the readability.


