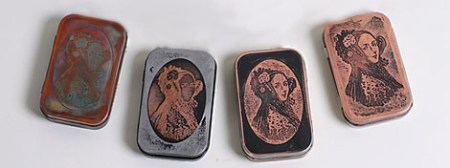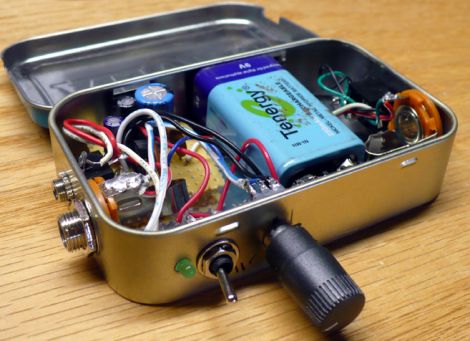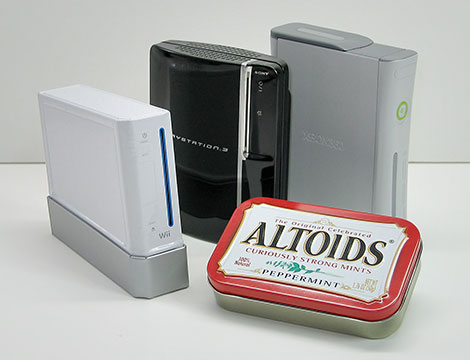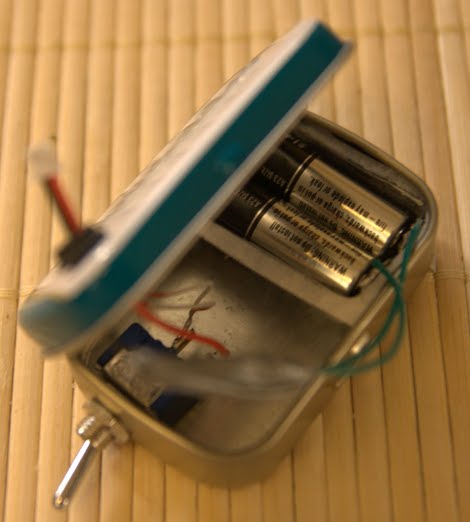
Eminent steampunker [Jake Von Slatt] wrote a small article on etching candy tins for The Steampunk Bible, but the limited space available in the book didn’t allow for a full exposition. To make amends for his incomplete tutorial, he posted this walk through to compliment the Bible’s article.
The process is very similar to the many tutorials we’ve seen on home-etching PCBs using the toner transfer method. Removing the paint from the Altoid tin, creating a mask, printing it on the Sunday circulars, and taking an iron to the tin is old hat for home fabbers.
Unlike PCB manufacturing, [Mr. Von Slatt] doesn’t bother with Ferric Chloride or other nasty chemicals – he does everything with electrolysis. After adding a few tablespoons of table salt to a bucket of water, [Jake] takes a DC power supply and connects the positive lead to the lid and the negative lead to the base. a bit of electrical tape around the corners of the lid keeps the metal from getting too thin.
A nice Copper finish can be applied to a finished tin by swabbing on a solution of Copper Sulfate – a common ingredient in “Root Kill” products. Of course that’s not a necessary step; you can easily enjoy and elegant Altoid tin bare metal.


