A multi-PCB setup to drive a CRT vector monitor

Color Vector Display Controller Brings Arcade Classics Back To Life

If you’ve been reading Hackaday long enough, you’ve probably come across a few hacks where someone made simple animations or even video games on an analog oscilloscope screen. Those hacks generally use vector graphics, where the cathode ray tube’s electron beam directly draws geometric shapes onto the screen. This gives the image a unique look that’s quite distinct from the pixel-based raster displays used on TVs and most computer monitors.

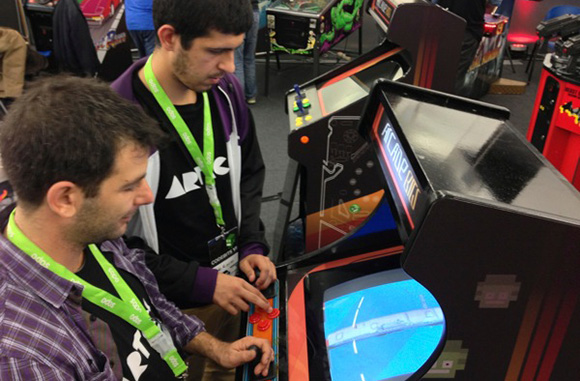
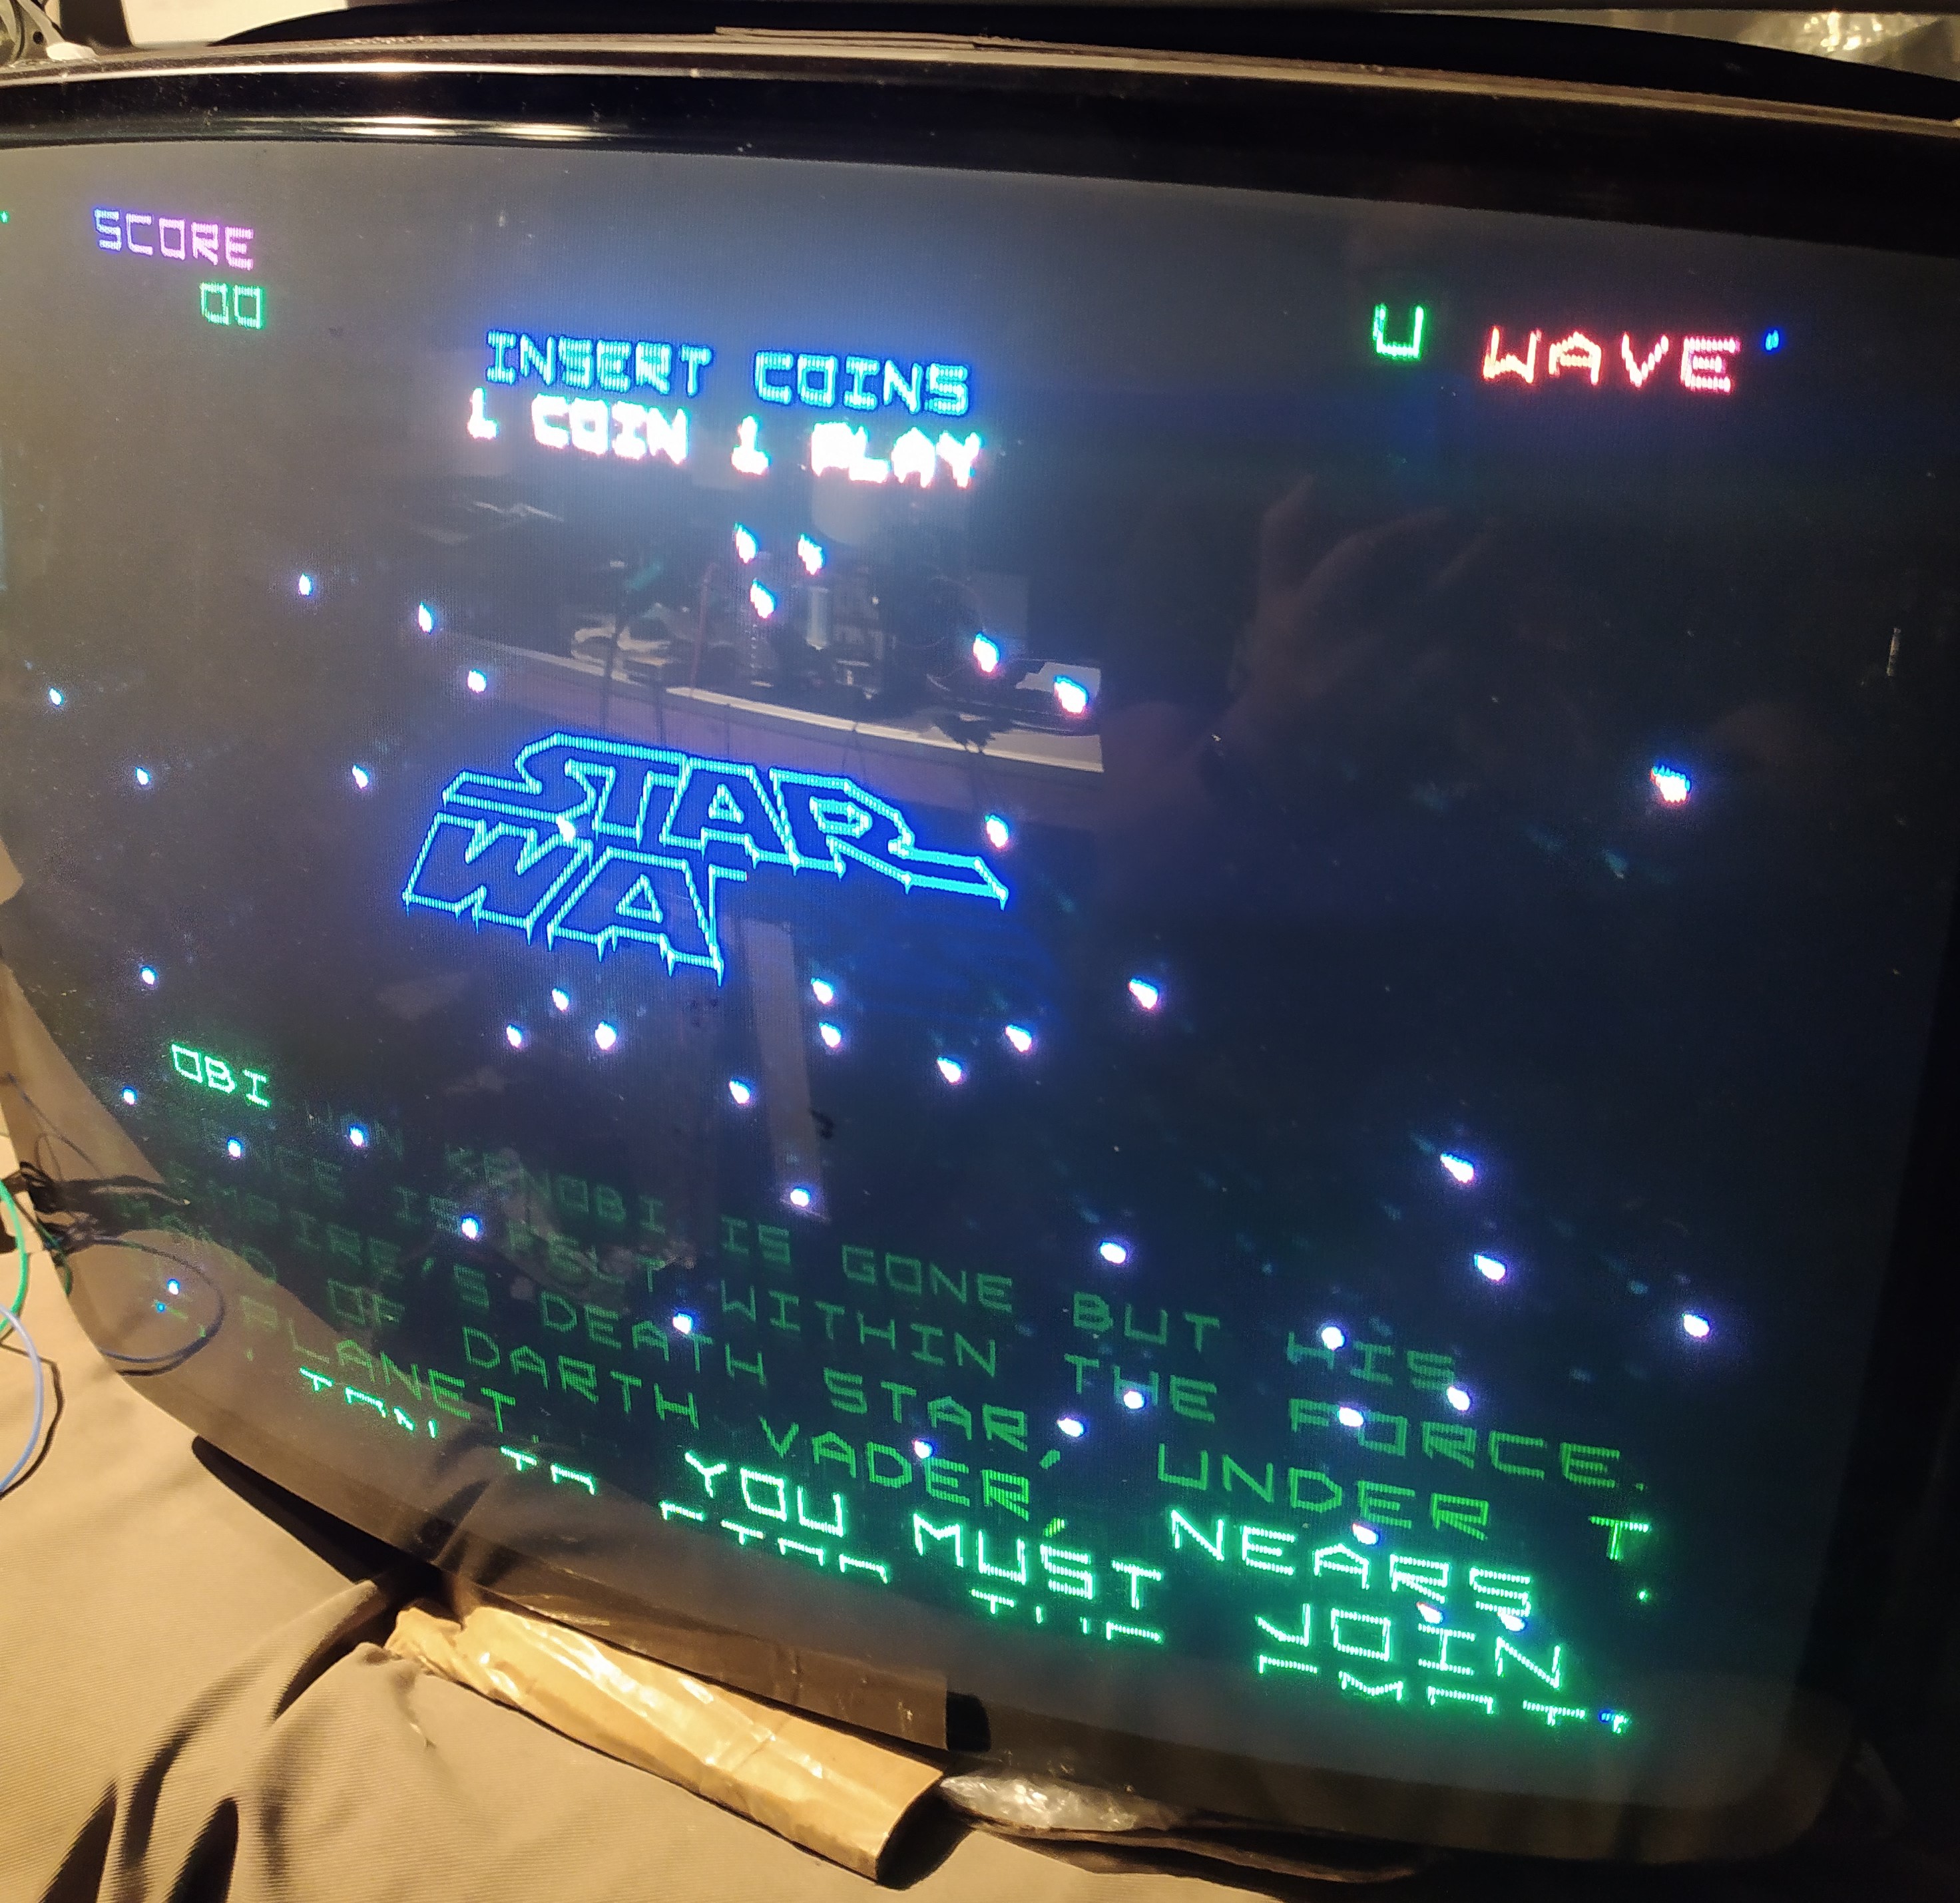
Vector displays were also used in several arcade machines of the early 1980s, including classics like Tempest, Gravitar and Star Wars. In order to emulate these games more faithfully than would be possible on a raster monitor, [Robin Champion] designed the vstcm: a color vector monitor controller to easily drive RGB vector monitors.

Star Wars (1983) displayed on CRT monitor
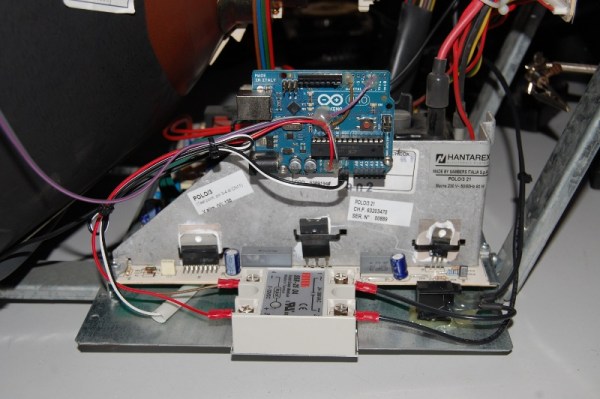
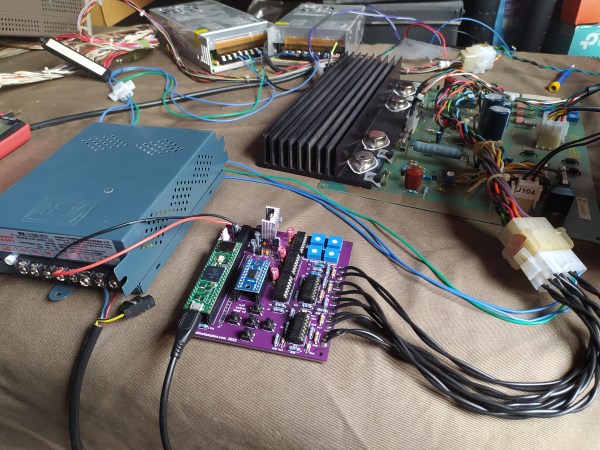
The design is based on [Trammell Hudson] and [Adelle Lin]’s v.st system, and therefore features a Teensy microcontroller as well as a couple of digital-to-analog converters. While the v.st can only connect to monochrome X/Y systems like oscilloscopes, the vstcm can work with RGB monitors to allow near-perfect emulation of color vector-based games. A custom software interface connects the vstcm to AdvanceMAME, a special version of the well-known arcade emulator that facilitates the connection of unusual display systems.

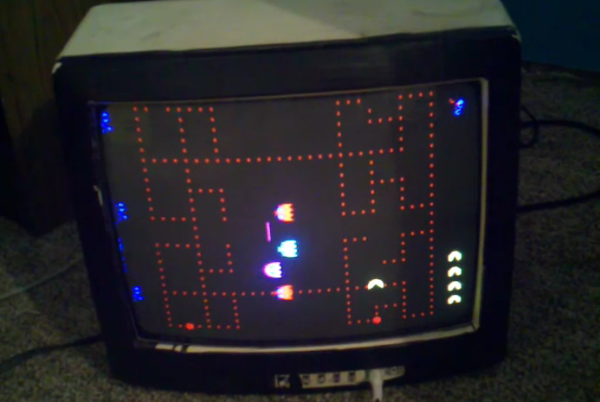
The end result definitely looks the part, although [Robin] notes that performance is not at the level it could be and requests those familiar with the Teensy platform to help optimize the code. If you’d like to build the vstcm but can’t find a vector monitor, you can always modify the yoke of a conventional CRT. Want to learn more about vector displays? Check out this thorough introduction.

Push-Button Degaussing For An Arcade CRT

[Ed] was tasked with adding push-button degaussing to an arcade cabinet’s CRT console. The display can be rotated to portrait mode for games that require it, but each time this is done, the magnetic fields get out of whack.

Fortunately, the schematics arrived with the display. [Ed] found that the degauss coil is connected in series with a PTC fuse in an odd arrangement that he didn’t agree with. He decided to use an SSR to switch the coil, and after making lots of transistor-based designs on paper, grabbed a nearby Arduino.

[Ed] took off the PTC and soldered in two wires to its pads for the SSR. He added a wire to the power supply decoupling cap to power the new deguassing circuit and connected the SSR to the Arduino as an open collector input. There was just enough space available to mount the relay to the frame’s base and the Arduino on the side. [Ed] wrote a short method to trigger the SSR and reconnected the PTC fuse. Now it degausses at power up as well as on demand.

Modifying A CRT Television For Use As An Arcade Monitor

Finding himself in need of an arcade monitor [Eric Wright] turned to this ancient CRT television. The problem is that arcade monitors and televisions didn’t operate in the same way, differing in both resolution and refresh rate. [Eric] modified the television to work like an arcade monitor, but only with limited success. He’s hoping a few more alterations will lead him to a complete solution.

The image above shows him testing a Pac-Man machine on the altered Sharp television. Those familiar with the game will immediately notice that there is something wrong. We see most of the tracks upon which Pac-Man and the ghosts travel, but he maze itself is completely missing. To get to this point [Eric] consulted the television and arcade schematics to figure out how to connect the composite sync and three color channels directly to the arcade machine. This way the CRT timing is forced to conform to the game standard. The problem is that there is no way to adjust the drive and cutoff of the individual color channels. This is something [Eric] hopes to fix in the next iteration of his experiments.

If you already have a working arcade monitor but no gaming cabinet why not use a Raspberry Pi?

Continue reading “Modifying A CRT Television For Use As An Arcade Monitor”

Using Arcade Monitors With The Raspberry Pi

mame

Along with the growing popularity of the Raspberry Pi, we’ve also seen a related uptick in MAME arcade cabinet builds. Putting this $35 computer in an arcade cabinet makes a lot of sense, but connecting it to one of the monitors found in old arcade cabinets is a bit of a pain. Luckily, [Celso] figured out how to connect a Raspi to one of these 15kHz RGB monitors, making for a much more accurate emulation of old arcade classics.

The Raspi only has two video outputs – an HDMI port and an RCA composite jack. The old arcade CRTs have an RGB input, so directly connecting a Raspi to one of these CRTs is a no-go.

The solution comes from two converters: one to convert the HDMI output to VGA, and another video downscaler that takes the 31kHz VGA signal and translates it into a 15kHz RGB signal. [Celso] settled on the GBS-8100 video converter, a rather uncommon piece of kit that can fortunately be found on a few Chinese eBay auctions.

After connecting the old arcade cabinet power supply to the Pi, hooking up an audio amp, and converting the controls to USB, [Celso] has a very accurate MAME machine.