We really respect the old timers out there and their amazing ways of crafting PCBs; they used black tape on clear acetate sheets to create single layers of PCBs with a photoetching process. Now creating a PCB is a simple matter of opening up a CAD package, but like the old timers we’re still dealing with nasty chemicals or long shipping times from China.
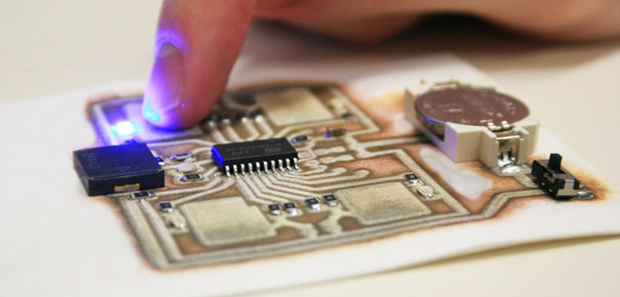
The EX¹, a new robot on Kickstarter – hopes to change that. They’ve created a PCB fabrication process that’s as simple as printing something with an inkjet printer. Just put in a piece of substrate – anything from Kapton to acrylic to fabric – and in a few minutes you have a single-sided PCB in your hands.
The printer dispenses two chemicals, silver nitrate and ascorbic acid, that react and produce traces and pads for the circuit. Right now, the EX¹ is limited to single-side boards, but experiments on creating multi layer boards are ongoing.
In any event, we’re really impressed with how simple the EX¹ setup actually is. Inkjet is a mature, well understood technology with more than enough resolution for simple homebrew circuits, and the AgNO3 + Vitamin C formula could easily be adapted to an inkjet printer modification.


