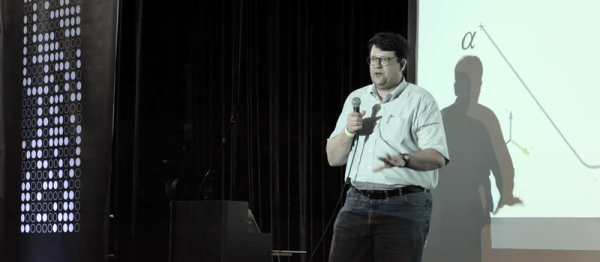
Is It A Stepper? Or Is It A Servo?

Almost everyone who is involved with 3D printing thinks to themselves at some point, “this could all be done using a closed-loop system and DC motors”. Or at least everyone we know. There’s even one commercial printer out there that uses servo control, but because of this it’s not compatible with the rest of the (stepper-motor driven) DIY ecosystem.

[LoboCNC] wanted to change this, and he’s in a unique position to do so, having previously built up a business selling PIC-based servo controllers. His “servololu” is essentially a microcontroller and DC motor driver, with an input for a quadrature encoder for feedback. The micro takes standard step/direction input like you would use to drive a stepper motor, and then servos the attached DC motor to the right position. It even signals when it has an error.
Continue reading “Is It A Stepper? Or Is It A Servo?”

Error Correction Of 3D Printers

From the very first RepRaps to the newest and latest printers off the Makerbot assembly line, nearly every consumer 3D printer has one significant shortcoming: it cannot recover from missed steps, slipped belts, or overheating stepper drivers. Although these are fairly rare problems, it does happen and is purely a product of the closed open-loop control system used in 3D printer firmware.

[Chris Barr] has come up with a rather clever solution to this problem. He’s designed a system that will detect and correct problems with the mechanics of 3D printers. It’s technically not a closed-loop control system, but it does allow him to get the absolute position of a nozzle on the build plate, detects error states, and can automatically calculate the number of motor steps per millimeter. It’s also much simpler than other closed loop control systems we’ve seen in the past, requiring only a few bits and bobs attached to the axes and to the printer controller board.

[Chris]’ system uses a magnetic encoding strip, a single chip, and a little bit of support circuitry. It’s actually not that much different from the moving axis on a desktop inkjet printer. It’s not closed loop, though; the firmware hack is only a ‘basic error correction’ that moves the nozzle back to where it should be. Although this is somewhat of a kludge, it is much simpler than refactoring the entire printer firmware.

In the video below, [Chris] demonstrates his solution for error correcting the printer by jerking his axis around during a print. The nozzle miraculously returns to where it should be, producing a usable part.

Continue reading “Error Correction Of 3D Printers”

Closed Loop Control For 3D Printers

One of the bigger problems with any CNC machine or 3D printer is the issue of missed steps when moving the toolhead. If a stepper motor misses a step, the entire layer of the print – and every layer thereafter – will be off by just a tiny bit. Miss a few more steps, and that print will eventually make its way into the garbage. [Misan] has the solution to this: closed loop control of DC motors for a 3D printer.

Most printer firmwares use an open loop control system for moving their motors around. Step a few times in one direction, and you know where the nozzle of a 3D printer will be. Missed steps confound the problem, and there’s no way for the firmware to know if the nozzle is where it should be at any one time.

[Misan]’s solution to this was a DC motor coupled to an optical encoder. Both the motor and the encoder are connected to an Arduino Pro Mini which receives step and direction commands from the printer controller. The controller takes care of telling the motor where to go, the Arduino takes care of making sure it gets there.

The entire build is heavily derived from ServoStrap, but [Misan] has a very cool demo of his hardware: during a print, he can force the X and Y axes to either side, and the Arduino in each motor will move the print head back to where it needs to be. You can check that out below.

Continue reading “Closed Loop Control For 3D Printers”