IR Point And Shoot Has A Raspberry Heart In A 35mm Body

Photography is great, but sometimes it can get boring just reusing the same wavelengths over and over again. There are other options, though and when [Malcolm Wilson] decided he wanted to explore them, he decided to build a (near) IR camera. 

The IR images are almost ethereal.
Image : Malcom Wilson.

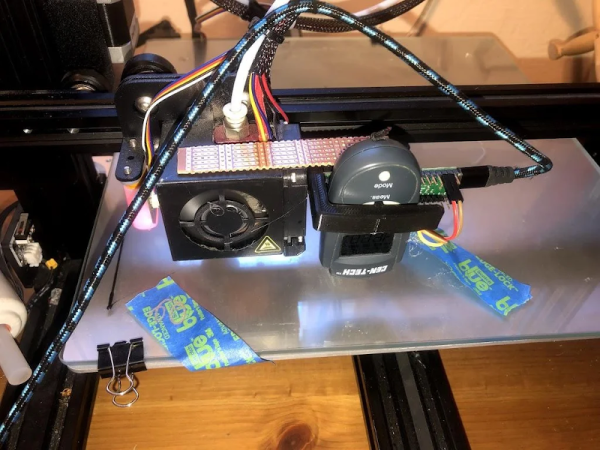
The housing is an old Yashica Electro 35 — apparently this model was prone to electrical issues, and there are a lot of broken camera bodies floating around– which hides a Pi NoIR Camera v3. That camera module, paired with an IR pass filter, makes for infrared photography like the old Yashica used to do with special film. The camera module is plugged into a Pi Zero 2 W, and it’s powered by a PiSugar battery. There’s a tiny (0.91″) OLED display, but it’s only for status messages. The viewfinder is 100% optical, as the designers of this camera intended. Point, shoot, shoot again.

There’s something pure in that experience; we sometimes find stopping to look at previews pulls one out of the creative zone of actually taking pictures. This camera won’t let you do that, though of course you do get to skip on developing photos. [Malcom] has the Pi set up to connect to his Wifi when he gets home, and he grabs the RAW (he is a photographer, after all) image files via SSH.  Follow the link above to [Malcom]’s substack, and you’ll get some design details and his python code.

The Raspberry Pi Foundation’s NoIR camera shows up on these pages from time to time, though rarely so artistically. We’re more likely to see it spying on reptiles, or make magic wands work.  So we are quite grateful to [Malcom] for the tip, via Petapixel. Yes, photographers and artists of all stripes are welcome to use the tips line to tell us about their work.

Follow the links in this article for more images like this.
Image: Malcom Wilson

World’s Cheapest And Possibly Worst IR Camera

Don’t blame us for the title. [CCrome] admits it may well be the cheapest and worst IR camera available. The concept is surprisingly simple. Mount a cheap Harbor Freight non-contact thermometer on a 3D printer carriage and use it to scan the target. The design files are available on GitHub.

There is, of course, an Arduino to grab the data and send it to the PC. Some Python code takes care of converting it into an image.

Perhaps you don’t need a camera, but having a way to communicate with an $11 IR temperature sensor might come in handy someday. You do have to mash the measurement button down, so [CCrome] used the 3D printer to make a clamp for the button that also holds the POGO pins to the PCB. We would have been tempted to solder across the switch and also solder the wires to the pad. But, then again, you need a 3D printer for the project anyway.

Don’t expect the results you would get from a real thermal sensor. If you want that, you may have to build it yourself or open your wallet wide. If you need some inspiration for a use case, look at the thermal camera contest from a few years back.

A Visual Infrared Thermometer That Runs Off Your Laptop

A common measurement for circuits is heat dissipation inspection. While single point thermometers do the trick, they can be quite annoying to use. Meanwhile, a thermal imaging camera is often out of the budget for hobbyists. How about building your own visual thermometer for cheap? That’s what [Thomas Fischl] decided to do, using an infrared thermal sensor array (MLX90640) connected through a PIC16LF1455 to a host computer. The computer handles the temperature calculation and visualization of hot spots, gathered from data collected by the IR pixel.

The interface board, USB2FIR, has full access to MLX90640 memory and can handle bulk transfer for faster data transmission of the raw sensor data collected by the pixel. A USB driver is needed to access the board – once the data is fetched, the visualizations can be created from a Matplotlib and TKinter GUI showing frame data and a real time heat map with minimum, maximum, and central temperature.

The hardware isn’t complicated, since the board relies on several ICs for processing the sensor data and immediately sends over the data to be processed externally. With some modifications – a 3D-printed enclosure, for instance – this can easily be made into a discreet tool for heat detection.

Make Your Own Infrared Camera On The Cheap!

This is a super fun hack that’s been around for ages — but now with cheap full 1080P HD camera availability, it’s probably a good time to make your own infrared camera!

It’s actually a very easy modification to perform. All cameras are capable of “seeing” infrared light, but for standard photography and video, you don’t want to see the infrared light. So most sensors just have an infrared filter in front of the sensor, to block out any excess infrared light. If you remove it … you have a converted infrared camera.

The following video shows exactly how to modify a camera to do this. It is a bit misleading though as it labels it as a thermal camera; and while it is seeing “infrared”, it’s not actually full thermal infrared, like a FLIR or Seek Thermal can see — it’s a mixture of visible and near infrared light. You will be able to see some hot things glowing through the camera, but not to the same degree as a real thermal imaging device. Continue reading “Make Your Own Infrared Camera On The Cheap!”