A Custom Clock With LED Filament Hands

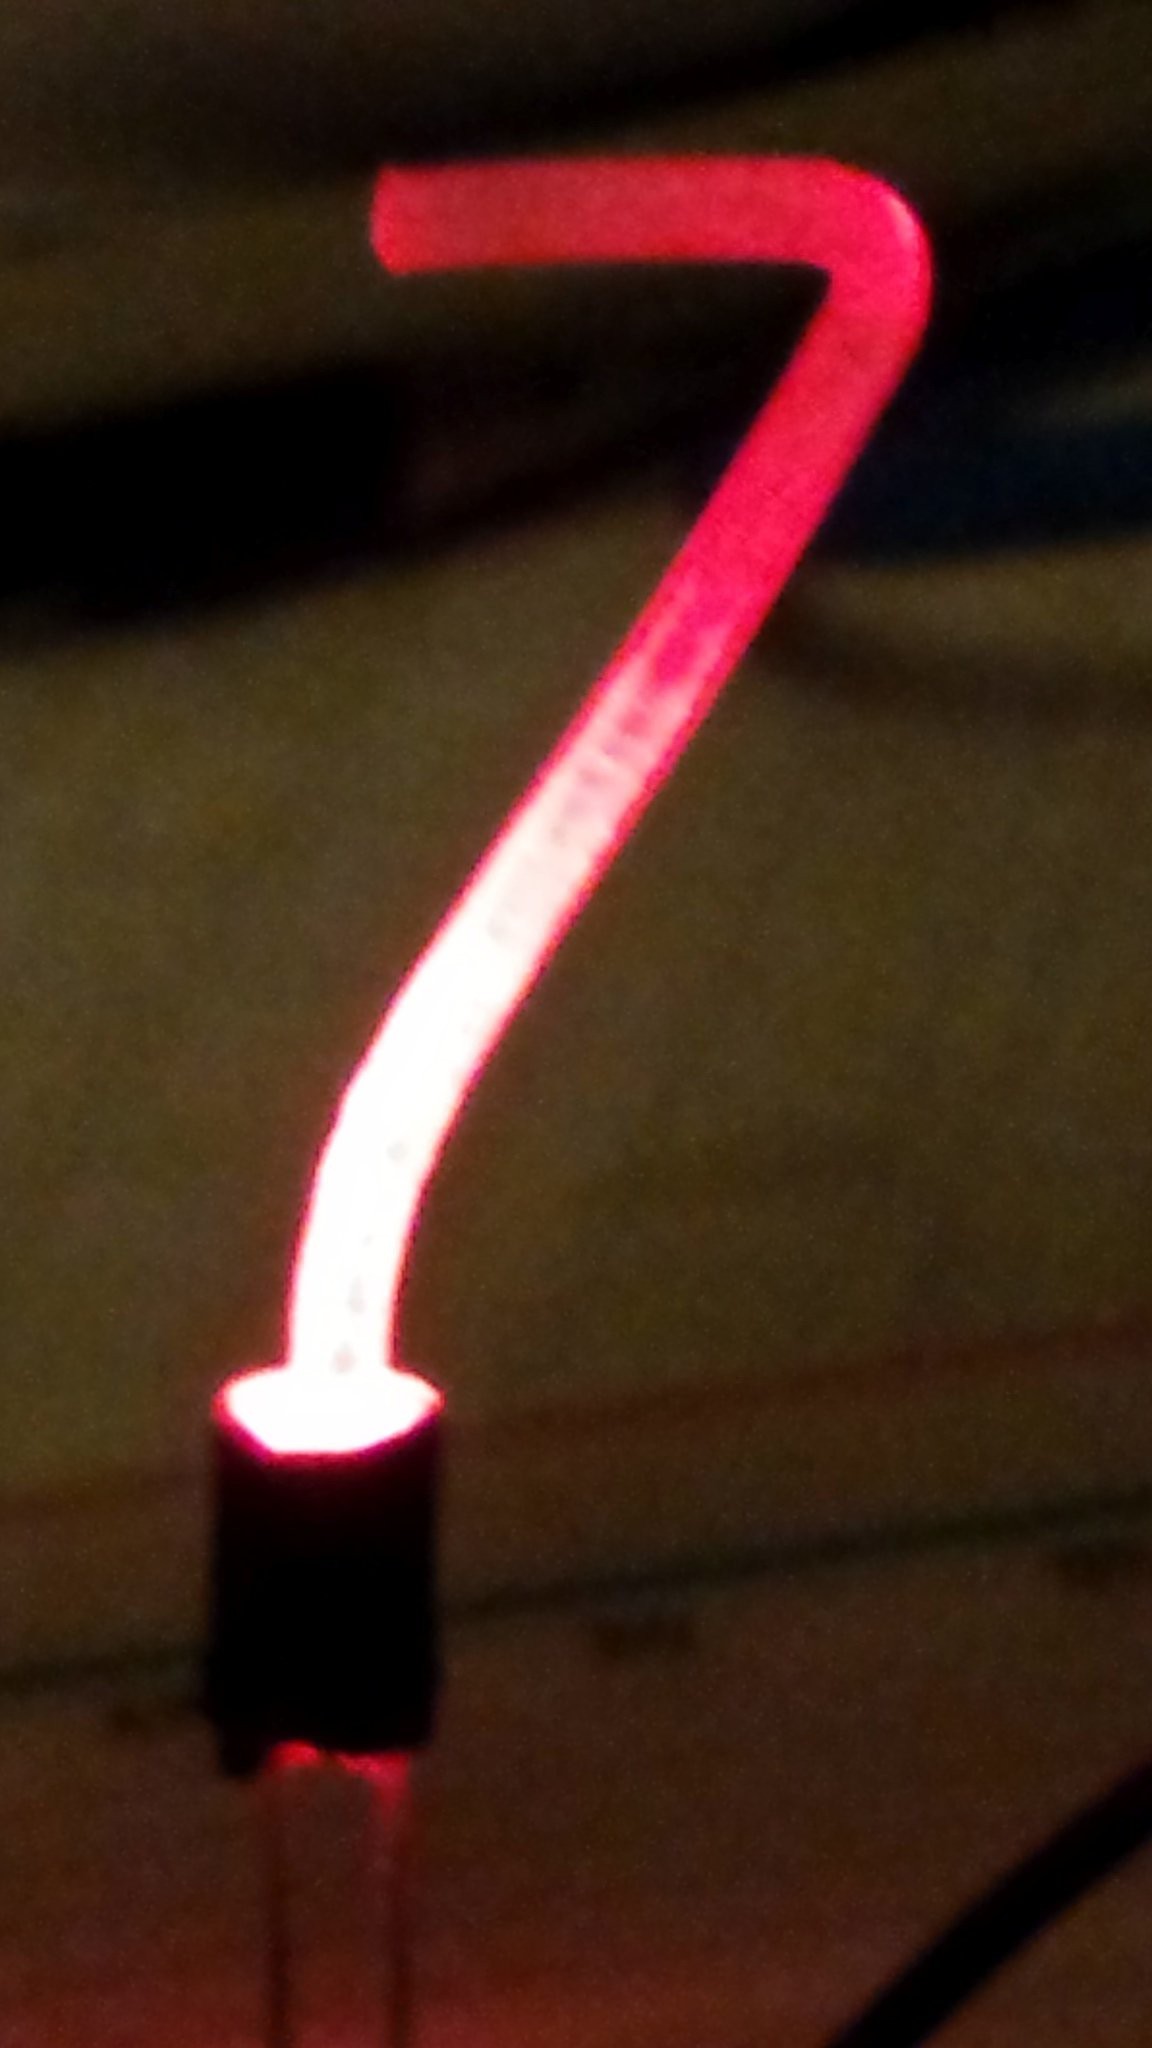
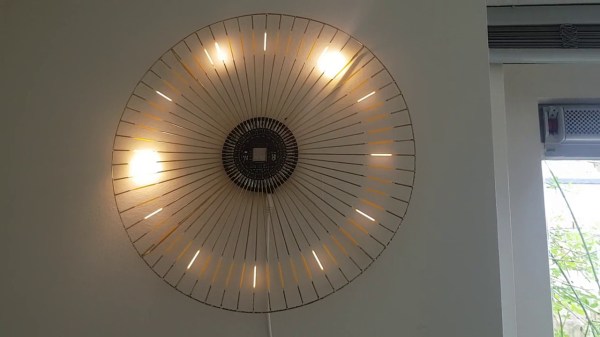
LEDs have become so ubiquitous in our projects that just hearing that term probably conjures images of tiny illuminated domes in an array of single-spectrum colors. It’s easy to forget that these efficient sources of light come in a variety of form factors, including the retro-tacular filaments that [bitborked] used to make his beautiful analog LED wall clock.

Aside from its aesthetics, this timepiece features some great design. A custom PCB acts as a hub for all the LED filament spokes. The onboard brains come in the form of an ESP32, which means it can keep extremely accurate time via NTP. 
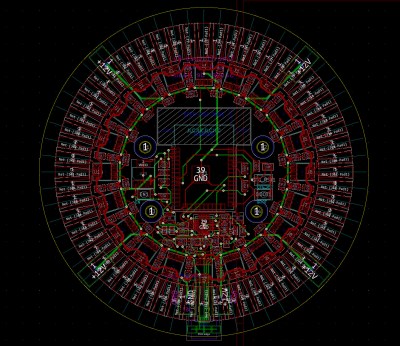
WS2811 LED controllers, which we’re so accustomed to seeing alongside RGB LEDs that they almost feel strange to see here, provide the 12 volts required for each filament and make individual addressing a breeze.

[bitborked] takes advantage of that addressability to display other animations in addition to the standard clock face. They also plan to implement MQTT for eventual alerts from other home automation devices. When it comes to just telling time, you can discern the individual “hands” by differences in their brightness, which sadly does not show up as well in video as it does in real life.

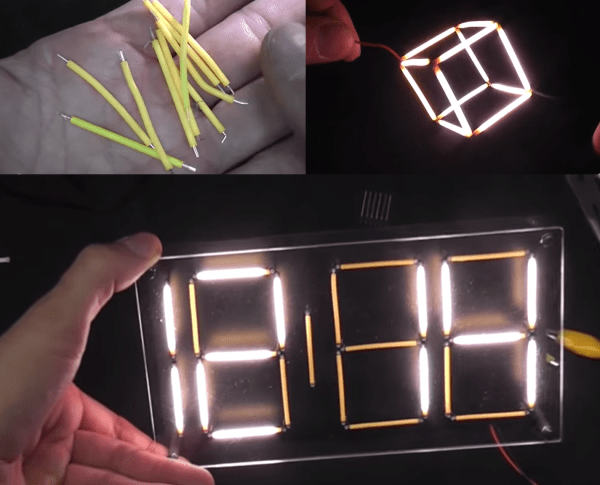
We would certainly be happy to have this clock on our walls, and we hope to eventually see more of its PCB designs. In the meantime, though, we can drool over a more digital take on the LED filament clock. Although, filaments are certainly not required to make a beautiful LED timekeeper.

Courtesy of [david.reid]

Bent PETG Fills A Nixie Gap

Have you ever thought that Nixie tubes are cool but too hard to control with modern electronics? And that they’re just too expensive? [david.reid] apparently thought so and decided to create his own version of a Nixie tube, and it doesn’t get much cheaper than this.

PETG Nixie Tube

While working on a 3D printed locomotive with his son, [david.reid] used clear PETG (Polyethylene Terephthalate Glycol) 3D printer filament to move light from LEDs to various parts of the locomotive. He found this was a success, but roughed up the outside of the filament to see what would happen. Lo and behold, a warm glow appeared on the surface of the tube! Like any good hacker, his next thought was of Nixie tubes, as you have seen in many clocks.

His basic idea is that with a little heat you can bend the filament into any shape that you like ([david.reid] uses custom molds). You then use some sandpaper to roughen up the outside wherever you’d like light to show, and add an LED at the bottom to light it up!

[david.reid] isn’t the first person to modernize Nixie Tubes. Over the years, we’ve seen them combined with Wi-Fi boards, individual LED segments, or even laser cutters & WS2812s!

Now’s a great time to get started on a project for the Hackaday Prize! If you’re looking for somewhere to start, we’d love to at least see your own take on a clock!

[Mike] Illuminates Us On LED Filaments

LED filaments started showing up in light bulbs a few months back. [Mike] discovered that the strips are available in bulk from ebay and Alibaba. Always keen to work with new LED technologies, [Mike] ordered a few for experimenting and posted the results on his [mikeselectricstuff] YouTube channel. He also added the information to his website.

The filaments consist of 28 LEDs connected in series. The blue LEDs are covered by the typical yellow phosphors to make them glow white. It’s interesting to note that some of the filaments use a removable silicone sleeve to hold the phosphor coating, while others are coated with a resin material. The LEDs themselves are bare dies mounted to a metal strip and joined by bond wires. The entire strip can be bent, but be careful, or you’ll break the fragile bond wires.

The strips do require a fair bit of voltage to operate. The entire strip runs best at around 75 and 10~15 mA, while putting out about 1 Watt of light. [Mike] tested a strip to destruction by pumping 40 mA through it. Predictably the strip went out when the bond wires melted. The surprising part was that the strip blinked back on as the wires cooled and re-connected. The strip and wires were working as a temperature controlled switch, similar to the bimetalic strip found in old fashioned “twinkling” incandescent Christmas lights.

Not satisfied with simple tests, [Mike] went on to build a clock using the filaments as elements of a seven segment display. Inspired by numitron and minitron displays, [Mike] built a single sided PCB which held the clock circuit on the bottom and the LED filaments on top. The filaments are spaced off the board by tall wire wrap sockets, which proved to be difficult to keep from shorting out. Texas Instruments TPIC6B595 chips were used to control the LED filaments. Logically the chip functions the same as a 75LS595, which means it can be driven with a SPI bus. The open drain outputs can handle 50 volts – which makes them perfect for this application.  The clock is tremendously bright, but there is still a bit of room for improvement. [Mike] notes that the phosphor of un-powered filaments tend to glow a bit due to light absorbed from nearby illuminated filaments. He’s experimenting with color filters to reduce this effect. At full power though, [Mike] says this clock would easily be daylight readable, and we don’t doubt it!

[Mike’s] final test was a bit whimsical – he built a cube entirely from the LED filaments. The cube looks awesome, but we can’t wait to see who will move things into the 4th dimension and build a tesseract!

Continue reading “[Mike] Illuminates Us On LED Filaments”