In the 60’s and 70’s there were many ways to display numeric data. Nixie tubes, Vacuum Florescent Displays (VFD), micro projection systems, you name it. All of them had advantages and drawbacks. One of the simplest ways to display data was the RCA Numitron. [Alec] at Technology Connections has a bit of a love/hate relationship with these displays.
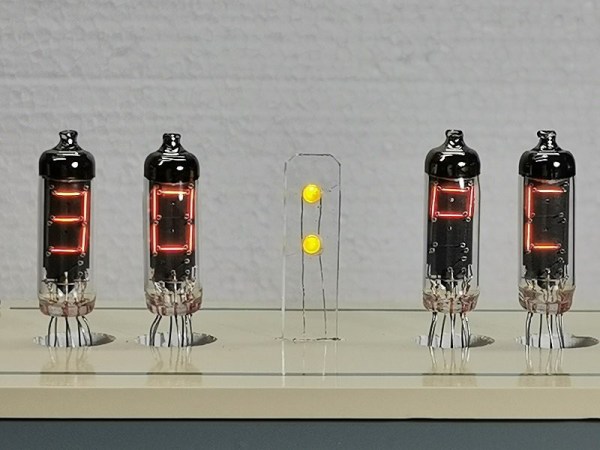
The Numitron is simply a seven-segment display built from light bulb filaments. The filaments run at 5 V, and by their nature are current limited. Seven elements versus the usual ten seen in Nixie tubes reduced the number of switching elements (transistors, relays, or tubes) needed to drive them, and the single low-voltage supply was also much simpler than Nixie or even VFD systems.
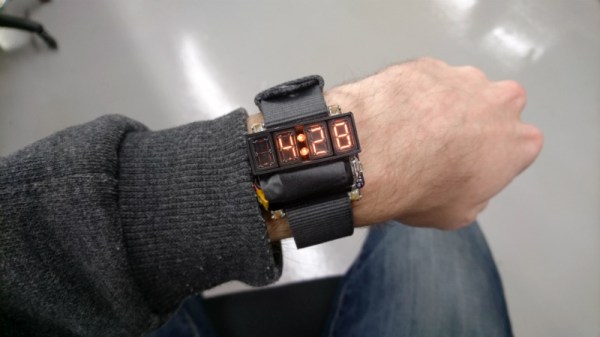
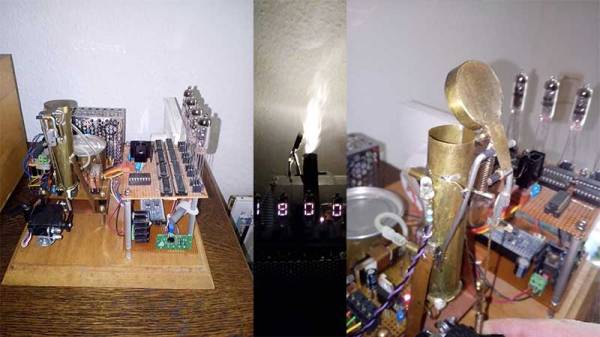
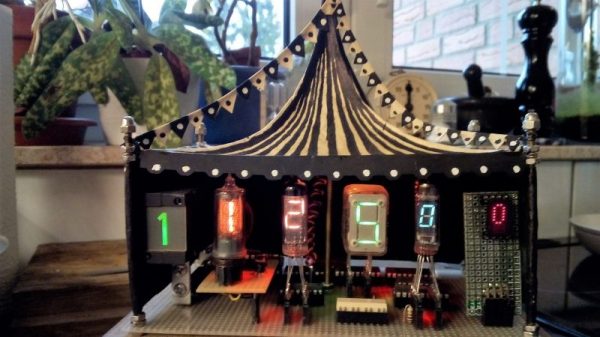
Sounds perfect, right? Well, [Alec] has a bone to pick with this technology. The displays were quite dim, poorly assembled, and not very pleasing to look at. RCA didn’t bother tilting the “8” to fit the decimal point in! Even the display background was gray, causing the numbers to wash out in ambient light. Black would have been much better. In [Alec]’s words, the best way to describe the display would be “Janky,” yet he still enjoys them. In fact, he built a fancy retro-industrial-themed clock with them.
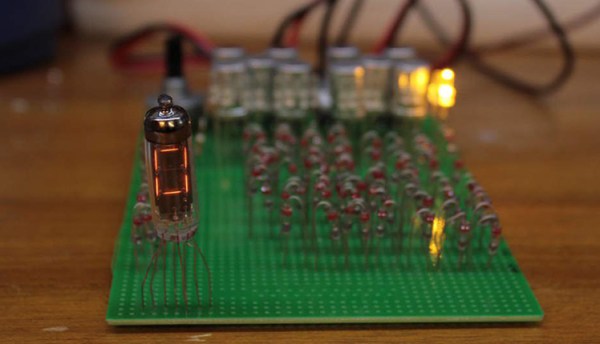
The Numitron was not a failure, though — we know variants of this display ended up in everything from gas pumps to aircraft cockpit gauges. You can even build an LED-based replica clock — no glowing filaments necessary.