Mini Arcade Cabinet Looks As Good As The Real Thing

mame_cab

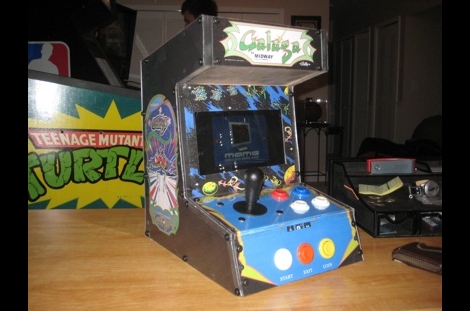
[Ed] had a netbook he no longer needed and decided to make it into a mini MAME cabinet for some of his family members. MAME cabinets are pretty plentiful, but this one was so nicely done, we wanted to share it.

He removed the monitor from an EeePC 901 in order to get some precise measurements, then went about crafting a mini cabinet from MDF. The whole thing was wrapped in sticky label paper adorned with old-school Galaga graphics, then covered in plexiglass for a nice sleek look that also protects the artwork.

He used an iPac 2 controller board to wire up all of the buttons and joystick to the netbook, opting to solder the controller’s wires directly to the USB header on the eeePC’s motherboard. A power switch was added up on top for easy operation, and the cabinet was sealed shut, though the back does open easily in the event that maintenance is required. The system is managed using the Maximus Arcade front end for MAME, which [Ed] claims is incredibly easy.

If you are interested in making your own MAME cabinet, check out some of the other MAME-based projects we have featured in the past, and don’t miss the video below of [Ed’s] cabinet in action.

Continue reading “Mini Arcade Cabinet Looks As Good As The Real Thing”

Shiny Acrylic MAME Box

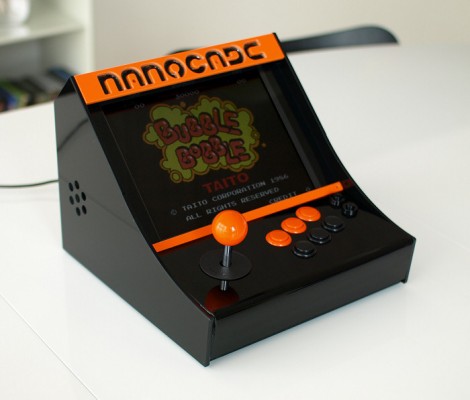
This nice table-top MAME arcade features a two-toned acrylic case. [Fabricio] spent about 50-60 hours designing the 29 parts that make up the enclosure. Originally the sides were meant to be orange but one design flaw meant he had to have them recut and only had enough black stock for the job. But we like it this way. The screen is just over ten inches and inside you’ll find a mini-ITX motherboard with a gig of ram and a solid state drive. The seven page build log features some bending, glue, screwing, and wiring that really show off the depth of the project.

This results a very modern look but if you like your retro gaming to appear vintage we recommend this cocktail cabinet.

Touch Screen Jukebox

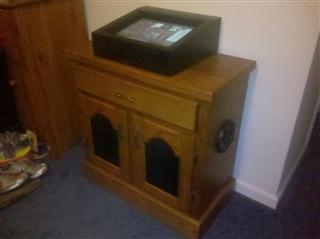
We went “live” with our forums less than 24 hours ago and we already have our first project ready for the front page.  [Elementix] has shown us his touch screen jukebox build. Using an assortment of car audio speakers and amplifiers hooked up to an old Pentium 4 PC with 120 Gigs of storage, he put together the base cabinet. The touchscreen is an ebay find and he built a custom enclosure for that part. For the interface, he started with “Jukebox Arcade”, a jukebox front end for mame cabinets but found he could easily manipulate the layout since it used an xml file for the settings. After some trial and error, and a little work with the gimp, he got it looking the way he wanted. If you haven’t been there already, you should really check out our new forums.

Hackaday Links: August 1, 2010

PCB Group Orders

[Phil] wrote in to let us know about the DorkbotPDX group orders. The site makes group PCB orders until a cutoff date or the panel is full. You get three copies of your design with no setup fee for just $5/square inch including domestic postage. Not a bad price. We aren’t affiliated with them, but we’re always looking for board production options for hobbyists. BatchPCB is another popular one, and if you need help getting your design ready we’ve got your covered.

Aspire One MAME cabinet

[Tim] built a MAME cabinet using foam board and some USB peripherals. Inside you’ll find an Acer Aspire One netbook. This build is quick, cheap, and if you get tired of it you won’t feel you’re stuck with it in the way owners of other MAME cabinet builds might.

Embedded Cake

If you are an embedded programmer who happens to be marrying another embedded programmer take note. This wedding cake is perfect for you; decorated with character LCD screens, solderless breadboards, and development boards along with the wires that connect them all together. [Francirius], a read from Chile, says this cake was the handy work of [Paulina Verdejo].

All That’s Needed Is A Retro Paintjob, MiniMAME

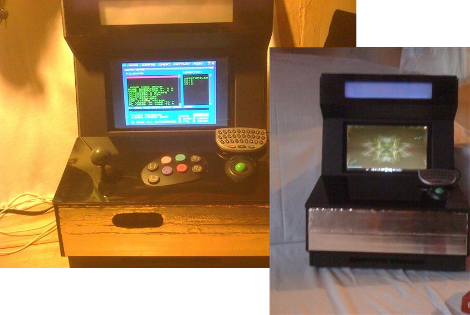
[Tim’s] miniMAME‘s construction follows the “light and cheap” approach, using foam core board and hot glue. Sure it won’t last a nuclear attack, but at least it’s light enough to carry to a friend’s house.

With a removable netbook at the core, CCFLs, speakers, trackball, and mini arcade fighting stick, the project completely surpassed our expectations. For those looking to build a miniMAME, [Tim] includes lots of pictures, details, and plans allowing anyone to make their own in about an afternoon.

Mini Racing Cabinet

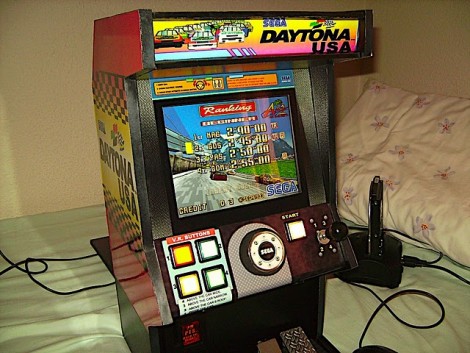
Here’s another small arcade cabinet. This time around it’s the racing simulator Daytona USA. [Pocket_lucho’s] cabinet work has been featured before and he did some fine work with the control interface on this build. The wheel is from the controller of an RC car and the gear lever from a heavily used toy. He fashioned two pedals using gate hinges and a couple of leaf switches. The guts pack quite a punch with a mini ITX motherboard running the show. This will look great next to Ms. Pac-Man. Check out the video after the break.

Continue reading “Mini Racing Cabinet”

Child-sized Cocktail Cabinets

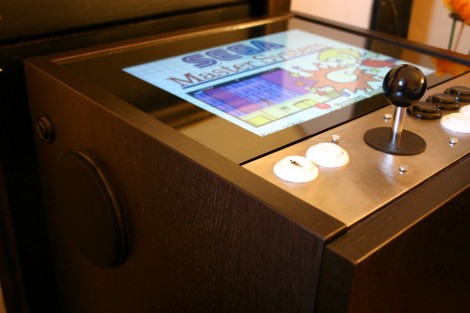
[Sam Seide] dropped us a line about his new arcade creation. We loved his Punch-Out build that used a punch dummy as a game controller. This time around he’s made some mini-cocktail style MAME cabinets. He removed the screen from a netbook and placed it face-up underneath the acrylic bezel. There are controls on either side for two players as we would expect from any quality cocktail cabinet. The control panels are interfaced through the now familiar iPac boards and are a bit unfinished on the underside but that doesn’t decrease our need to see one of these on the coffee table at home. Check out demo and an outline of the parts inside after the break.

Continue reading “Child-sized Cocktail Cabinets”