Back when Google ran a functional search engine, there used to be all kinds of quirky, fun antics hidden in their products. From Easter eggs in certain search results, to a flight simulator hidden in Google Maps, to funny, engaging April Fools jokes, it was a lighter, less corporate time. Now, though, to recreate any of that early Google magic, we have to do it on our own, and [Paul] has come up with an arcade cabinet for the classic Google Chrome dinosaur game that does just that.
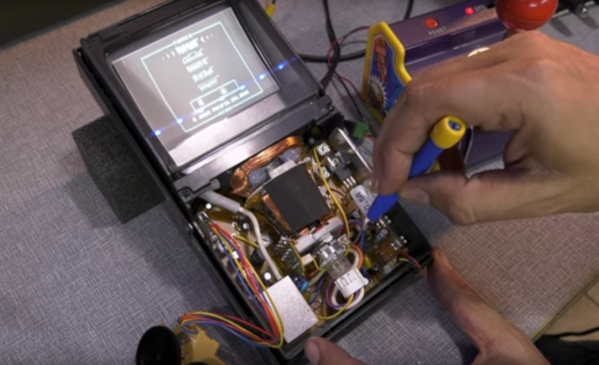
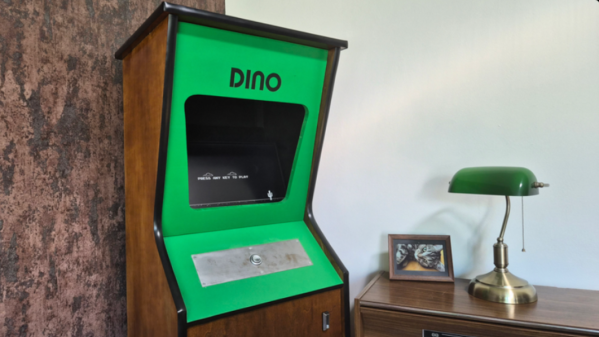
Although the Dinosaur Game is still available in modern versions of Google Chrome, it lends itself almost perfectly to an arcade cabinet. Built from 18 mm plywood, the cabinet is standard DIY arcade fare with a built-in shelf to house the electronics and a 4:3 flatscreen monitor for a display. The Raspberry Pi 3B is also just enough to run the game, but the software running on it is unique. The Pi runs an operating system called FullPageOS, which automatically loads a modified version of the Dino jumper in full-screen mode. It’s been changed to look more like an arcade game than a browser Easter egg, with features like a leaderboard and an automatic-play screensaver mode, and the build is rounded out by a cactus-shaped scratching post to accompany the cabinet.
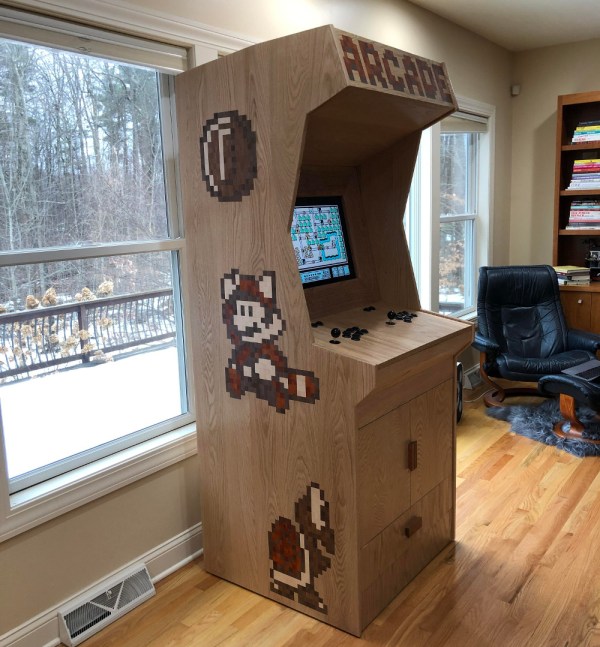
As for gameplay, we couldn’t ask for a simpler user interface. A single button is all that’s needed for this game, and it’s surprisingly engaging. It is a bit large for a single-button game, even with its reduced-width cabinet, so if you’re looking for something smaller, you could always base it on a tabletop arcade system instead.