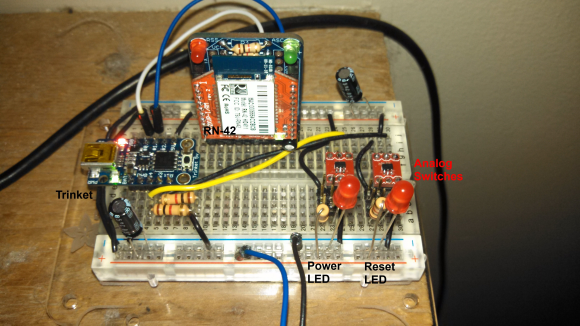
Everyone needs a power supply on their bench, but a standard lab supply isn’t cheap. [ludzinc]’s PSU Console is a cheap alternative, which provides the basic features you’d expect in a lab supply.
The basis of this PSU is a DC/DC module based on the LM2596 step down switching regulator. These modules cost less than a single LM2596, but have all the required components for a buck DC/DC converter. Sure, they might not last forever, and they’re not the most efficient regulators, but the price is right.
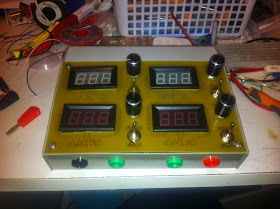
The front panel has four displays for voltage and current, which are just low cost voltmeter displays. The potentiometers are used for adjusting the voltage of the DC/DC, and controlling the current limiter. This limiter monitors current through a shunt, and shuts off a MOSFET when the limit is exceeded.
The final product looks like something that’s ready for daily use, and was much cheaper than most supplies with these features. These low cost DC/DC modules are worth a look if you’re considering a similar build.