Much like radio operators being encouraged to use the least possible amount of power to make a contact, chemists have a similar rule encouraging using the least amount of materials in experiments. Not only is this rooted in economics, but in safety as well; if something goes wrong it’s generally good if there’s not excess amounts of reactants. With modern techniques, though, it’s possible to bring experimental chemistry down to incredibly small scales, and [Marb’s lab] found that they needed a custom built still for these new, diminutive experiments.
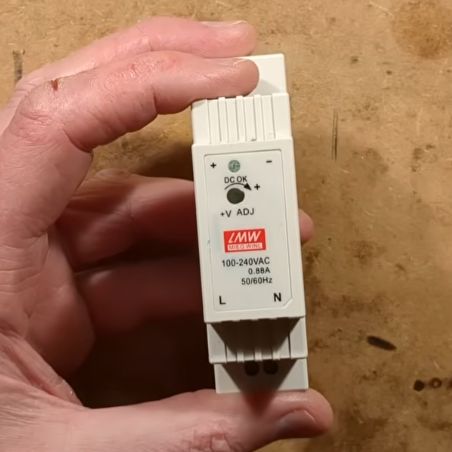
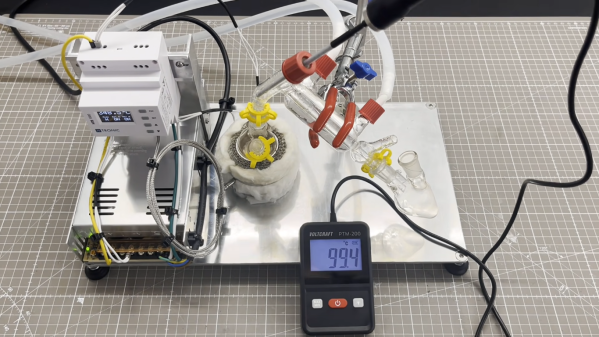
The first step is to build the heating component of the still. This is provided with a few custom aluminum parts for the base and a pair of heaters originally meant for 3D printers, with the assembled unit wrapped in insulation. The heater accomodates a 25 mL round-bottom flask. Temperature control of the heating mantle is provided by a controller mounted to a DIN rail which receives power from a 24V power supply, and an additional temperature probe is added to measure the temperature of the distillate. A test run with water shows the small still quickly and efficiently evaporating the water up to a condenser.
Although building a still doesn’t have to be technically difficult, building something this small that’s effective and safe is a bit more challenging than a backyard moonshining operation. Scaling chemical reactions down can often be a challenge but is possible with the right mindset and equipment. We’ve seen miniaturization of many things that we might not have expected including hydrogen production, aluminum smelting, and even the construction of a microscope.